Scanning and Configuring OneTouch
Xerox
®
DocuMate
®
4790
User’s Guide
6-36
Technical Note
Some destination application links, such as the NewSoft Presto! BizCard software, require a specific filename
format for the images that have been sent to the link to open correctly in the application. For example, when
scanning duplex, if the image token {#03b} is not included in the filename, then each image sent will be
regarded as a separate scan, and instead of one file with 2 pages you will have 2 files. As each destination
application link is different, there is no standard filename type you can create to use for all destinations. If you
scan and the images are not grouped in the file(s) as needed, try deselecting Use custom file naming and then
scan again.
Scan Configurations
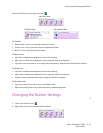
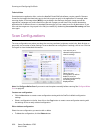
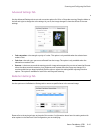
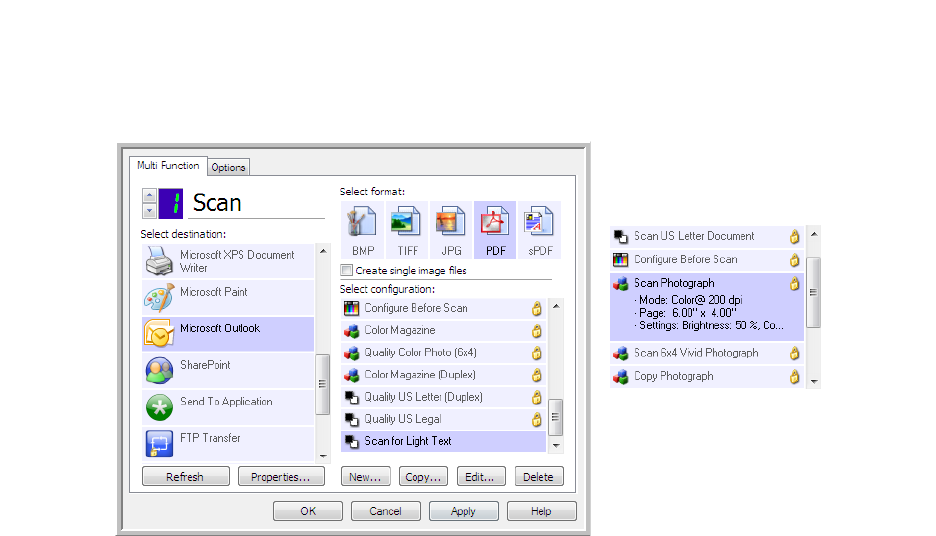
The scan configurations are where you select the scanning resolution, brightness, mode (color, black & white, or
grayscale), and a number of other settings. To see a selected scan configuration’s settings, click its icon. Click the
icon again to close the detailed information.
Note: Use Configure Before Scan if you want to set the options manually before scanning. See Configure Before
Scan on page 48.
Create a new configuration:
•Click the New button to create a new configuration starting with the OneTouch default configuration
settings.
• Select a configuration in the list, then click on the Copy button to create a new configuration starting with
the settings of the currently selected configuration.
Edit or delete a configuration:
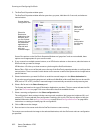
Select the scan configuration you want to edit or delete.
• To delete the configuration, click the Delete button.
Click the icon of a
selected configuration to
view its settings.
Select the scan
configuration to edit or
delete. It must be
unlocked, as indicated by
not having a lock
displayed here.


