Scanning and Configuring OneTouch
Xerox
®
DocuMate
®
4790
User’s Guide
6-59
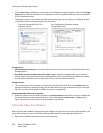
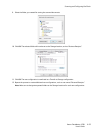
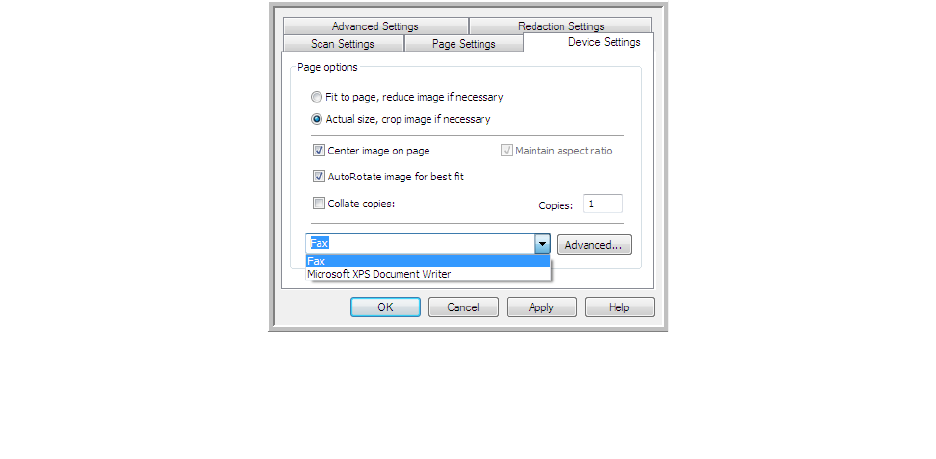
• Fit to page, reduce image if necessary—if the scanned image is too big to be printed or faxed on a single
page, the image will automatically be reduced to fit the page.
• Actual size, crop image if necessary—if the scanned image is too big to be printed or faxed on a single
page, the image will automatically be cropped around its edges to fit on the page.
• Center image on page—the image will be printed in the center of the page instead of at the top left corner.
• Maintain aspect ratio—the aspect ratio is the length-to-width relationship of the image’s dimensions.
Select this option so the image’s relative proportions remain constant.
• AutoRotate image for best fit—if the image is a Landscape format and the device is printing in the Portrait
mode, or vice versa, rotate the image to fit on the page.
• Collate copies—if you are printing more than one page, collate the copies. Enter the number of copies in the
Copies box.
• Advanced—click to see additional settings for the device. The dialog box that opens is specific to the device.
For example, if the device is your printer, the dialog box is your printer’s setup settings.
Note: When scanning to multiple printers and/or faxes, select the specific device, you want to configure the
Advanced features for, from the list before clicking on the Advanced... button.
PaperPort
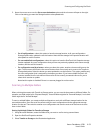
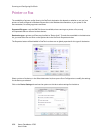
In the OneTouch Properties window, select PaperPort as the Destination Application for scanning.
Supported file types—all image file formats are available when scanning to PaperPort. The sPDF and nPDF text
file formats are only available when the OmniPage software or OneTouch OmniPage module is installed. Please
refer to Text Formats on page 47.


