Scanning and Configuring OneTouch
Xerox
®
DocuMate
®
4790
User’s Guide
6-68
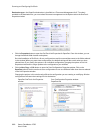
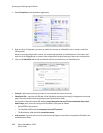
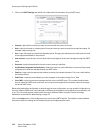
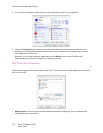
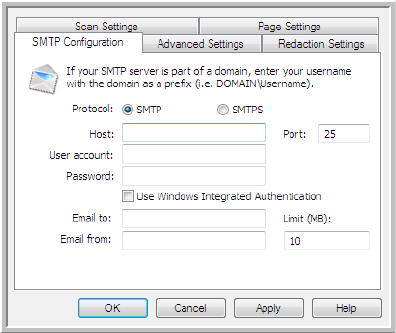
3. Click on the SMTP Settings tab and fill in the fields with the information for you SMTP server.
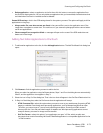
• Protocol—select which protocol you want to use to transfer the scan to the server.
• Host—input the internet or intranet path of the server where you want to send the scanned documents. For
example, smtp.company.com
• Port—input which port to use with the selected protocol. Changing the selected protocol will reset this value
to the appropriate default for the protocol.
• User account—input the user account name that has privileges to send email messages through the SMTP
server.
• Password—input the password for the user account name you specified.
• Use Windows Integrated Authentication—Select this option to use the Windows current user’s login name
and password to send the message through the SMTP server.
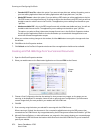
• Email to—input a valid recipient email address to receive the scanned document. If it is not a valid address
the transfer will fail.
• Email from—input the email address you want to appear in the email message “from” field.
• Limit (MB)—input the maximum message size limit set on the SMTP server. This number should be lower
than or match the SMTP server maximum. You cannot send messages that exceed the maximum message
size of the SMTP server.
Because the destination configuration is done through the scan configuration, you can set each configuration to
scan to a different SMTP server, send messages to different email addresses, using different user credentials, and
so on. This is the same process used as when scanning to different folders using the Transfer to Storage
destination, as described in detail starting on page 53.
Click on the Help button, in this configuration tab, to launch the SMTP help file. The help file contains detailed
information about the settings in this window and technical implementation notes.


