


Connecting the Remote Wake-Up Cable
19
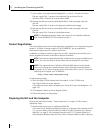
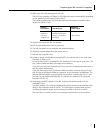
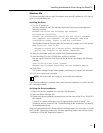
3 Plug the RJ-45 connector on the twisted-pair network cable into the RJ-45 port on the
NIC backplate as shown in the figure.
4 Connect the other end of the network cable to an active network port.
The next step is to install the software, as described in “Installing Software” on page 20.
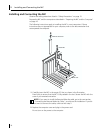
Connecting the Remote Wake-Up Cable
This section describes how to connect the Remote Wake-Up cable from the NIC to the PC
motherboard. Connecting the Remote Wake-Up cable is optional. Connect this cable only
if your NIC supports Remote Wake-Up and you want to use this feature.
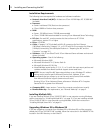
NOTE: If you are installing multiple 3Com 10/100 PCI NICs in one computer
running Windows, see the instructions in “Installing Multiple NICs” on page 31. If
you are installing multiple 3Com 10/100 PCI NICs in one computer running
NetWare, follow the instructions in “Installing Multiple Server NICs” on page 61.
NOTE: If your site network installation procedures require you to verify that
installed hardware is functional before you install software, run the
3C99XCFG.EXE DOS diagnostics program before installing the driver. This
program is located on the 3Com EtherCD. For more information, see “Using the
3Com DOS Configuration Program” on page 77.
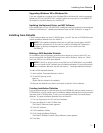
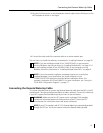
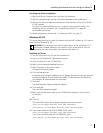
ACT
STATUS
WARNING: Make sure that the PC power cord is unplugged. Only properly
trained and authorized personnel should perform service. Contact your PC
manufacturer for information about safe service techniques.
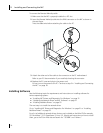
NOTE: If your PC is compliant with PCI 2.2, Remote Wake-Up is automatically enabled
through the PCI bus. You do not need to connect the Remote Wake-Up cable.