


Configuring Groups and VLANs for a Server NIC
47
Windows NT
Start 3Com Advanced Server features under Windows NT as follows:
1 Log in to the Windows NT Administrator account.
2 From the Windows Start menu, select Settings/Control Panel.
3 Double-click the DynamicAccess SW Server icon.
The DynamicAccess Resilient Server Link/Load Balance/VLAN Configuration window
appears. Click the appropriate tab to configure server features.
Creating a Group
1 Click the Load Balance/RSL tab.
2 In the Load Balance/RSL window, click Create Group.
3 In the Create Group dialog box, type a group name.
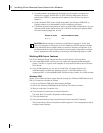
4 Set the load balancing:
To enable transmit load balancing — Clear the Receive Load Balance Enabled
check box and check the Transmit Load Balance Enabled box.
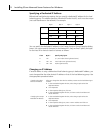
To enable bidirectional load balancing — Check both the Transmit Load Balance
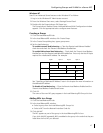
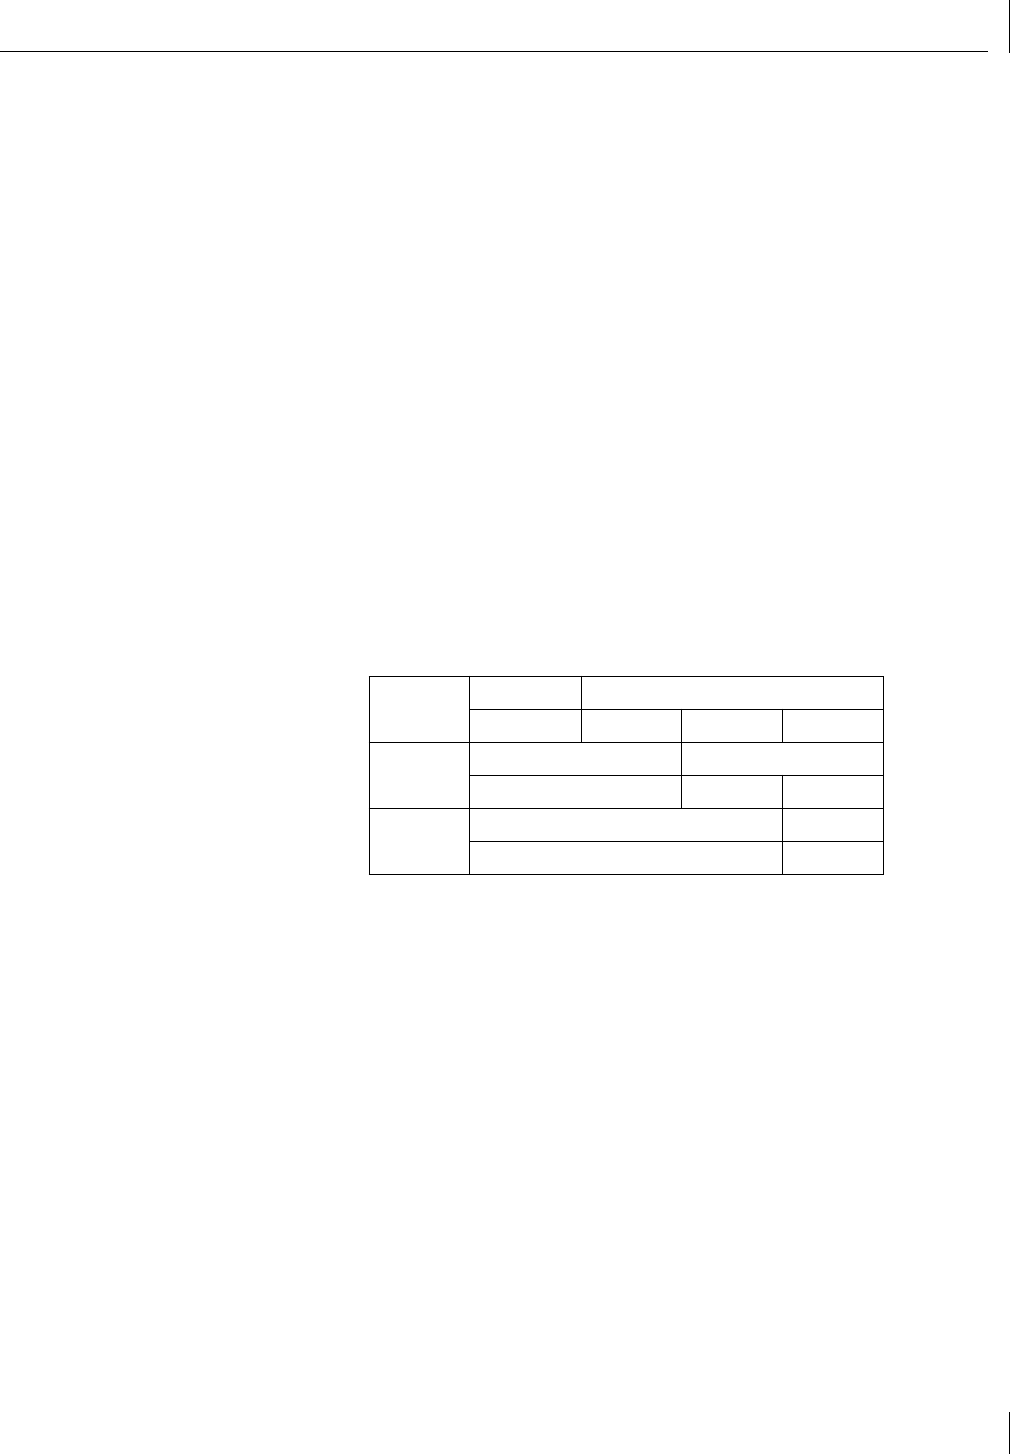
Enabled box and the Receive Load Balance Enabled box. Enter only the Host ID bytes
required for a dedicated IP address. For example:
See “Specifying a Dedicated IP Address” later in this chapter for more information on
the dedicated IP address.
To disable all load balancing — Clear the Receive Load Balance Enabled and the
Transmit Load Balance Enabled check boxes.
5 Click OK.
The name of the new NIC group appears in the Load Balancing/RSL Groups list box.
Adding NICs to a Group
1 Click the Load Balance/RSL tab.
2 In the Load Balance/RSL window:
■ Select a group from the Load Balancing/RSL Groups list.
■ Select a NIC from the Network Interface Cards list.
3 Click Add NIC.
The NIC appears as part of the group in the Load Balancing/RSL list box.
If you click Add NIC repeatedly, NICs are added to the group in the order that they are
listed after the first NIC you selected.
Byte 1 Byte 2 Byte 3 Byte 4
Class A Network ID Host ID
24 1 253
Class B Network ID Host ID
2 253
Class C Network ID Host ID
253