


Chapter 4 Installation and Maintenance
Installing the SCE 1000 Platform
Cisco SCE 1000 2xGBE Installation and Configuration Guide
OL-7821-05 4-7
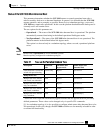
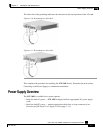
Attaching the Brackets to the SCE 1000
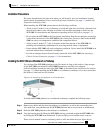
Before installing the SCE 1000 in the rack, you must first install an appropriate rack-mount
bracket on each side of the front of the SCE 1000, as illustrated in the following figure. See Tools
and Parts Required (on page 4-2) for a listing of the parts and tools required for installing the
rack–mount.
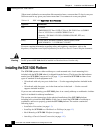
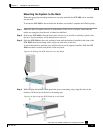
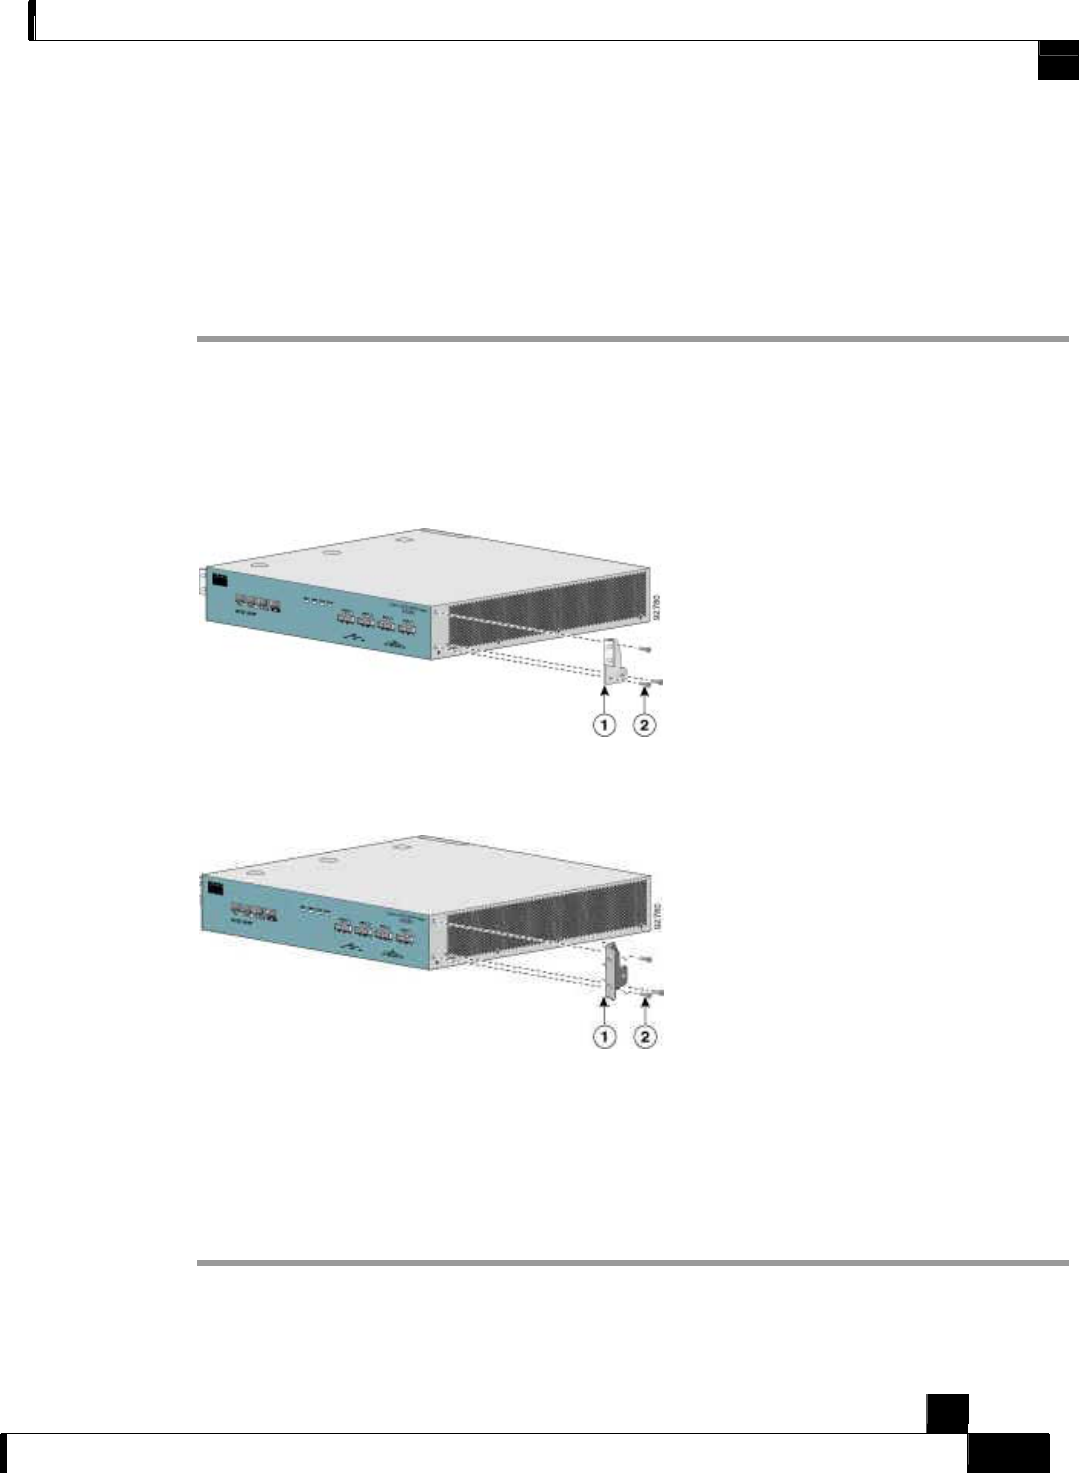
To install the rack-mount brackets on the SCE 1000 chassis, complete the following steps:
Step 1 Align the rack-mount bracket to the side of the SCE 1000. Choose the proper bracket for your
installation (2-post rack or 4-post rack) as illustrated in Rack-Mounting a SCE 1000 Platform (on
page 4-6).
Step 2 Insert and tighten three screws.
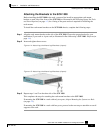
Figure
4-4: Attaching the Mounting Brackets (4-post)
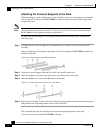
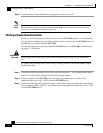
Figure
4-5: Attaching the Mounting Brackets (2-post)
Step 3 Repeat steps 1 and 2 on the other side of the SCE 1000.
This completes the steps for attaching the rack-mount brackets to the SCE 1000.
If mounting the SCE 1000 in a rack with only two posts, skip to Mounting the System to a Rack
(on page 4-9).
If mounting the SCE 1000 in a rack with four posts, proceed to the next step to attach the crossrail
supports to the rack.