


Starting the Dell Diagnostics
NOTE: Dell recommends that you print these procedures before you begin.
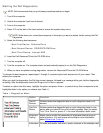
1. Turn off the computer.
2. Undock the computer if you have it docked.
3. Turn on the computer.
4. Press <F2> at the start of the boot routine to access the system setup menu.
NOTE: Write down your current boot sequence in the event you want to restore it after running the Dell
Diagnostics.
5. Select the following boot sequence:
Boot First Device: Diskette Drive
Boot Second Device: CD/DVD/CD-RW Drive
Boot Third Device: Internal HDD
6. Insert the Dell ResourceCD into the CD-ROM drive.
7. Turn the computer off.
8. Turn the computer on. The computer starts and automatically begins to run the Dell Diagnostics.
9. When you have completed running diagnostics, remove the ResourceCD from the CD-ROM drive.
To change the boot sequence, repeat steps 1 through 6, customizing the boot sequence to fit your needs. Then
restart your computer.
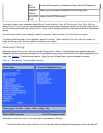
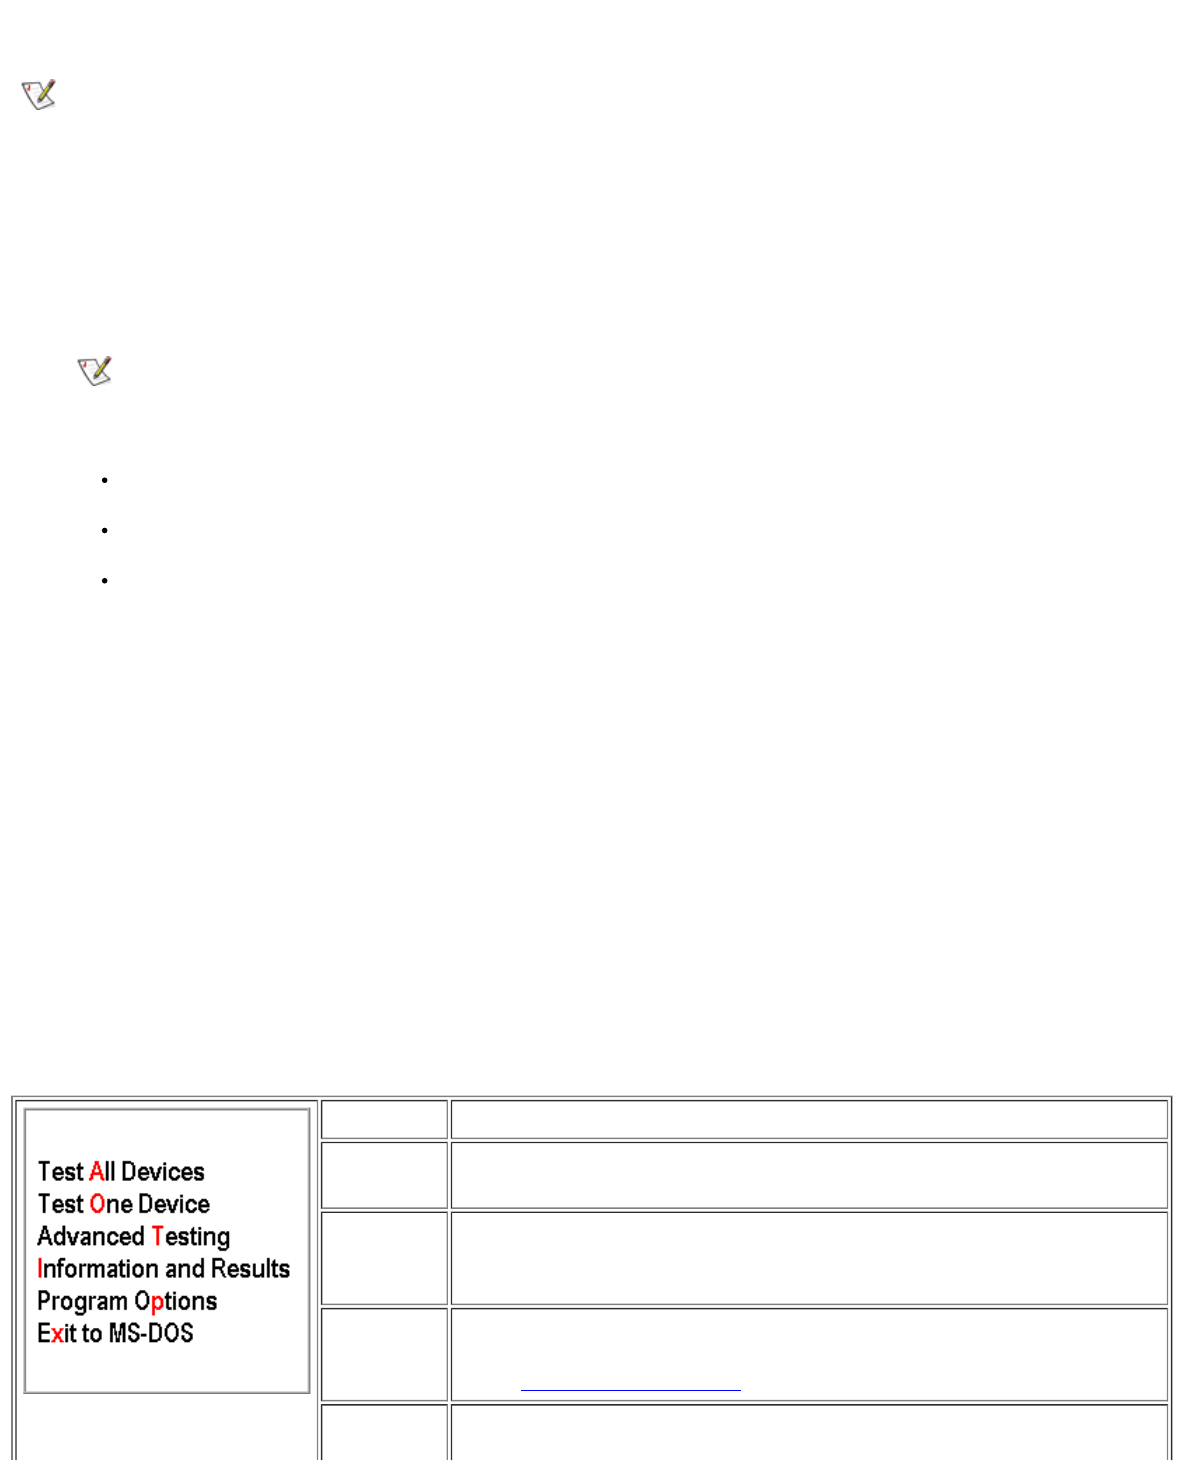
When you start the diagnostics, the Dell logo screen appears, followed by a message telling you that the diagnostics
is loading. After the diagnostics loads, the Diagnostics Menu appears.
To
select an option from this menu, highlight the option and press <Enter>, or press the key that corresponds to the
highlighted letter in the option you choose (see Table 1).
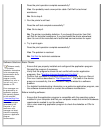
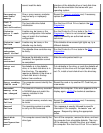
Table 1. Diagnostics Menu
Option Function
Test All
Devices
Performs extensive diagnostic tests or quick diagnostic tests on all
devices.
Test One
Device
Performs extensive diagnostic tests or quick diagnostic tests on one
device after you select it from a list of device groups. After you select
Test One Device, press <F1> for more information about a test.
Advanced
Testing
Allows you to modify the parameters of a test and select a group of
tests to perform. You can access online Help for more information
about Advanced Testing
.
Information Provides test results, test errors, version numbers of the subtests used