


the computer.
While you work, periodically touch the I/O panel to dissipate any static electricity that might harm
components.
Replacing a Primary Hard-Disk Drive
NOTICE: To prevent data loss, turn off your computer before you remove the hard-disk
drive. Do not remove the hard-disk drive if the computer is in suspend mode or if the
drive access light is on. Removing the drive under these conditions will lead to loss of
data.
To replace a primary hard-disk drive, perform the following steps:
1. Complete the tasks as described in "Preparing to Work Inside the Computer
."
2. Remove the hard-disk drive from the drive bay.
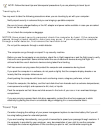
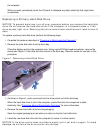
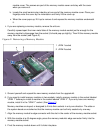
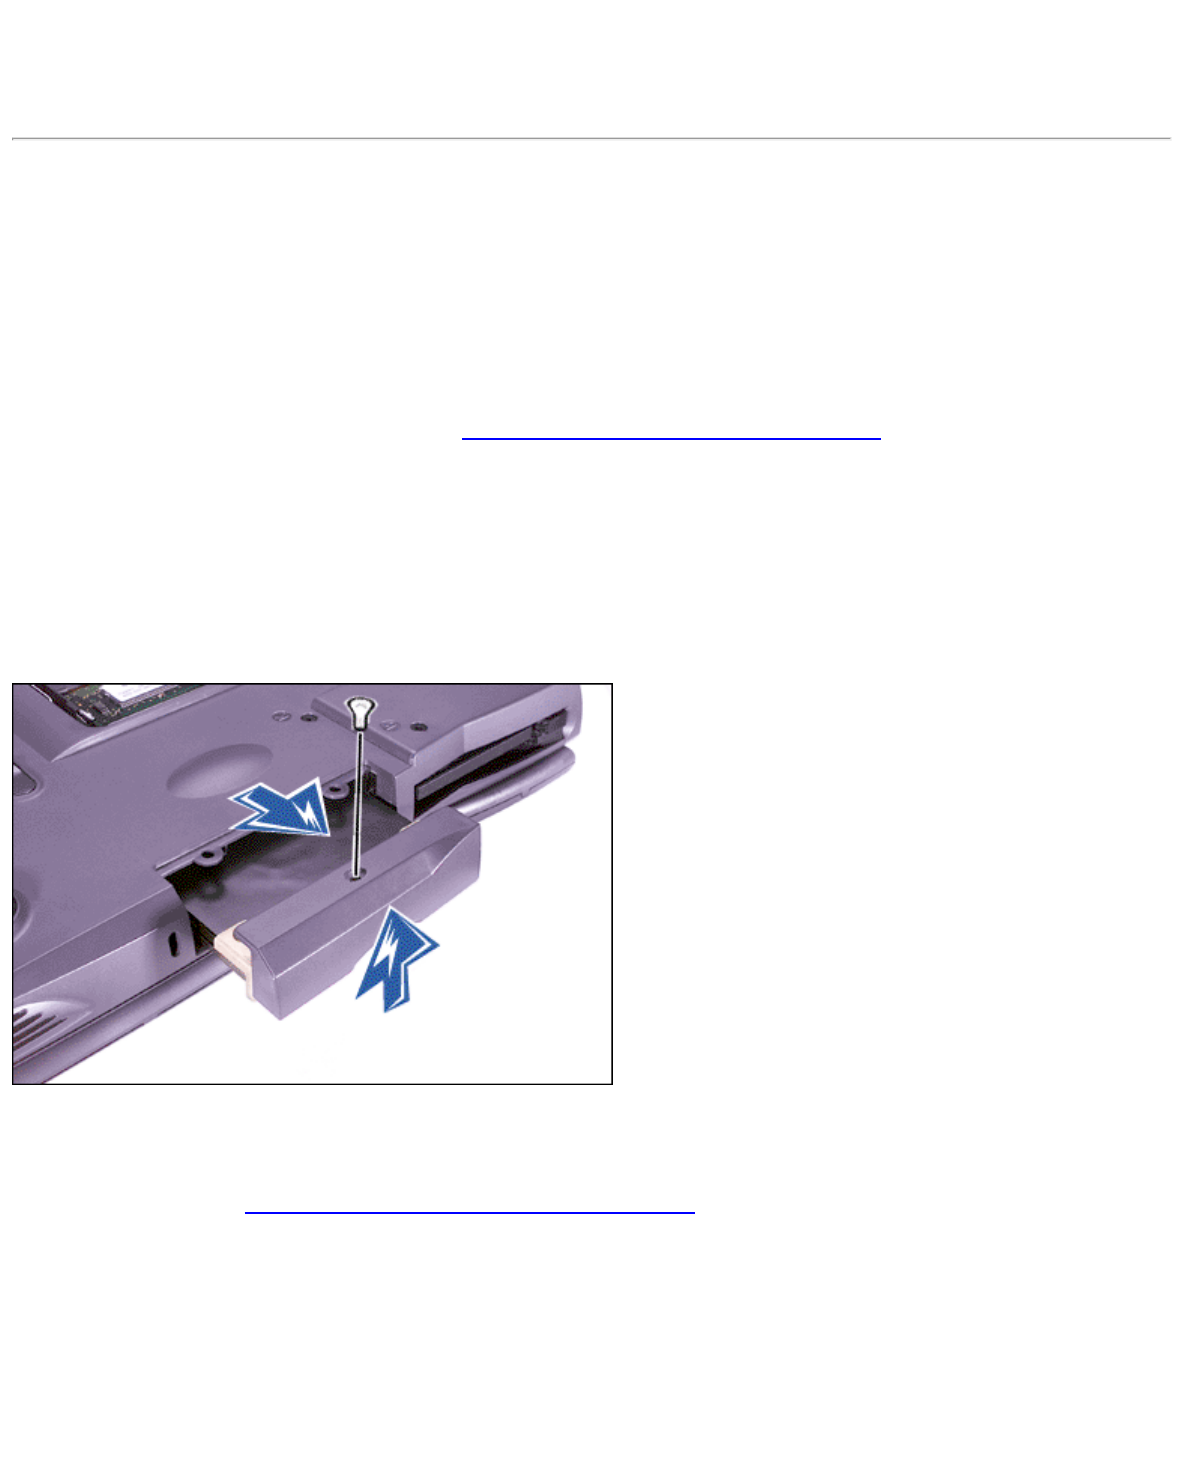
Close the display and turn the computer over. Using a small Phillips-head screwdriver, remove the
screw (see Figure 1) that holds the drive carrier in the drive bay. Save the screw for use later in this
procedure.
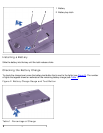
Figure 1. Removing a Hard-Disk Drive
3. As shown in Figure 1, push up and pull out the drive carrier out of the drive bay.
When the hard-disk drive is not in the computer, protect the drive from exposure to static
electricity. See "Protecting Against Electrostatic Discharge" for more information.
4. Remove the new hard-disk drive from its packaging.
Save the original packaging to use when you store or ship the hard-disk drive.
5. Install the new hard-disk drive into the computer (it comes in a drive carrier).
NOTICE: If the drive carrier does not slide in easily, pull it out and try again. To avoid
damage, do not force the drive carrier into the bay.