Configuring Routing 543
–
None
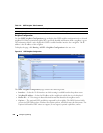
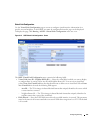
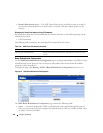
— This is the initial interface state. If you select this option from the drop-down menu on
the second screen and click
Apply Changes,
you are returned to the first screen.
–
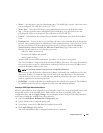
Simple
— If you select Simple you are prompted to enter an authentication key. This key is
included, in the clear, in the OSPF header of all packets sent on the network. All routers on the
network must be configured with the same key.
–
Encrypt
— If you select Encrypt you are prompted to enter both an authentication key and an
authentication ID. Encryption uses the MD5 Message-Digest algorithm. All routers on the
network must be configured with the same key and ID.
•
Authentication Key
— Enter the OSPF Authentication Key for the specified interface. If you do not
choose to use authentication you are not prompted to enter a key. If you choose Simple authentication
you cannot use a key of more than 8 characters. If you choose Encrypt the key may be up to 16
characters long. The key value is only displayed if you are logged on with Read/Write privileges,
otherwise it is displayed as asterisks.
•
Authentication ID
— Enter the ID to be used for authentication. You are only prompted to enter an
ID when you select Encrypt as the authentication type. The ID is a number between 0 and 255,
inclusive.
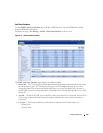
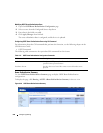
Defining a New Virtual Link
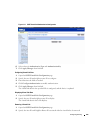
1.
Open the
OSPF Virtual Link Configuration
page.
2.
Select
Create New Virtual Link
from the
Virtual Link (Area ID - Neighbor Router ID)
drop-down
menu.
3.
Specify the neighbor router ID for the new virtual link.
4.
Click
Apply Changes
.
The remaining fields display when the Virtual Link is created.


