Configuring IP Multicast 775
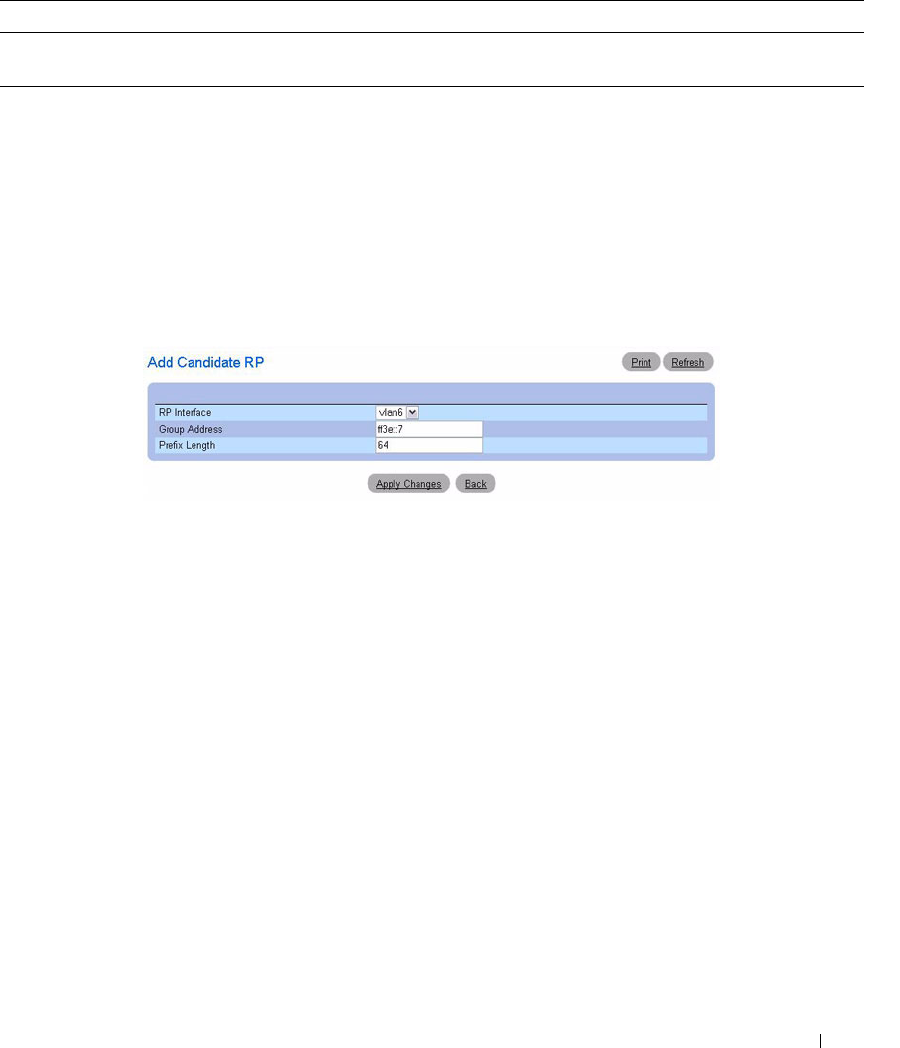
Adding a Candidate RP
Use the Add Candidate RP page to add PIM Candidate rendezvous points (RPs) for each IP multicast
group.
1.
Open the
Candidate RP Configuration
page.
2.
Click
Add
.
The
Add Candidate RP
page displays.
Figure 12-38. Add Candidate RP
3.
Select the interface for which the Candidate RP is to be configured.
4.
Enter the group address transmitted in Candidate-RP-Advertisements.
5.
Enter the prefix length transmitted in Candidate-RP-Advertisements to fully identify the scope of the
group which the router supports if elected as a Rendezvous Point.
6.
Click
Apply Changes
.
The new Candidate RP is added, and the device is updated.
Static RP Configuration
Use the PIM Static RP Configuration
page to display or remove the configured RP. The page also allows
adding new static RPs by clicking the Add button.
To access the page, click IPv4 Multicast
→
PIM
→
Static RP Configuration or IPv6 Multicast
→
PIM
→
Static RP Configuration.
Table 12-36. PIM Candidate RP Configuration Commands
CLI Command Description
ipv6 pimsm rp-candidate Configures the router to advertise itself as a PIM candidate rendezvous
point (RP) to the bootstrap router (BSR).
