580 Configuring Routing
•
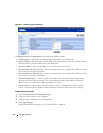
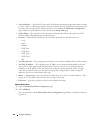
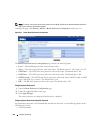
Network Address
— Specify the IP route prefix for the destination from the drop-down menu. In order
to create a route, a valid routing interface must exist and the next hop IP Address must be on the same
network as the routing interface. Routing interfaces are created on the
IP Interface Configuration
page. Valid next hop IP Addresses can be viewed on the
Route Table
page.
•
Subnet Mask
— Also referred to as the subnet/network mask, this indicates the portion of the IP
interface address that identifies the attached network.
•
Protocol
— This field tells which protocol created the specified route. Possible values are:
–Local
– Static
–Default
–OSPF Intra
–OSPF Inter
–OSPF Type-1
–OSPF Type-2
–RIP
•
Next Hop Interface
— The outgoing router interface to use when forwarding traffic to the destination.
•
Next Hop IP Address
— The outgoing router IP address to use when forwarding traffic to the next
router (if any) in the path towards the destination. The next router is always one of the adjacent
neighbors or the IP address of the local interface for a directly attached network. When creating a
route, the next hop IP must be on the same network as the routing interface. Valid next hop IP
Addresses can be seen on the 'Route Table' page.
•
Metric
— Administrative cost of the path to the destination. If no value is entered, default is 1. The
range is 0–255.This field is present only when creating a static route.
•
Preference
— Specifies a preference value for the configured next hop.
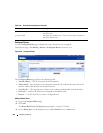
Adding a Router Route
1.
Open the
Router Route Entry Configuration
page.
2.
Click
Add Route
.
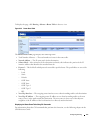
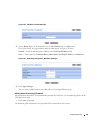
The screen refreshes and the
Router Route Entry Configuration
page displays new fields as shown in
Figure 9-38.


