


MX-4 DV USER GUIDE CHAPTER 13
130
Additions DHCP
Tips
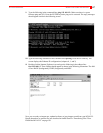
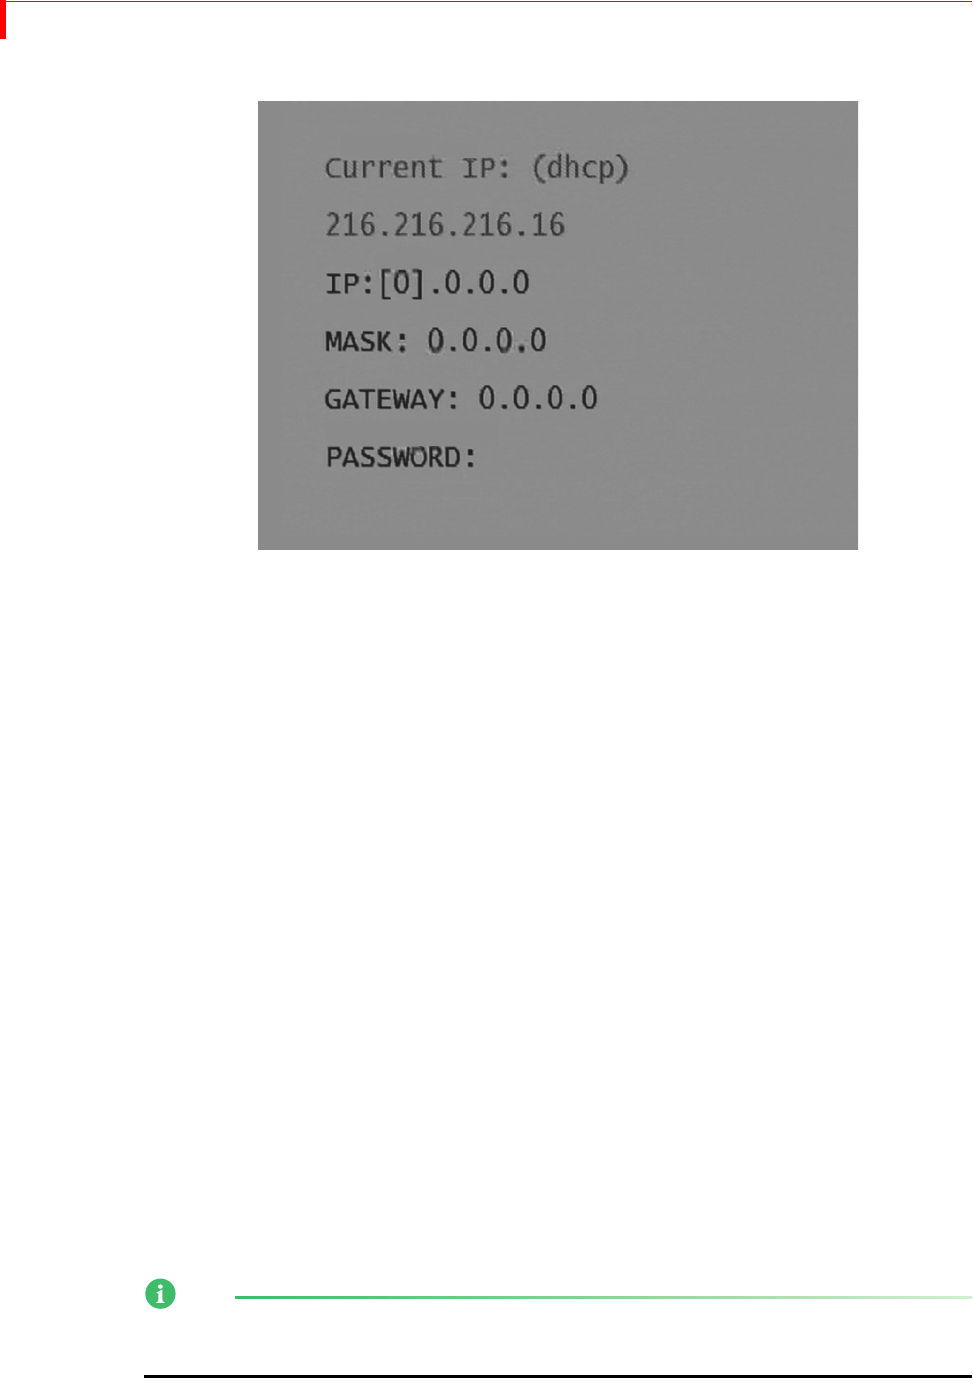
If your MX-4 DV is connected to a network and the IP address is automatically assigned to your
computer, perform the following procedure:
1 Hook up a standard straight network cable between the router or hub and the MX-4 DV unit.
2 Switch on the mixer.
3 The MX-4 DV will recognize the new address assigned by the network and allow access to
any browser or FTP application by typing in the address appearing on the MX-4 DV’s ftp
menu. (Use
SHIFT+SETUP/FTP.)
If your MX-4 DV is connected to a network and the IP address is NOT automatically assigned to
your computer or laptop, contact your Network Administrator.
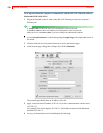
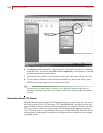
Transferring Files TO or FROM the MX-4 DV
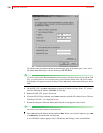
From a PC or Macintosh, communicate with the MX-4 DV using standard FTP software. A few
software options are Fetch for Macintosh users or Windows Shareware for Windows users.
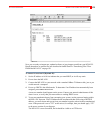
System
Directories and
Files
Upon making a computer connection, you can write jpegs to, or read jpegs from the following
directories: BACK and FORE.
These directories can contain 50 jpegs each. The jpegs in the BACK directory can be used as input
or Background graphics. They should not exceed 1024x768 pixels. They will be displayed in the
center. The jpegs in the FORE directory can be used as Foreground graphics. They will generally
be smaller (180x120 pixels) and can be displayed anywhere on the screen. The image and quality
at 180x120 will not be very sharp. The jpeg file names must have a number between 0 and 49 for
them to be used by the MX-4 DV, for example: FOCUS_01.JPG. Once the jpegs have been
imported with the correct file names, reboot the MX-4 DV. After restarting the MX-4 DV, it will
take a few minutes to load the imported jpegs and formulate the thumbnails into the proper back-
ground and foreground menus.
NOTE
The time it takes to load the imported jpegs into the system depends on how many jpegs were
loaded at one setting.