6-7
Configuring the Switch
IP Configuration
Configuring the Switch
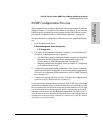
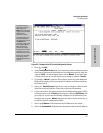
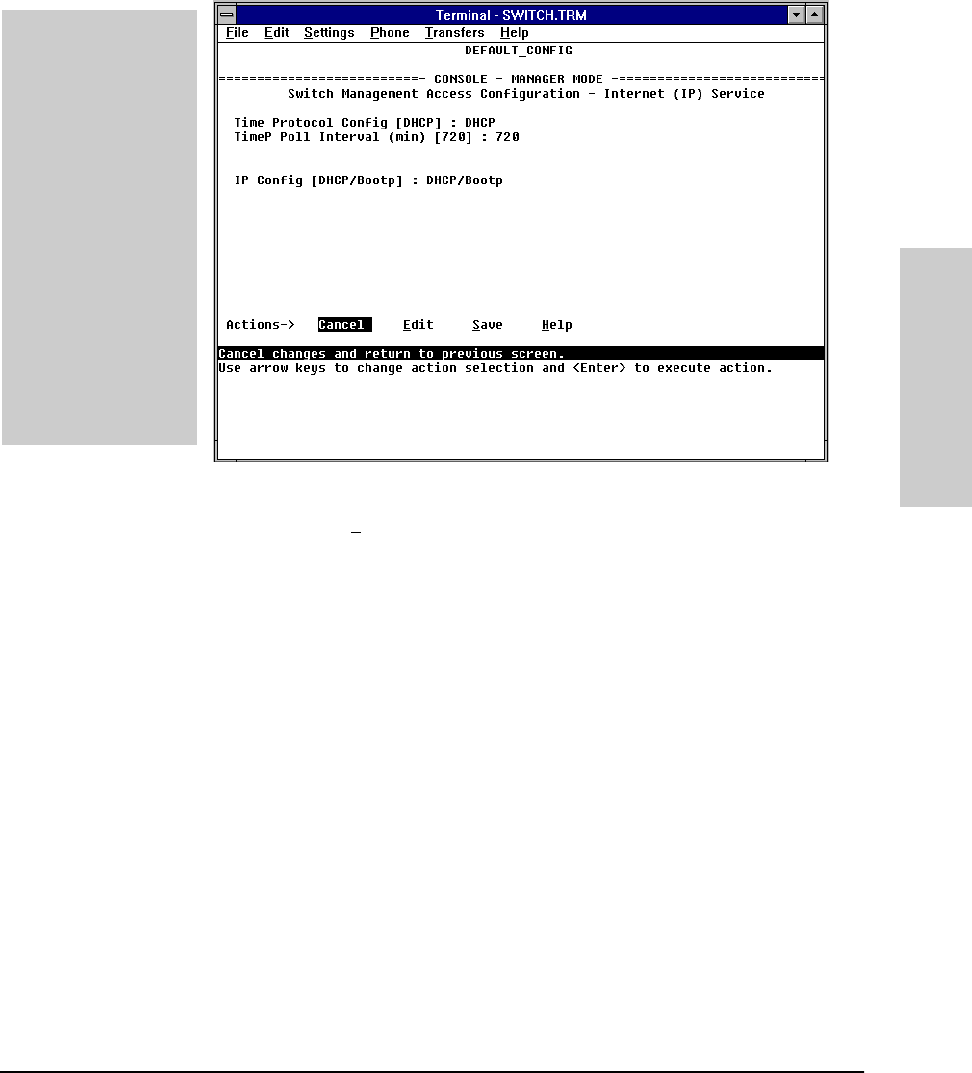
Figure 6-8. Example of the IP Service Configuration Screen
2. Press [E] (for E
dit).
3. At the Time Protocol Config field, if you want the switch to obtain its system
time from a Timep server, and the server is configured correctly, keep the
value as DHCP , or use the Space bar to select Manual. If you don’t have
a Timep server set up, use the Space bar to change to value to Disable.
4. If you select Manual , press the Tab or Down Arrow key, and additional
fields will be displayed for entering the IP address and subnet mask for
the Timep server.
5. Select the Time Poll Interval field if you want to change to value for how
often the switch will poll the Timep server for time information.
6. If you want to have the switch retrieve its IP configuration from a DHCP
or Bootp server, at the IP Config field, keep the value as DHCP/Bootp and
go to step 10. If you want to manually configure the IP information, use
the Space bar to select Manual and press the Tab or Down Arrow key to
reveal the other IP configuration fields.
7. Select the IP Address field and enter the IP address for the switch.
8. Select the Subnet Mask field and enter the subnet mask for the IP address.
The default setting for
Time Protocol Config is
DHCP. Setting it to
Manual, then pressing [v]
or [Tab] causes the Timep
Server Address
parameter to appear.
The default setting for IP
Config is DHCP/Bootp.
Using the Space bar to set
it to Manual, then
pressing [v] or [Tab] causes
the IP Address, Subnet
Mask, and Gateway
parameters to appear.
For descriptions of these
parameters, refer to the
online Help for this screen.
Before using the DHCP/
Bootp option, refer to
DHCP/Bootp Operation on
page 6-9.


