6-57
Configuring the Switch
Port-Based Virtual LANs (VLANs)
Configuring the Switch
2. Press [Enter] or [1] to select VLAN Support and you will see a screen with the
Activate VLANs field set to No.
3. Press [E] (for E
dit), then press the Space bar to select Yes.
4. Press the [Tab] or Down Arrow [v] key to reveal the Total Number of VLANs
field.
5. Use the default number of VLANs (8), or enter the maximum number of
VLANs you will be configuring (up to 30).
Note For optimal switch memory utilization, set the number of VLANs at the
number you will likely be using or a few more. If you need more VLANs later,
you can increase this number, but a switch reboot will be required at that time.
6. Press [Enter] and then [S] to save the VLAN configuration.
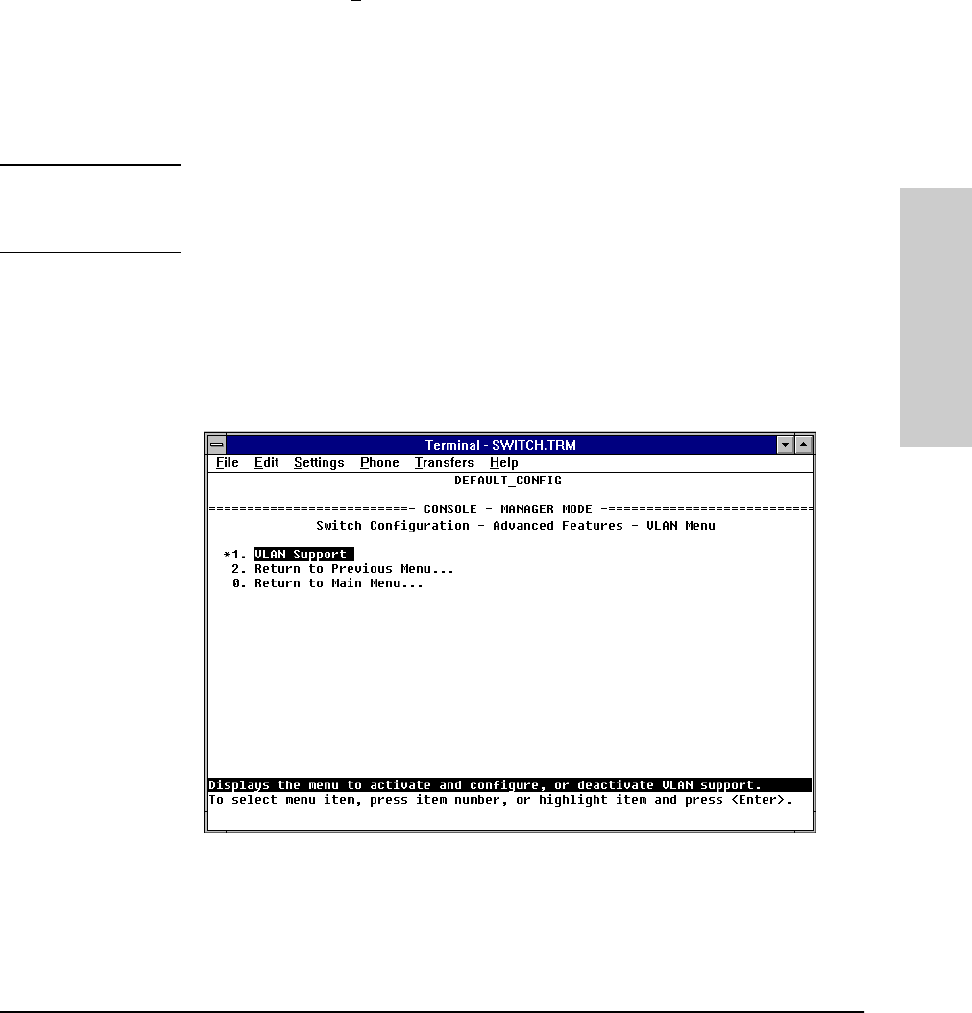
You are then returned to the VLAN Menu screen which now has an asterisk
next to the VLAN Support item, as shown in the next screen. The asterisk
indicates that the switch must be rebooted to activate the configuration
change.
Figure 6-40. VLAN Menu After VLAN Support is Enabled
7. Reboot the switch now by pressing [0] to return to the Main menu, then
pressing [6] to reboot the switch.


