124
Changing Your Workstation’s Hardware Configuration
Installing Storage Devices
Removing the Disk Tray
Perform the following procedure to remove the Storage Tray from the sys-
tem unit:
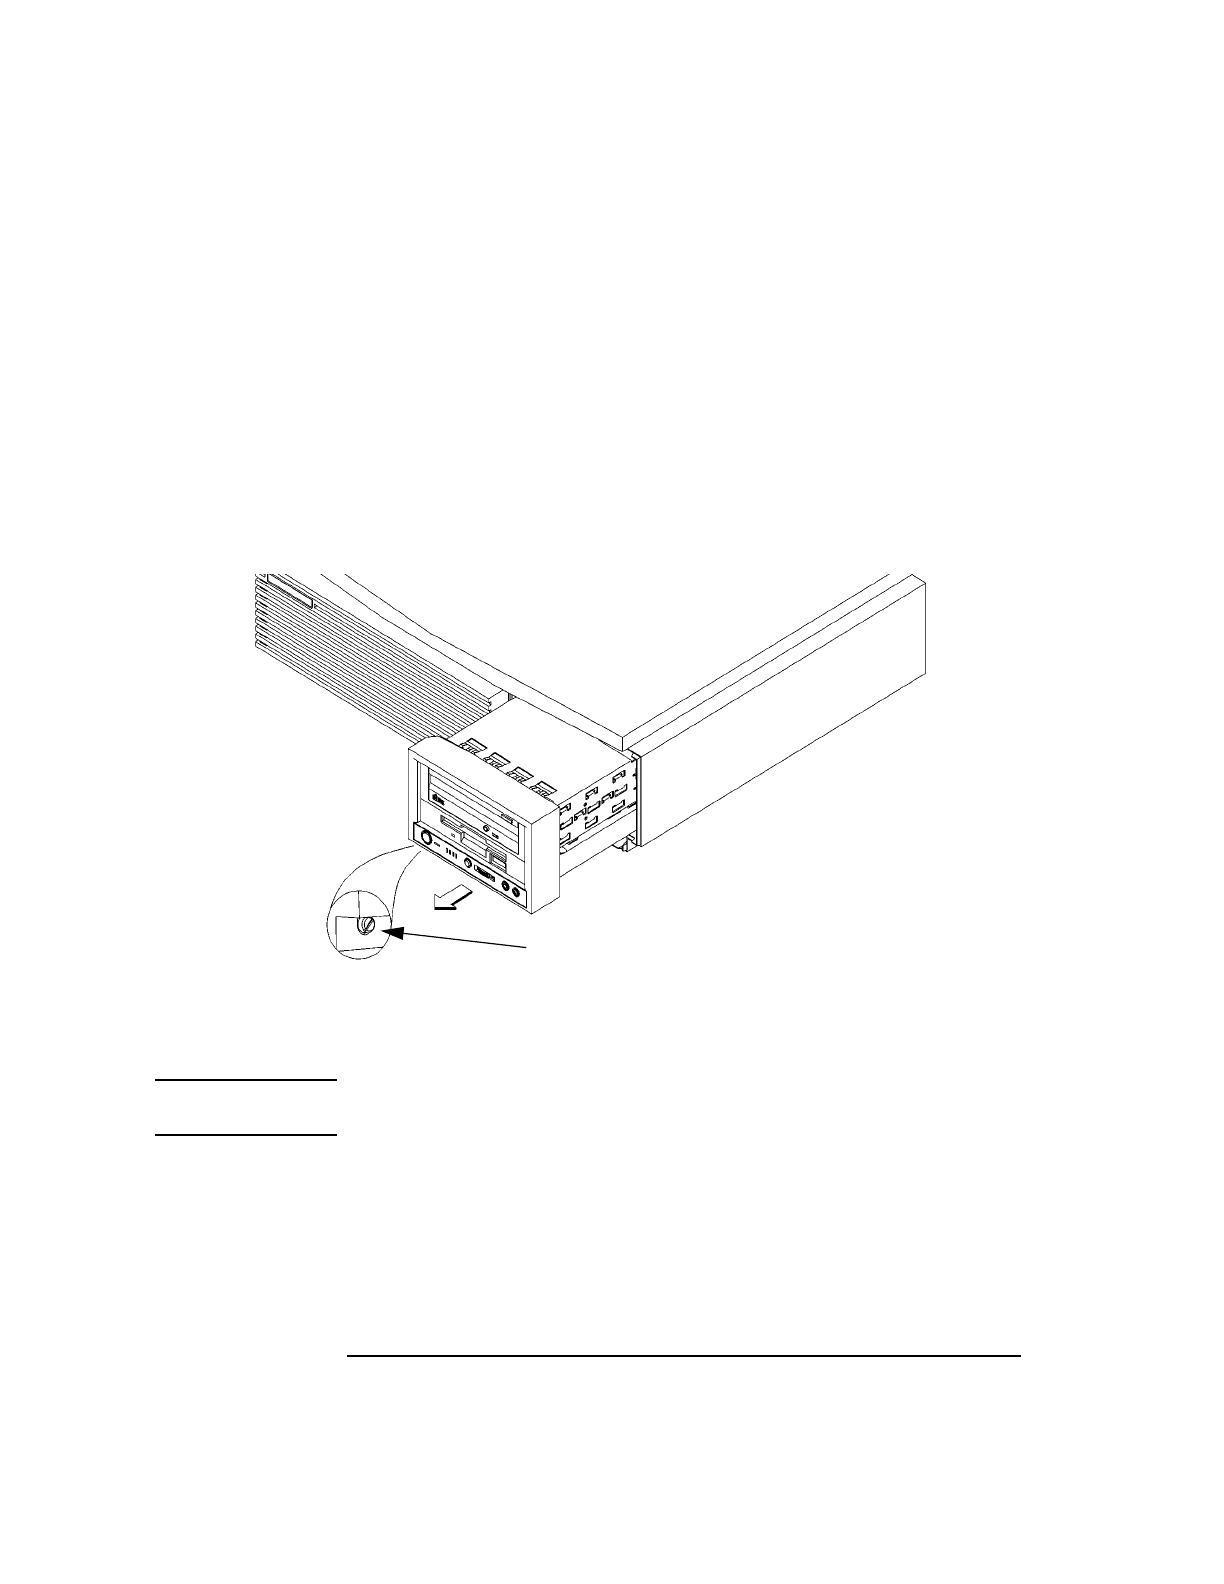
1 Remove the storage tray retaining screw, as shown in Figure 24.
2 If installed, remove any locking device from the storage tray security loop on the
rear of the system unit.
3 Place your fingertips in the groove on the bottom of the storage tray bezel. See
Figure 24.
Figure 24 Removing the Storage Tray
4 Slide the storage tray completely out of the system unit.
CAUTION: Be sure to support the storage tray from underneath while sliding it out of
the system unit.
Proceed to one of the following sections in this chapter to install your stor-
age device in the disk tray:
• Installing a CD-ROM or a DDS-Format Tape Drive
• Installing a Floppy Drive
• Installing a Hard Disk Drive in Position 3 or Position 4
Retaining Screw


