


31
Setting Up Your Printer
Setting Up a Local Printer Using SAM
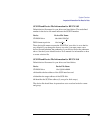
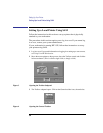
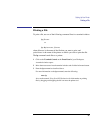
4 A file manager window appears with a number of icons in it. Double-click on the
System_Admin toolbox icon.
Figure 5 Opening the System_Admin Toolbox
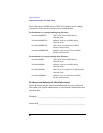
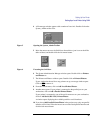
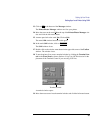
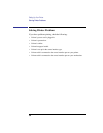
5 Move the mouse cursor to the SAM icon shown below (your icon can look like
either of these) and double-click the left mouse button.
Figure 6 Executing the SAM Icon
6 The System Administration Manager window opens. Double-click on Printers
and Plotters ->.
7 The Printers and Plotters window opens. Double-click on Printers/Plotters.
If your workstation doesn’t have any printers set up, a message window opens.
Click on OK to remove it.
8 From the Actions menu, click on Add Local Printer/Plotter.
9 Another menu opens. If your printer is connected to the parallel port on your
workstation, click on Add a Parallel Printer/Plotter.
If your printer is connected to one of the serial connectors on your workstation,
click on Add Serial (RS-232C) Printer/Plotter.
A window opens displaying the available parallel or serial interfaces.
10 If you chose Add Parallel Printer/Plotter in the previous step, only one parallel
interface will be listed. Place the mouse cursor on the listed parallel interface and
click the left mouse button.