Step-by-Step Basic Installation
Inverter Mounting
and Installation
2–16
Wiring the Motor to the Inverter Output
Step 7: The process of motor selection is beyond the scope of this manual. However, it
must be an AC induction motor with three phases. It should also come with a chassis
ground lug. If the motor does not have three power input leads, stop the installation and
verify the motor type. Other guidelines for wiring the motor include:
• Use an inverter-grade motor for maximum motor life (1600V insulation).
• For standard motors, use the AC reactor accessory if the wiring between the inverter
and motor exceeds 10 meters in length.
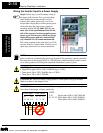
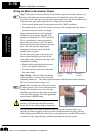
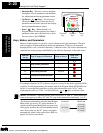
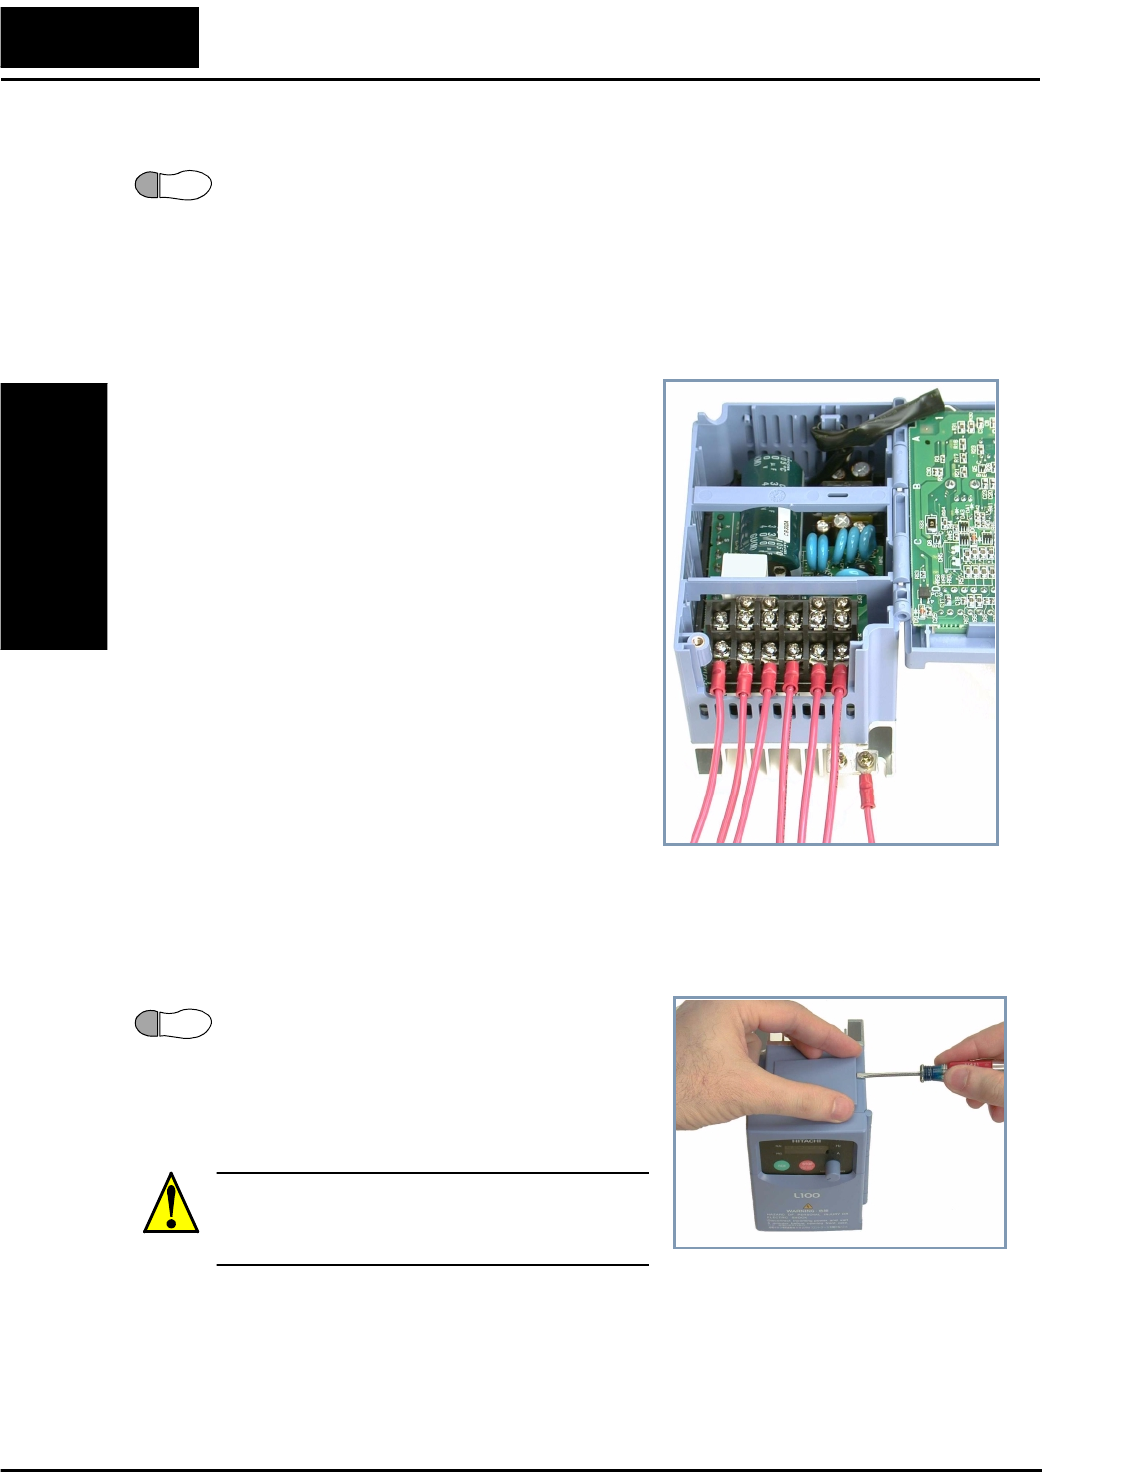
Simply connect the motor to the terminals
indicated on the inverter to the right. The
terminals are labeled U/T1, V/T2, and W/T3.
This is a good time to connect the chassis
ground lug on the drive as well. The motor
chassis ground must also connect to the same
point. Use a star ground (single-point)
arrangement, and never daisy-chain the
grounds (point-to-point).
Use the same wire gauge on the motor and
chassis ground wiring as you used on the
power input wiring in the previous step. After
completing the wiring:
• Replace the housing partition that covers
access to the power connections.
• Close the main door and secure the reten-
tion screw firmly.
Other Wiring - After the initial installation
and powerup test, you may need to wire the
remaining connectors — the control signal connector, and the alarm circuit connector.
This is covered in detail on page 4–22.
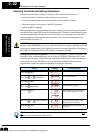
Step 8: After mounting and wiring the inverter,
it’s time to remove any covers from the inverter
housing. This includes covers over the side
ventilation ports. Remove the square cover panel
at the top of the housing, unless the application
must maintain a NEMA rating.
WARNING: Make sure the input power to the
inverter is off. If the drive has been powered,
leave it off for five minutes before continuing.
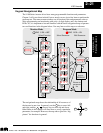
The top housing cover is held in place by four locking tabs. To remove the cover,
squeeze two corners together and push a small screwdriver under one side as shown,
while pulling upward. Hold the screwdriver at the angle shown, and DO NOT push the
screwdriver or any object through ventilation openings and into the inverter.
7
To Power
Supply
To Motor To Chassis
Ground
8
Technologies Inc.
Toll Free: voice: 1-877-539-2542 fax: 1-800-539-2542 www.mgitech.com


