


Chapter 2: Hardware Installation
WARNING!
1. Handle hard drives with extreme care. Hard drives are very
delicate. Dropping a drive against a hard surface (even from a short
distance) and hitting or touching the circuits on the drives with your
tools may cause damage to the drives.
2. Observe all ESD prevention methods when installing drives.
3. Only use screws supplied with the drive canisters. Longer screws
can damage the hard drives.
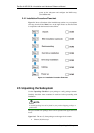
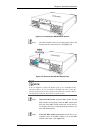
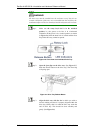
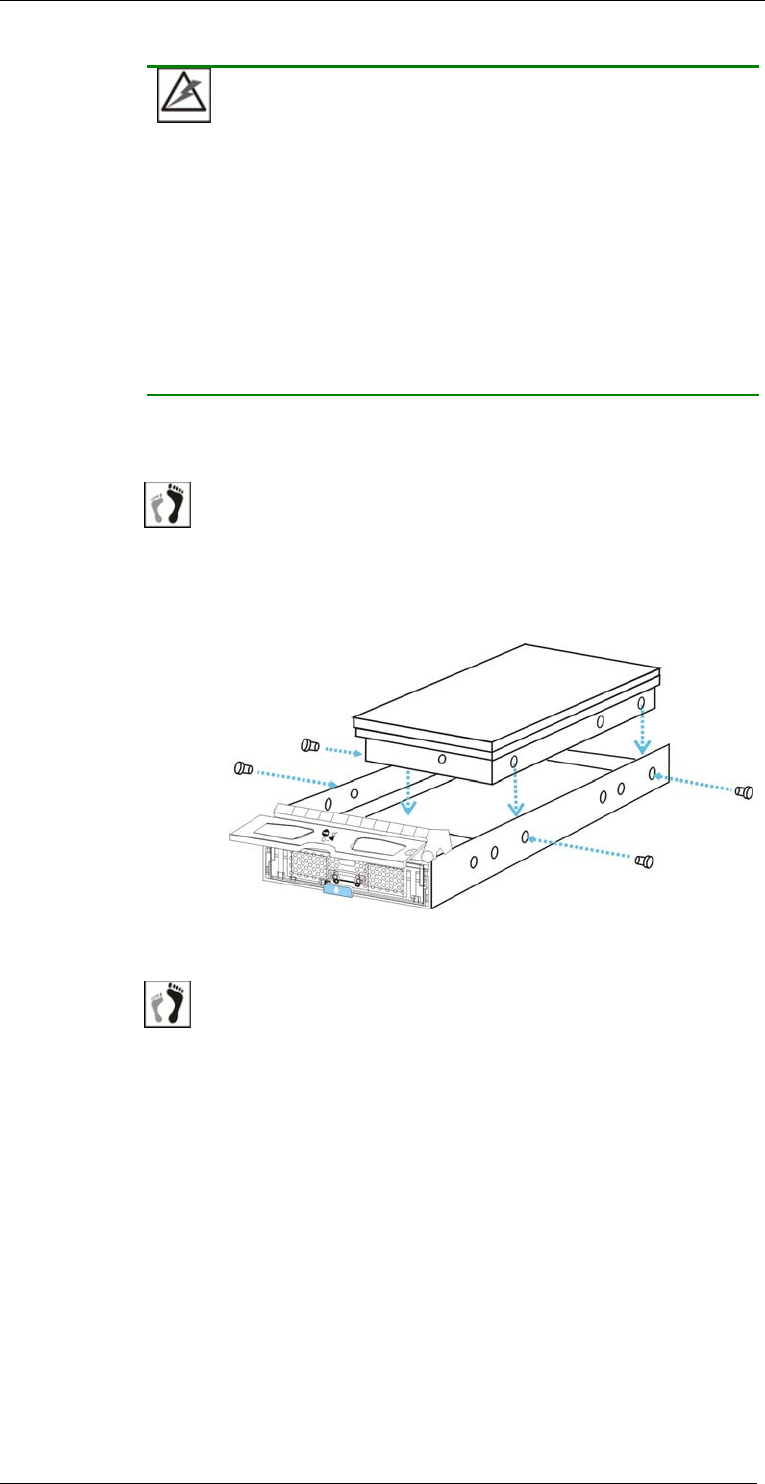
2.8.2 Drive Installation
Step 1. Place the SATA hard drive into the drive tray as shown in
Figure 2-5, making sure that the hard drive is oriented in
such a way that the SATA connector is facing the back of
the drive tray, and the circuit side is facing downward.
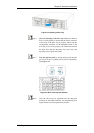
Figure 2-5: Installing a SATA Hard Drive
Step 2. Adjust the drive’s location until the mounting holes in the
drive canister are aligned with those on the hard drive.
Secure the drive with four (4) of the supplied 6/32 flat-
head screws. (See Figure 2-5)
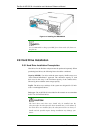
2.9 Drive Tray Installation
Once the hard drives have been secured within the drive trays, the drive
trays can be installed into the subsystem.
Drive Tray Installation
2-11