EonStor A16E-G2130-4 Installation and Hardware Reference Manual
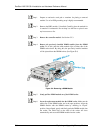
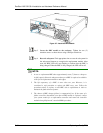
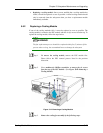
Figure 5-7: Install the BBU Module
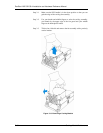
Step 3. Secure the BBU module to the enclosure. Tighten the two (2)
retention screws as shown above using a Phillips screwdriver.
Step 4. Reset the subsystem. Find appropriate time to reset the subsystem for
the subsystem firmware to recognize the replacement module. After
reset, the BBU LED will start flashing to indicate that the BBU is
being charged. When the BBU is fully charged, the LED will be off.
NOTE:
1. A new or replacement BBU takes approximately seven (7) hours to charge to
its full capacity. Reset the subsystem whenever a BBU is replaced or added in
order for the replacement module to take effect.
2. The life expectancy of a BBU is more than one year. However, it is
considered a safe procedure to replace the BBU every year. Follow the
procedures above to replace a used BBU with a replacement in order to
maintain the fault tolerance feature.
3. The chance of BBU charger failure is comparatively low. If the cause of a
failure cannot be determined even after a BBU module is replaced, contact
your system vendor for a replacement controller and return the controller
module through Infortrend’s standard RMA procedure.
5-12 Replacing a Faulty BBU


