Installing the printer driver
2
C550 2-10
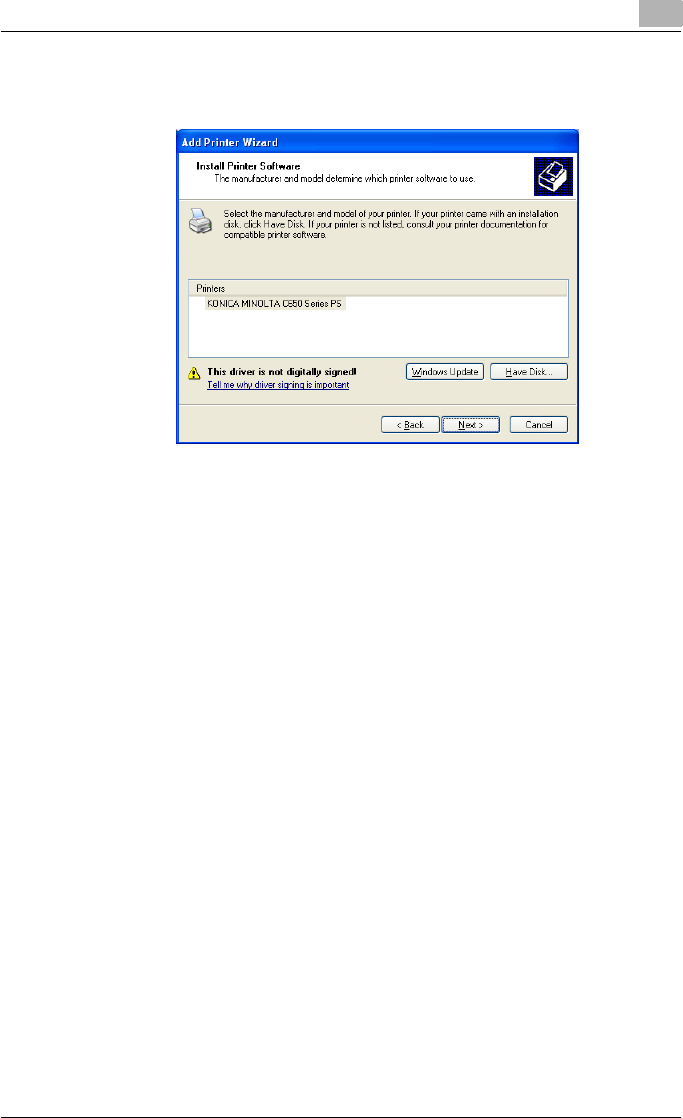
10 Click the [OK] button.
The “Printers” list appears.
11 Click the [Next] button.
12 Follow the on-screen instructions.
– When the Digital Signature dialog box appears, click the [Continue
Anyway] button.
– When using a network connection, perform a test print after the net-
work settings have been specified.
13 When installation is complete, make sure that the icon of the installed
printer appears in the Printers and Faxes window.
14 Remove the CD-ROM from the CD-ROM drive.
This completes the printer driver installation.
For Windows Vista
1 Insert the printer driver CD-ROM into the computer’s CD-ROM drive.
2 Click the [Start] button, and then click “Control Panel”.
3 Click “Hardware and Sound”, and then click “Printers”.
– If the control panel is in the classic view, double-click “Printers”.
The Printers window appears.


