


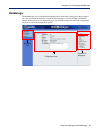

Using DeviceManager and WebManager 58
Using DeviceManager to Connect to the IOLAN
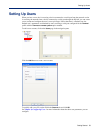
Assigning a Temporary IP Address to a New IOLAN
You can temporarily assign an IP address to the IOLAN that is connected to your local network
segment, for the purpose of connecting to it and downloading a configuration file (containing a
permanent IP address). To temporarily assign an IP address to the IOLAN, do the following:
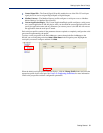
1. Click the Refresh button. The IOLAN will be displayed in the IP Address column as Not
Configured
.
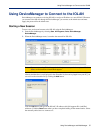
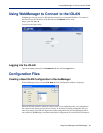
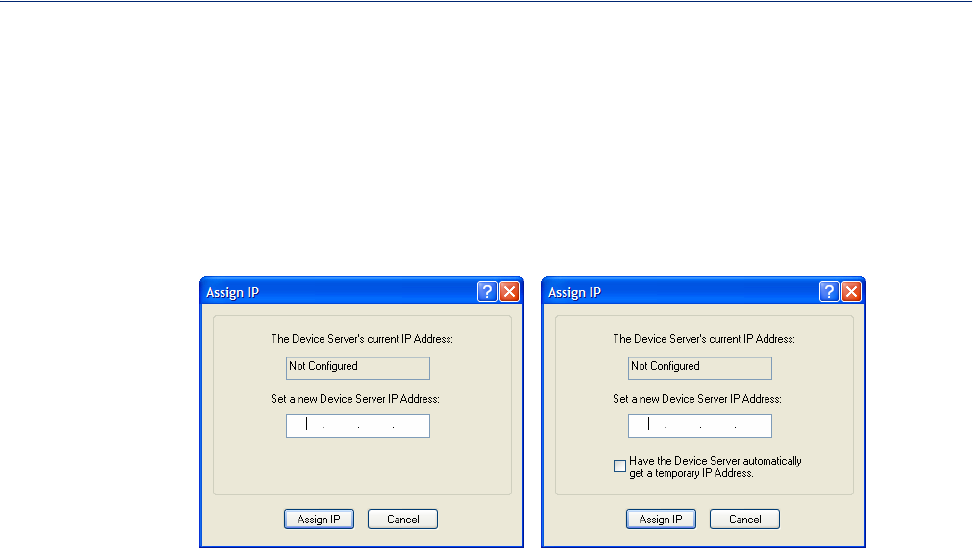
2. Select the new IOLAN and click the Assign IP button. The following window is displayed:
Version 3.2 or higher
Version 3.1 or lower
3. Type a valid temporary IP address into the address field or, in version 3.2 or higher, enable the
Have the IOLAN automatically get a temporary IP address. If you enable the temporary IP
address, the IOLAN will enable DHCP/BOOTP on your IOLAN and attempt to get an IP address
from the DHCP/BOOTP server (this will permanently enable DHCP/BOOTP in your IOLAN’s
configuration, until you change it). If your network does not have a DHCP/BOOTP server, the
IOLAN will temporarily assign an IP address in the range of
169.254.0.1-169.254.255.255
(this IP address is only assigned for the duration of the DeviceManager/IOLAN connection).
4. Click the Assign IP button.
5. Double-click the IOLAN in the IOLAN List. If this is the first time you are accessing the
IOLAN, type in the factory default Admin password,
superuser, and click OK. The
DeviceManager will display a window indicating that it is trying to authenticate and connect you
on the IOLAN.
6. If the authentication and connection are successful, the Server Info window is displayed. You are
now ready to configure the IOLAN. If authentication was unsuccessful, try to connect to the
IOLAN again; you probably mistyped the password for the Admin user.
For more information about managing the IOLAN, see Configuration Files .