


Basic Installation (Wired & Wireless)
AXIS 5900 User’s Manual 19
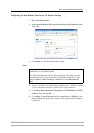
connected it to the network. In the absence of a DHCP server, your Axis
Network Print Server will automatically be assigned an IP address
through integrated Auto-IP. The Auto-IP address structure is:
169.254.xxx.xxx.
The Auto-IP function will only work when DHCP is enabled in your Axis
print server. This function is enabled automatically upon installation of a
brand new print server.
The easiest way to make sure DHCP and Auto-IP are enabled is to reset
your print server (Factory Default). See “The Test Button” on page 134 for
instruction on how to do this.
If you perform a Factory Default on the Axis Network Print Server and
you do not have a DHCP server on your network, Auto-IP will
automatically set the IP address of the print server.
Setting the IP
Address using
ARP/Ping in
Windows 95, 98, NT,
Me, 2000, XP, 2003
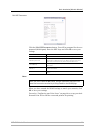
Start out with making sure that the IP address is available for use. The IP
address 192.168.3.191 is used here as an example:
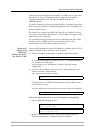
• Ping the IP address by opening a Command Prompt and writing:
If the host returns Reply from 192.168.3.191 ... or a similar message,
the IP address is already taken.
You can obtain a new and unused IP address from your system
administrator.
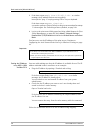
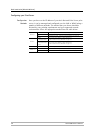
• Check that the IP address you want to use is not already taken and
stored in the host’s cache memory.
Open a Command Prompt and write:
If the host lists the IP Address followed by the Physical Address, then
the IP address is in use.
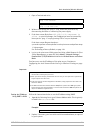
You can remove the entry from the cache memory with the command:
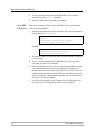
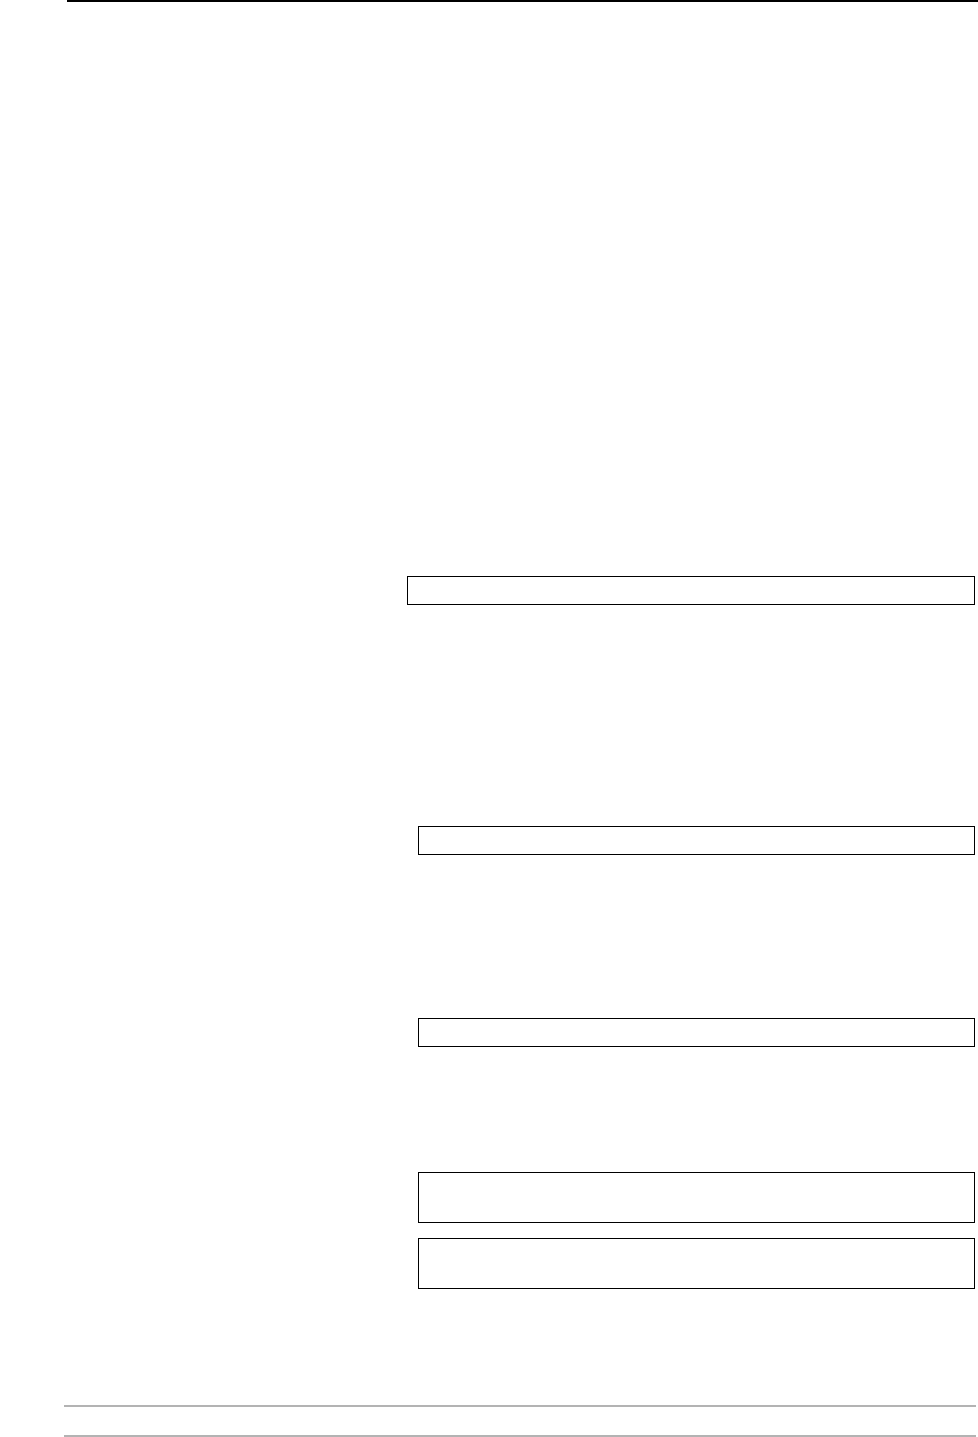
Follow the instructions below to set the IP address using arp/ping.
1. Open a Command Prompt and write:
2. Without interrupting the “ping -t” loop, restart the print server by
disconnecting and then re-connecting the Power Adapter.
ping 192.168.3.191
arp -a
arp -d 192.168.3.191
arp -s <IP address> <Ethernet address>
ping -t<IP address>
arp -s 192.168.3.191 00-40-8c-10-00-86
ping -t 192.168.3.191