40
Registering a Remote Party in the Phone Book
Chapter 2
Registration and Setup
2
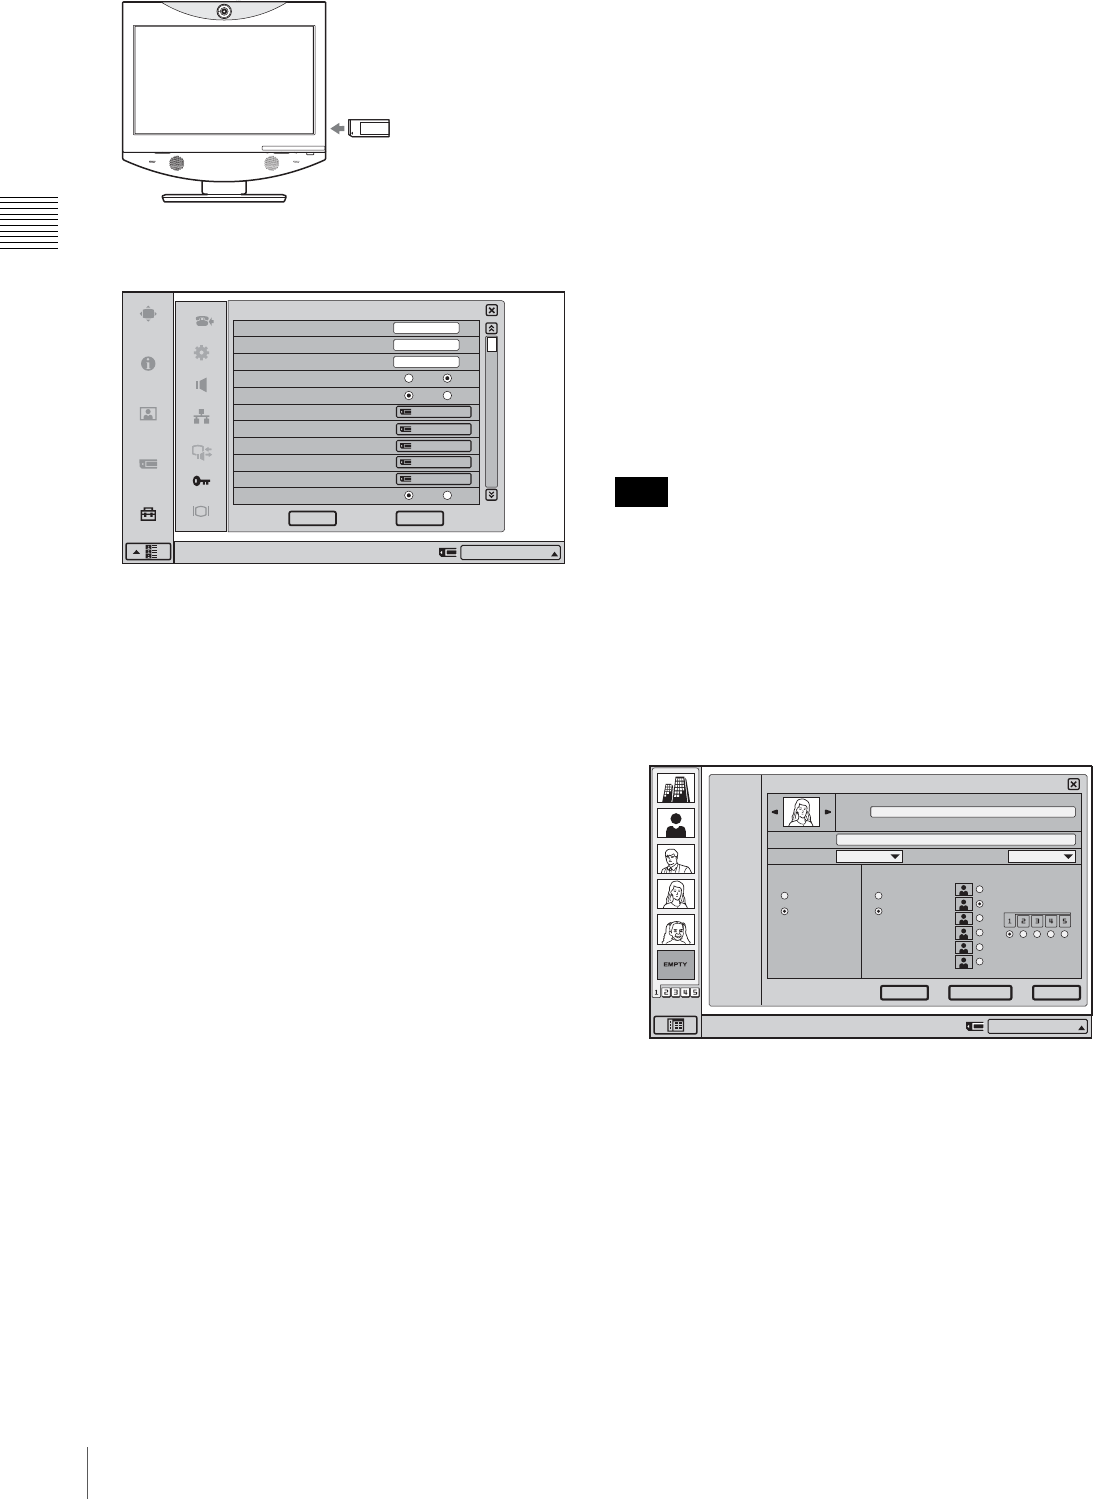
Open Page 1 of the Administrator Setup menu.
For details on how to open the menu, see “Opening the
Setup Menu” on page 24.
3
Select “Create Private Phone Book”.
The message “Create a Private Phone Book?” appears.
4
Click “OK”.
An empty Private Phone Book is created in the
“Memory Stick”.
5
Register a new remote party.
The procedure is the same as that for registering in the
Phone Book. Proceed with steps 2 to 7 in “Registering
a New Remote Party” on page 38.
The procedures for how to change the contents of the
Private Phone Book, how to delete the registered remote
party, or how to copy the setting of the Private Phone Book
are the same as those for the Phone Book. Open the Private
Phone Book menu and proceed with the steps described on
page 39.
To copy all the contents of the Phone Book
to the Private Phone Book
Insert the “Memory Stick” in which you want to store the
Private Phone Book into the Memory Stick slot on the
system, then select “Copy to Private Phone Book” from
Page 1 of the Administrator Setup menu. All the data
registered in the Phone Book are copied to the inserted
“Memory Stick”.
To delete the Private Phone Book from the
“Memory Stick”
Insert the “Memory Stick” from which you want to delete
the registered Private Phone Book into the Memory Stick
slot on the system, then select “Delete Private Phone
Book” from Page 1 of the Administrator Setup menu. All
the data are deleted from the inserted “Memory Stick”.
To dial a specified entry of the Private
Phone Book automatically
If you set “Auto Dialing” in the Administrator Setup menu
to “On”, you can automatically dial one of the entries in the
Private Phone Book simply by inserting the “Memory
Stick” on which the Private Phone Book is stored.
Only one entry can be set for auto dial. The most recent
address for which “Auto Dialing” was set to “On” will be
used.
1
Open the Private Phone Book.
2
Move the mouse cursor to the remote party that you
want to dial automatically, and click the “Edit”.
The List Edit menu appears.
3
Set “Auto Dial” to “On” by clicking on the setting.
4
Click “Save”.
The setting is saved and “AUTO” appears on the
Private Phone Book menu list.
To exit from the Private Phone Book menu
Remove the “Memory Stick” in which the Private Phone
Book is registered from the Communication Terminal. The
screen returns to the Phone Book menu.
Save
Load
Create
Delete
Copy
On Off
On Off
Administrator Password
Phone Book Modification Password
Remote Access Passward
Web Access
On Off
Web Monitor
Save Phone Book
Load Phone Book
Create Private Phone Book
Delete Private Phone Book
Copy to Private Phone Book
Auto Dialing
Administrator Setup
Right-click the mouse to display a help message.
CancelOK
IP:012.345.678.912
1/11
Note
Right-click the mouse to display a help message.
1/3
IP 1024
Off
On
Off
On
Duplicate Save
Cancel
List Edit
Phone Book
Line I/F
LAN Bandwidth
Auto Dial One Touch Dial
Index
ALL
A
-
I
J
-
S
T
-
Z
0
-
9
New
IP:012.345.678.912


