


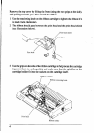
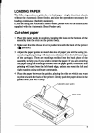

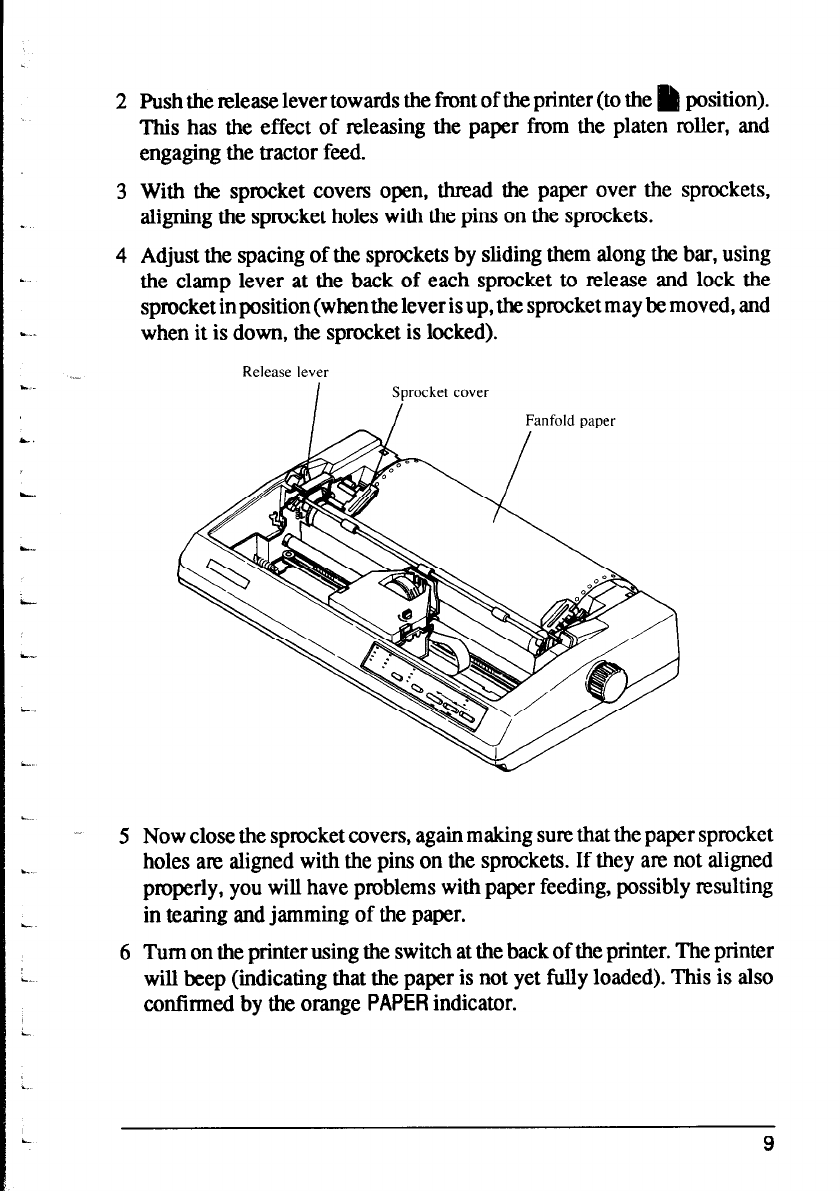
2 Push the release lever towards the front of the printer (to the h position).
This has the effect of releasing the paper from the platen roller, and
engaging the tractor feed.
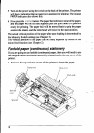
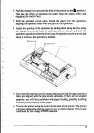
3 With the sprocket covers open, thread the paper over the sprockets,
aligning the sprocket holes with the pins on the sprockets.
4 Adjust the spacing of the sprockets by sliding them along the bar, using
the clamp lever at the back of each sprocket to release and lock the
sprocket in position (when the lever is up, the sprocket may be moved, and
when it is down, the sprocket is locked).
5 Now close the sprocket covers, again making sure that the paper sprocket
holes are aligned with the pins on the sprockets. If they are not aligned
properly, you will have problems with paper feeding, possibly resulting
in tearing and jamming of the paper.
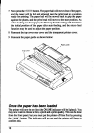
6 Turn on the printer using the switch at the back of the printer. The printer
will beep (indicating that the paper is not yet fully loaded). This is also
confinned by the orange PAPER indicator.
9