


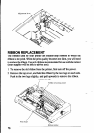
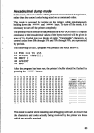

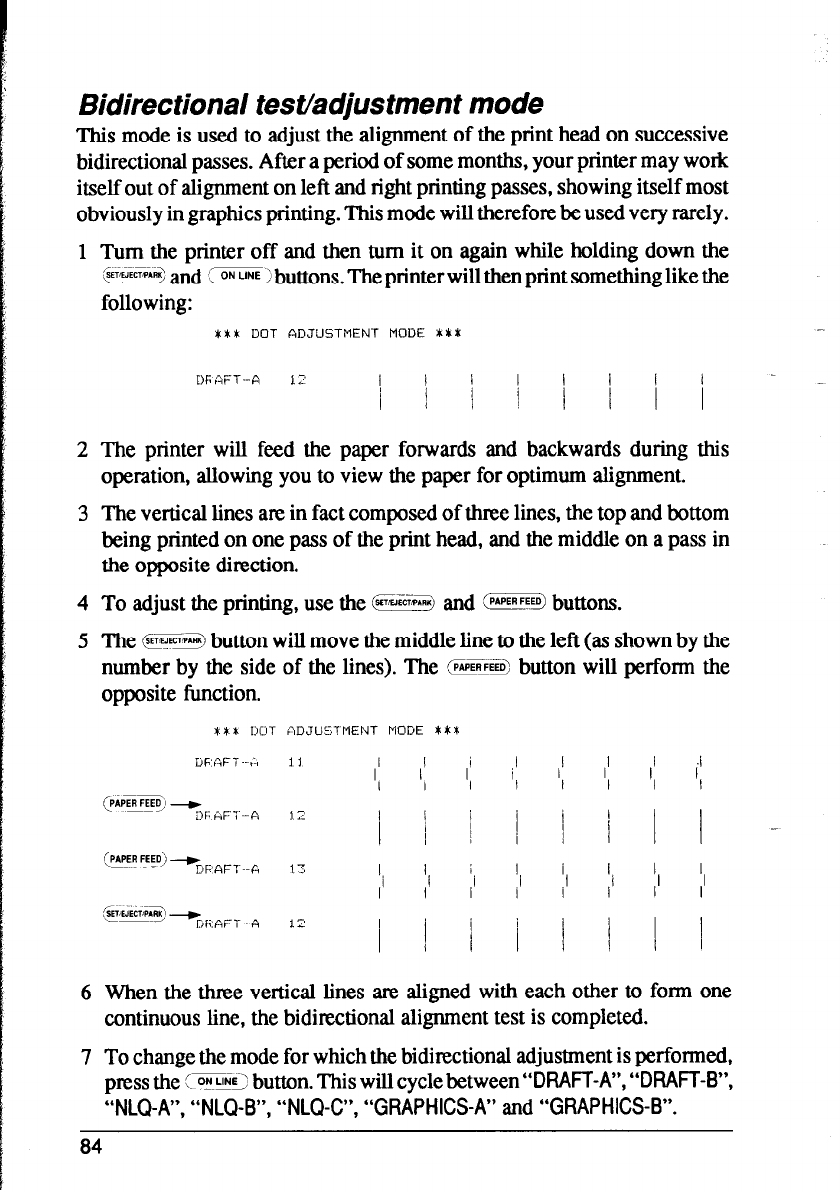
Bidirectional test/adjustment mode
This mode is used to adjust the alignment of the print head on successive
bidirectional passes. After a period of some months, your printer may work
itself out of alignment on left and right printing passes, showing itself most
obviously in graphics printing. This mode will therefore be used very rarely.
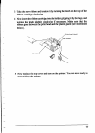
1 Turn the printer off and then turn it on again while holding down the
@%E% and ‘S%!S buttons. The printer will then print something like the
following:
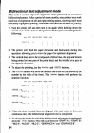
XXL DOT ADJUSTMENT MODE XL*
-
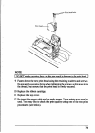
2 The printer will feed the paper forwards and backwards during this
operation, allowing you to view the paper for optimum alignment.
3 The vertical lines are in fact composed of three lines, the top and bottom
being printed on one pass of the print head, and the middle on a pass in
the opposite direction.
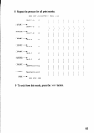
4 To adjust the printing, use the B and :PIPER buttons.
5 The GE++ button will move the middle line to the left (as shown by the
number by the side of the lines). The
~5~~9 button will perform the
opposite function.
6 When the three vertical lines are aligned with each other to form one
continuous line, the bidirectional alignment test is completed.
7 To change the mode for which the bidirectional adjustment is performed,
press the SEE!9 button. This will cycle between “DRAFT-A”, “DRAFT-B”,
“NLQ-A”, “NLQ-B”, “NLQ-C”, “GRAPHICS-A” and “GRAPHICS-B”.
84