


2 INSTALLING CLIENT SOFTWARE
118 Installing Client Software for Macintosh
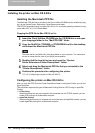
Installing the printer on Mac OS X 10.2.4 to Mac OS X 10.4.x
Install and configure the printer by the following steps:
P.118 “Installing the Macintosh PPD file”
P.121 “Configuring the printer on Mac OS X 10.2.4 to 10.3.x”
P.128 “Configuring the printer on Mac OS X 10.4.x”
P.135 “Configuring the installable options”
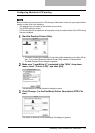
Installing the Macintosh PPD file
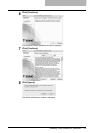
This equipment supports printing from Mac OS X 10.2.4 to Mac OS X 10.4.x.
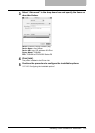
Installing the PPD file to Mac OS X
The timing that the Authenticate dialog box to enter your name and password appears differs
depending on the version of your OS.
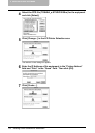
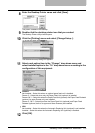
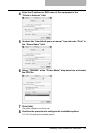
1
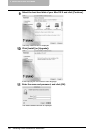
Insert the Client Utilities CD-ROM into the CD-ROM drive and open
your language folder in the “MacPPD:OSX” folder.
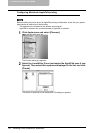
2
Copy the GZ file (TOSHIBA_e-STUDIO205Srs.dmg.gz) to the desk-
top.
3
Double-click the GZ file on the desktop.
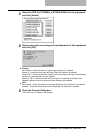
Mac OS X 10.2.4 to 10.3.x: The installer window appears. Go to step 5.
Mac OS X 10.4.x: A GZIP file (TOSHIBA_e-STUDIO205Srs.dmg) is created
on the desktop. Go to step 4.
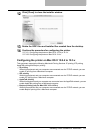
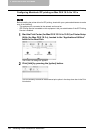
4
Double-click the GZIP file (TOSHIBA_e-STUDIO205Srs.dmg). (Mac
OS X 10.4.x only)
The installer window appears.
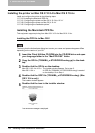
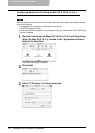
5
Double-click the icon in the installer window.
The welcome message is displayed.