


Printing from Macintosh 211
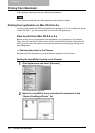
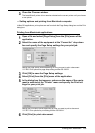
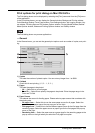
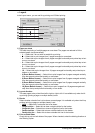
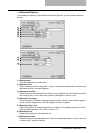
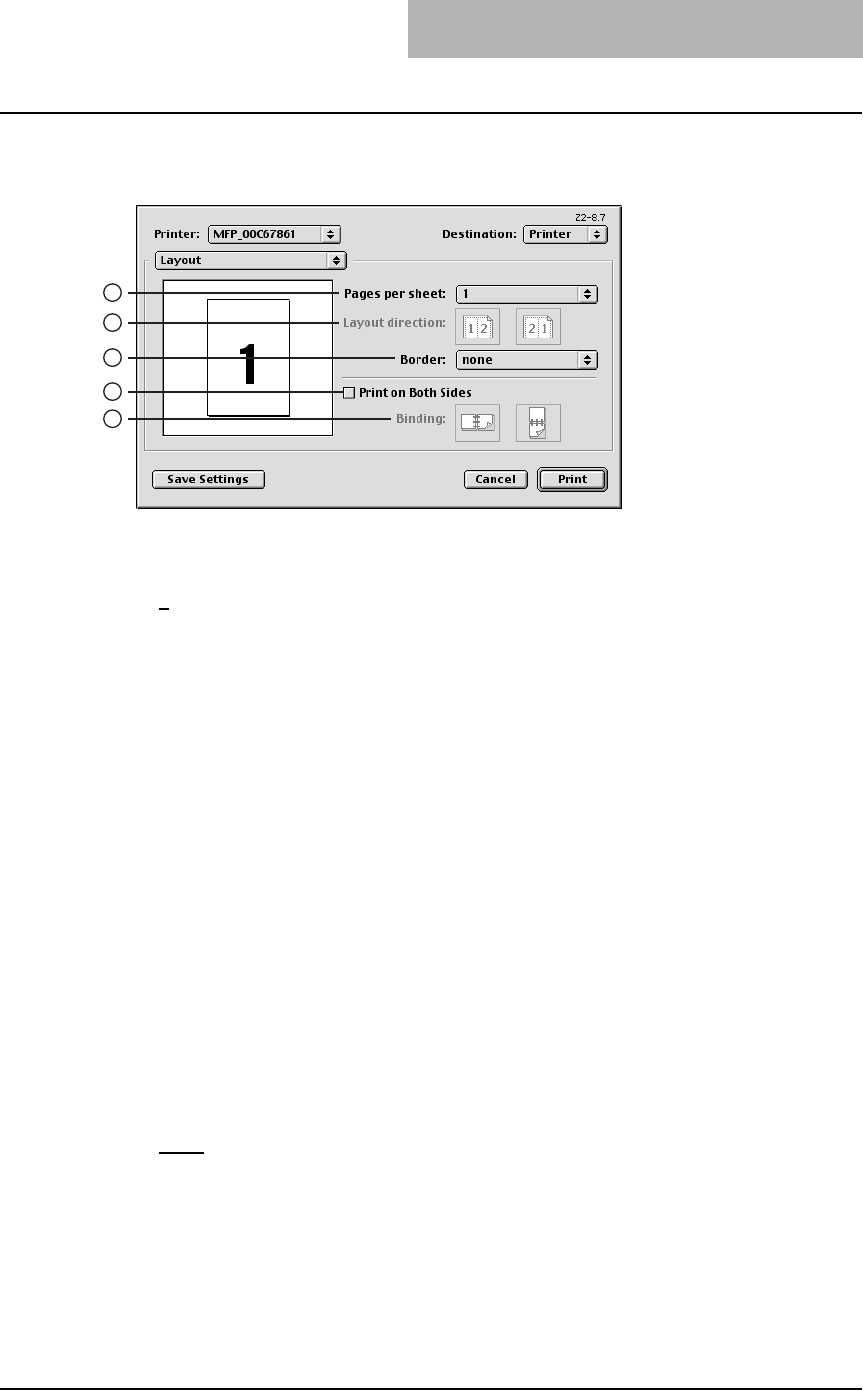
— Layout
In the Layout menu, you can set N-up printing and 2-Sided printing.
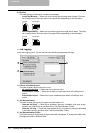
1) Pages per sheet
This sets the printing of multiple pages on one sheet. The pages are reduced to fit the
selected paper size automatically.
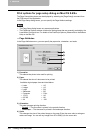
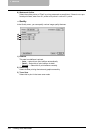
- 1 — Select this if do not wish to enable N-up printing.
- 2 — Select this to print images from 2 pages arranged on one sheet.
- 4 — Select this to print images from 4 pages arranged horizontally and printed top to bot-
tom on one sheet.
- 6 — Select this to print images from 6 pages arranged horizontally and printed top to bot-
tom on one sheet.
- 9 — Select this to print images from 9 pages arranged horizontally and printed top to bot-
tom on one sheet.
- 16 — Select this to print images from 16 pages arranged horizontally and printed top to
bottom on one sheet.
- 4 (Down Before Across) — Select this to print images from 4 pages arranged vertically
from the top and printed horizontally on one sheet.
- 6 (Down Before Across) — Select this to print images from 6 pages arranged vertically
from the top and printed horizontally on one sheet.
- 9 (Down Before Across) — Select this to print images from 9 pages arranged vertically
from the top and printed horizontally on one sheet.
- 16 (Down Before Across) — Select this to print images from 16 pages arranged verti-
cally from the top and printed horizontally on one sheet.
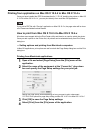
2) Layout direction
This sets pages to be printed from left to right or right to left. It is available only when the N-
up printing (printing a page on multiple sheets) is set.
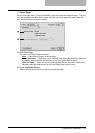
3) Border
Select whether a border line is to be drawn on each page. It is available only when the N-up
printing (printing a page on multiple sheets) is set.
- None
— Select this if no border line to be drawn.
- Single hairline — Select this to draw a single hairline for the border.
- Single thin line — Select this to draw a single thin line for the border.
- Double hairline — Select this to draw a double hairline for the border.
- Double thin line — Select this to draw a double thin line for the border.
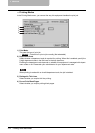
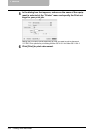
4) Print on Both Sides
Check this to print on both sides of the paper. When checked, select the binding direction at
the “Binding” option.
1
2
4
5
3