MJ-1103/1104 © 2008, 2009 TOSHIBA TEC CORPORATION All rights reserved
DISASSEMBLY AND INSTALLATION
4 - 30
[D] Side alignment unit
[E] Saddle stapler unit
(1) Take off the switchback unit.
P.4-28 "[B] Switchback unit"
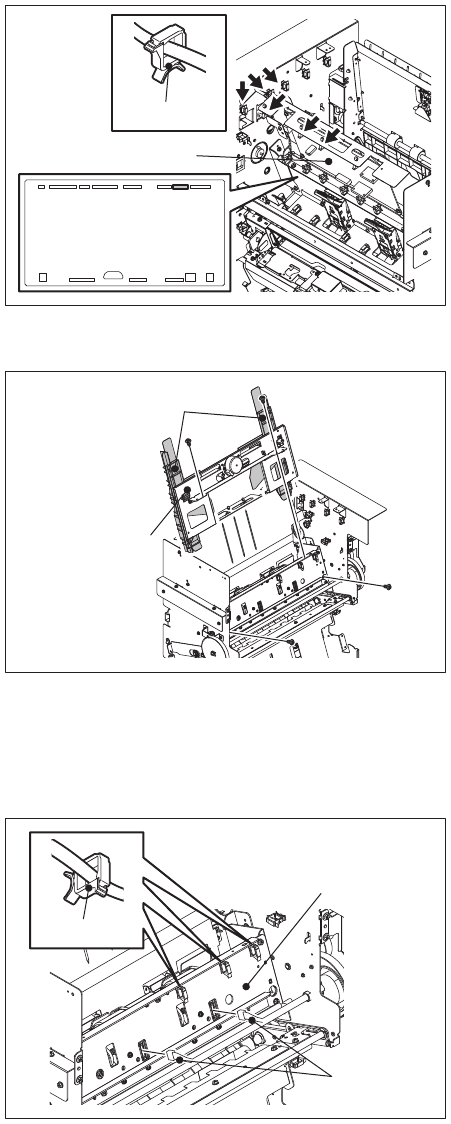
(2) Release the harness out of 6 clamps, and
then disconnect the connector of CN5 on the
SDL board.
Fig. 4-82
(3) Move each alignment plate to both edges
correspondingly.
(4) Remove 4 screws and take off the side align-
ment unit by lifting it upward.
Fig. 4-83
(1) Take off the switchback unit.
P.4-28 "[B] Switchback unit"
(2) Take off the side alignment unit.
P.4-30 "[D] Side alignment unit"
(3) Disconnect the connector from the saddle
stapler clinch units located at the front and
rear sides of the upper stapler frame assem-
bly. Then release the harness from 3 clamps.
Fig. 4-84
SDL board
Clamp
Side alignment
unit
Alignment plate
Saddle stapler
clinch unit
Connector
Clamp


