3 TCP/IP Environment
36 Xerox WorkCentre 7232/7242 System Administration Guide
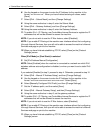
5. Record the IP address allocated.
6. From a workstation, open a web browser (such as Internet Explorer), and then
enter the machine’s IP address. If connected properly, you should see a
CentreWare Internet Services web page for your machine.
NOTE: CentreWare Internet Services is a powerful tool for configuring the machine
remotely. The default user name is "11111" and the passcode is "x-admin". The user
name and passcode are case sensitive and should be changed after install.
7. Load the print drivers on the workstations that will be accessing the machine.
Quick Network Setup (Static IP)
Prerequisites for Manual Setup of Network Using Static IP Address
NOTE: On startup, the WorkCentre multifunction machine defaults to DHCP to obtain
its network configurations, so DHCP must be turned off by manually entering a static
IP address.
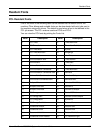
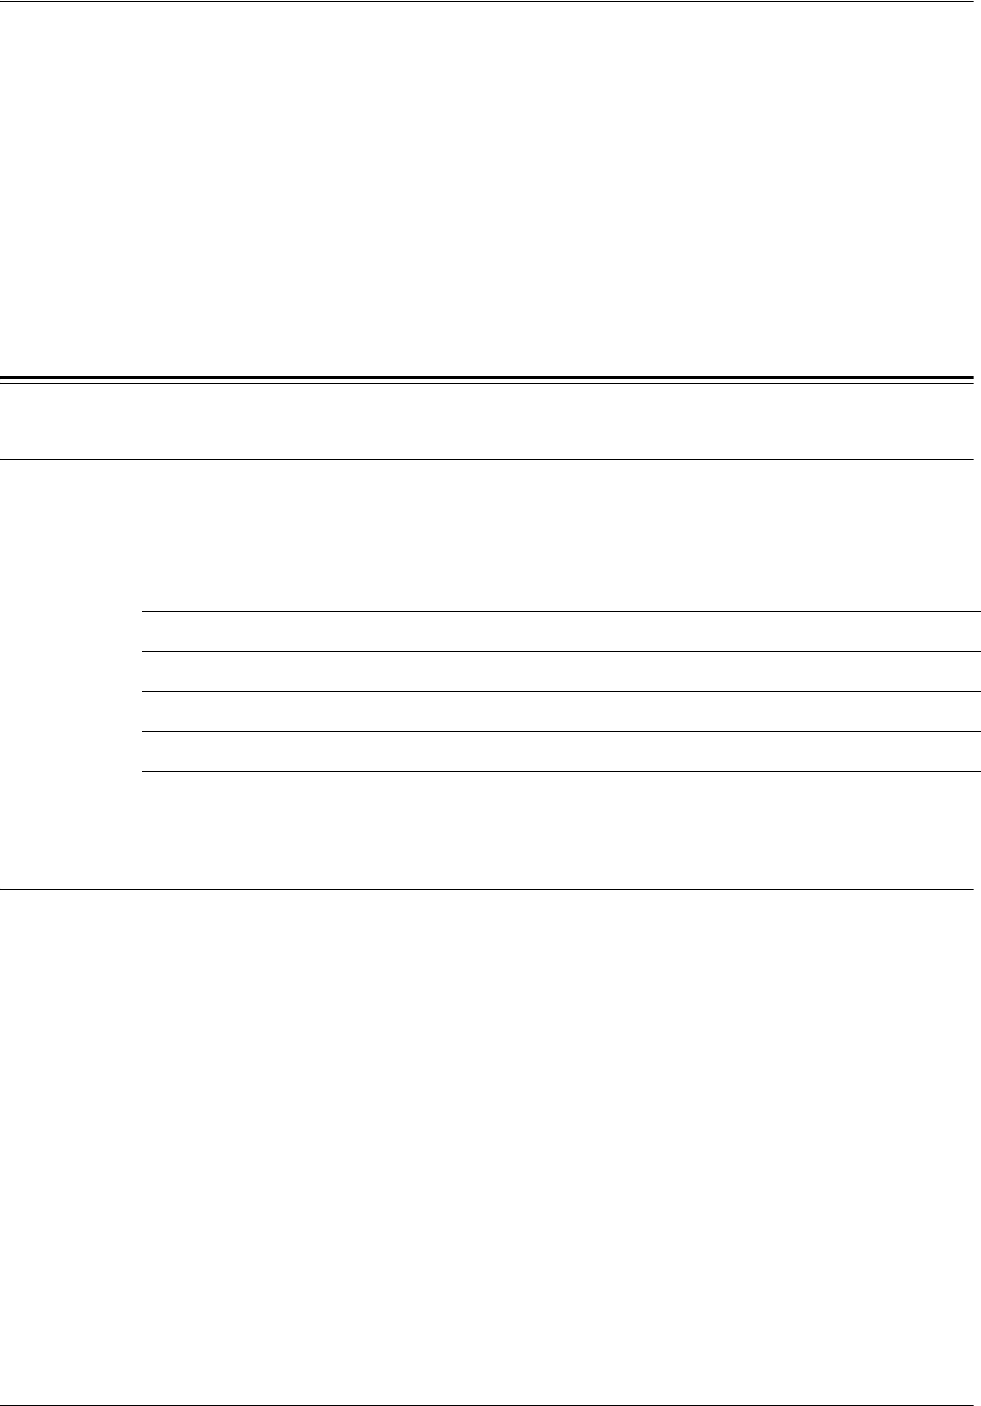
Before installing, record the following information for use during setup:
NOTE: To obtain this information, contact your System Administrator.
Procedure for Manual Setup of Network Using Static IP Address
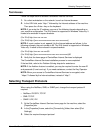
1. Power on the machine.
2. Press the <Log In/Out> button on the control panel, and then type the Key
Operator login ID to enter the Key Operator mode.
NOTE: The passcode may also be required depending on the machine configuration.
3. Press the <Machine Status> button on the control panel, and then select the
[Tools] tab on the screen.
4. Select [System Settings].
5. Select [Connectivity & Network Setup].
6. Select [Protocol Settings].
7. Under [TCP/IP - IP Mode], select [IPv4 Mode], [IPv6 Mode], or [Dual Stack].
TCP/IP Address:
Gateway Address:
Subnet Mask (for IPv4) / Prefix (for IPv6):
DNS Server Address:


