6 UNIX TCP/IP
78 Xerox WorkCentre 7232/7242 System Administration Guide
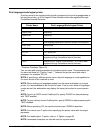
NOTE: If you do not wish to use the IP filter feature, select [Disabled].
NOTE: If you enable IP Filtering at the machine user interface without first configuring
it through Internet Services, then you will not be able to access the machine’s Internet
Services web page or print to the machine.
17. When you have finished establishing TCP/IP, select [Close] on the [Protocol
Settings] screen.
When [IPv6 Mode] or [Dual Stack] is selected
8. Set [IPv6 Address Manual Configuration].
NOTE: Select [Enabled] when the machine is connected to a network on which IPv6
stateless address autoconfiguration is disabled, or when you want to set a static IPv6
address.
If you selected [Enabled] in step 8, proceed to step 9. Otherwise, proceed to step 15.
9. Select [IPv6 – Manual IP Address Setup], and then [Change Settings].
10. Use the keypad on the screen to enter the IP Address for the machine in the
format “xxxx:xxxx:xxxx:xxxx:xxxx:xxxx:xxxx:xxxx”. Select [Save].
11. Select [Manually Configured IPv6 Prefix], and then [Change Settings].
12. Set the IP address prefix, and then select [Save].
13. Select [IPv6 – Manual Gateway Setup], and then [Change Settings].
14. Using the same method as in step 10, set the gateway address.
15. To enable IPv6 – IP Filtering, use CentreWare Internet Services to register the IP
addresses that will not be allowed to access the machine.
NOTE: If you do not wish to use the IP filter feature, select [Disabled].
NOTE: If you enable IP Filtering at the machine user interface without first configuring
it through Internet Services, then you will not be able to access the machine’s Internet
Services web page or print to the machine.
16. When you have finished establishing TCP/IP, select [Close] on the [Protocol
Settings] screen.
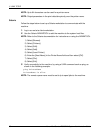
Workstation Setup
This section explains how to set up Solaris, SunOS, and HP-UX workstations. Refer to
the relevant instructions below.
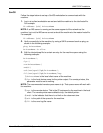
Solaris – page 80
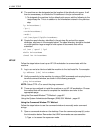
SunOS – page 81
HP-UX – page 82


