Using CWIS to Configure Settings on the Machine
Xerox WorkCentre 7232/7242 System Administration Guide 57
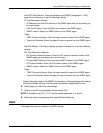
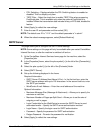
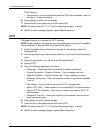
• PDL Switching – Displays whether the PDL Switching feature is enabled or
disabled. This is a display-only item.
• TBCP Filter – Select the check box to enable TBCP Filter when processing
PostScript data. This is available only when the optional PostScript kit is
installed. When the transmission data includes binary or EPS data, disable this
feature.
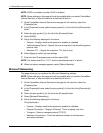
6. Select [Apply] to reflect the new settings.
7. Enter the user ID and passcode and then select [OK].
NOTE: The default user ID is "11111" and the default passcode is "x-admin".
8. When the reboot message appears, select [Reboot Machine].
SMTP Server
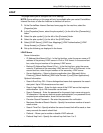
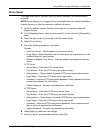
This page allows you to configure the SMTP server settings.
NOTE: Some settings on this page will only be available after you restart CentreWare
Internet Services, or after the machine is switched off and on.
1. At the CentreWare Internet Services home page for the machine, select the
[Properties] tab.
2. In the [Properties] frame, select the plus symbol [+] to the left of the [Connectivity]
folder.
3. Select the plus symbol [+] to the left of the [Protocols] folder.
4. Select [SMTP Server].
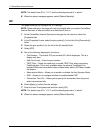
5. Set up the following displayed in the frame.
Required Information:
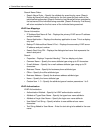
• SMTP Server IP Address/Host Name & Port – In the first text box, enter the
SMTP server address with up to 128 characters. In the second text box, enter
the SMTP port number.
• WorkCentre E-mail Address – Enter the e-mail address of the machine.
Optional Information:
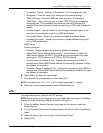
• Maximum Message Size (Message & Attachment) – Allows you to specify the
maximum e-mail size.
• Maximum Number of Pages per Split Send – Allows you to set the size of
outgoing e-mail in pages.
• Login Credentials for the WorkCentre to access the SMTP Server to send
automated emails – Specify the SMTP server authentication method.
• Login Name – Specify the login name for SMTP authentication.
• Password – Specify the password for SMTP authentication.
• Retype Password – Re-enter the password for verification.
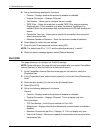
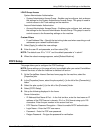
6. Select [Apply] to reflect the new settings.


