6. Getting started
The shift menu will be displayed.
Image 6-9
3. Push the cursor key ▲ or ▼ to shift the image up or down and ◄ or ► to shift the image left or right.
4. When finished, press EXIT key to return or ENTER to continue to zoom/focus.
Press the LENS key to switch to another pattern. Different patterns are available.
6.5.2.2 Direct Lens Adjustment (RCU)
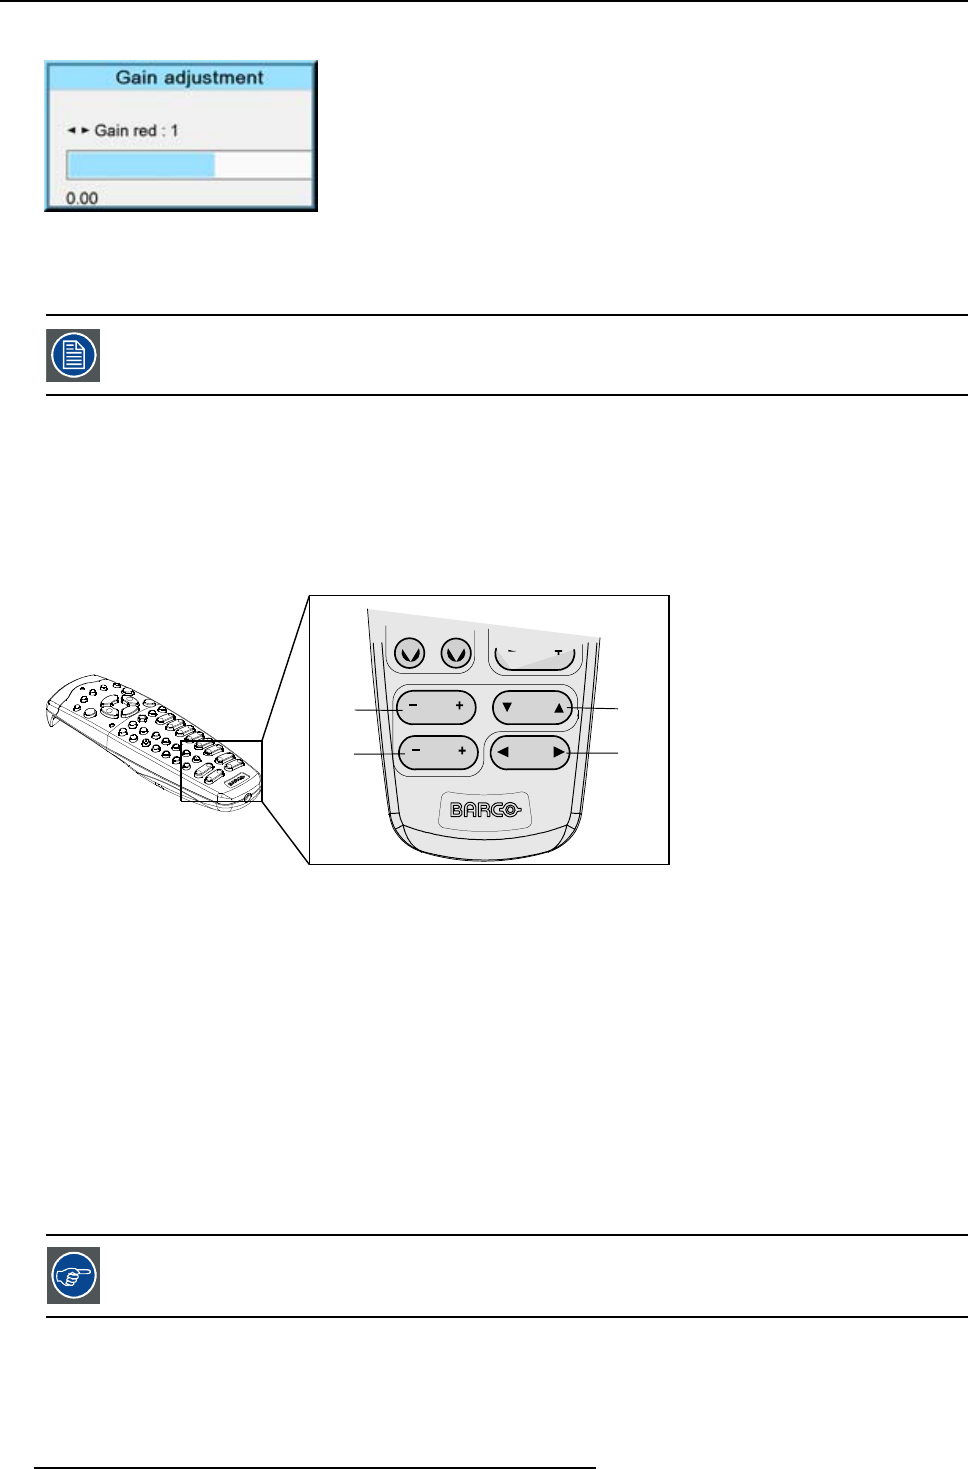
Lens adjustment buttons on the Remote Control
On the Remote Control four buttons with double action are provided, allowing direct alignment for lens ZOOM, FOCUS, HORIZON-
TALSHIFTandVERTICALSHIFT.
1. Press LENS ZOOM button [-] or [+] (A) for correct image size on the screen.
CONTR
1
2
LENS
ZOOM
LENS
SHIFT
LENS
FOCUS
LENS
SHIFT
A
C
B
D
Image 6-10
Direct lens adjustment keys
AZoom
B Vertical shift
CFocus
D Horizontal shift
2. Press LENS FOCUS button [-] or [+] (C) for an overall focus of the image.
3. Press ▲ LENS SHIFT ▼ button for correct vertical position of the image on the screen.
4. Press ◄ LENS SHIFT ► button for correct horizontal position of the image on the screen.
6.5.3 Quick picture in picture
Quick On - Off
Press on the PIP key on the remote control or the local keypad to activate the Load layout window.
Use the ▲▼key to scroll to the desired layout and press ENTER to activate.
Select Main full screen to switch off PIP.
50 R5976921 FLM R20+ PERFORMER 15/03/2010


