


Using your machine with a Macintosh
®
7 - 29
7
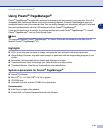
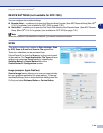
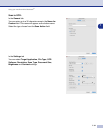
File
Scan to File
button allows you to scan an image and save it
in a specific file type to any directory on your hard disk. This
allows you to easily archive your paper documents. To
configure the file type and save to directory, click on the
button while holding down the Ctrl key and select
Software
Button
or
Device Button
.
Select the file type for the saved image by selecting from the
File Type
pull down list. You can save the file to the default
Pictures folder, or you can select another folder/directory by
clicking the
Browse
button.
Note
For the supported file types, please refer to the File
attachments on page 7-28.
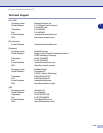
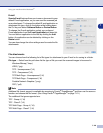
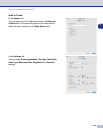
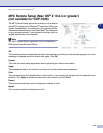
CUSTOM SCAN
There are four buttons from which you can set your own
preferences and configuration to fit your required usage for
scanning.
To configure a button, click on the button while holding down
the Ctrl key, and the configuration window will appear. You
have four function choices of scan action,
Scan to Image
,
Scan to OCR
,
Scan to E-mail
and
Scan to File
.
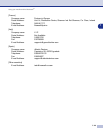
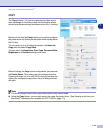
Scan to Image:
This setting allows you to scan a page
directly into any graphic viewer/editor software. You can select any kind of image editor application you have
installed on your computer as a destination application.
Scan to OCR:
Scanned documents will be converted to editable text files. If you have a third party OCR
software package installed on your computer, you can select it. You can also select the destination
application for the editable text.
Scan to E-mail:
Scanned images will be attached to an E-mail message. You can choose which E-mail
application to use if you have more than one installed on your system. You can also select the file type for
the attachment and create a quick send list of E-mail addresses chosen from your default E-mail address
book.
Scan to File:
This setting allows you to save a scanned image to any directory on a local or network hard
disk. You can also select the file type to be used.
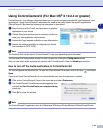
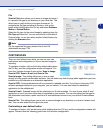
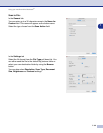
Customizing a user-defined button
To configure a button, click on the button while holding down the Ctrl key, and the configuration window will
appear. Please follow the following guide lines for the button configuration.