Getting started
2 - 3
2
General Setup
Setting the Mode Timer
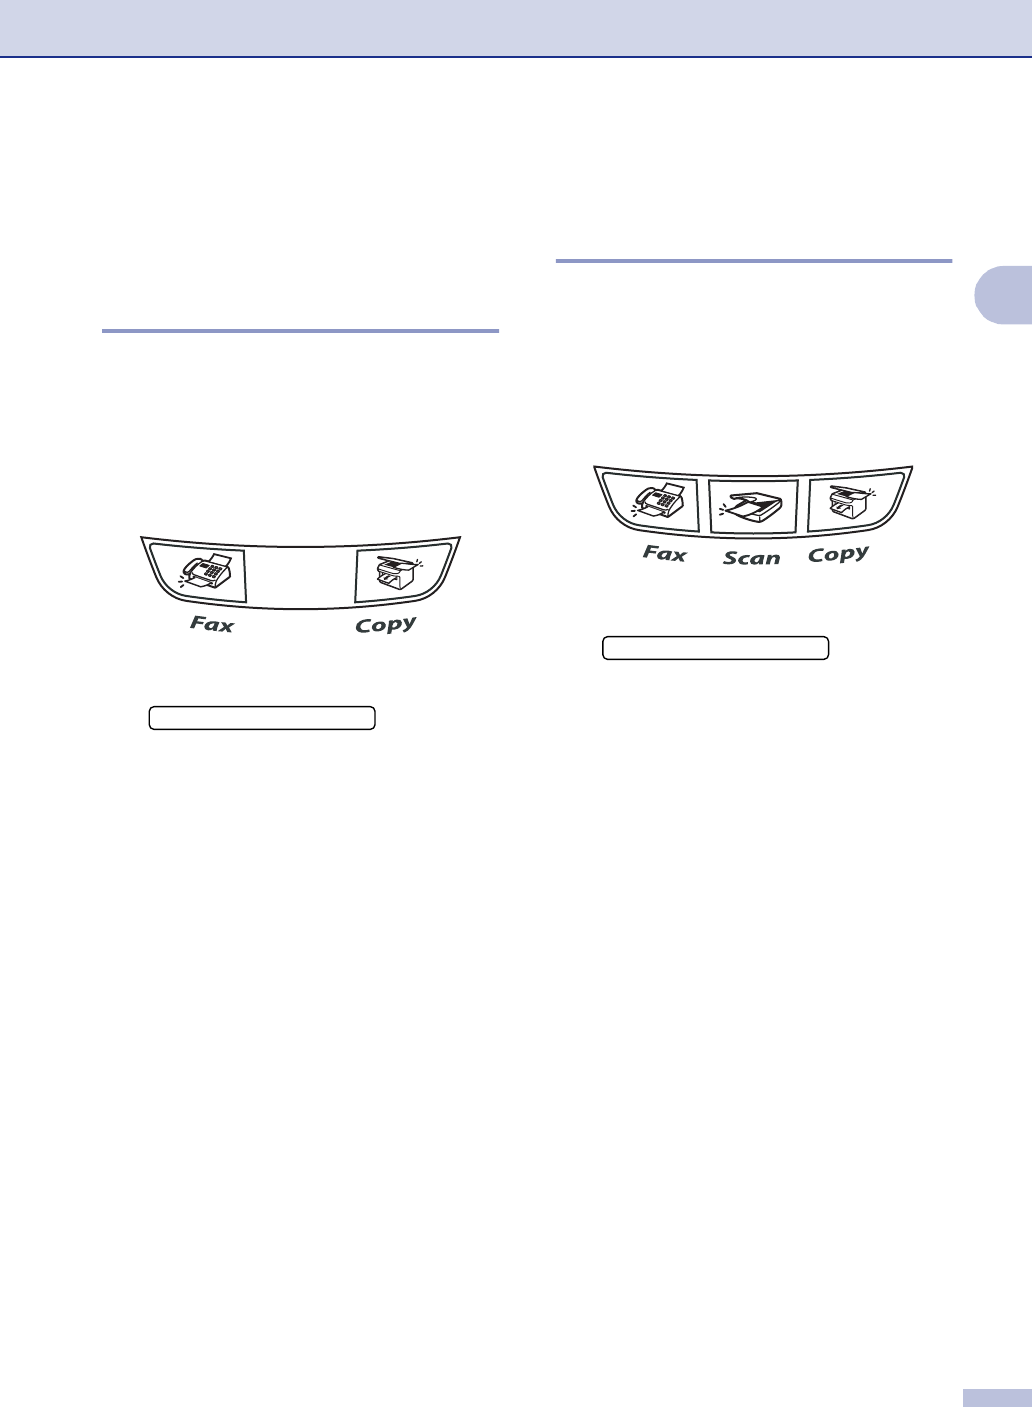
(FAX-2820 and FAX-2920
only)
The machine has two temporary mode keys
on the control panel: Fax and Copy. You can
change the number of seconds or minutes
the machine takes after the last Copy
operation before it returns to Fax mode. If you
select
Off, the machine stays in the mode
you used last.
1
Press Menu/Set, 1, 1.
2
Press ▲ or ▼ to select 0 Sec,
30 Secs, 1 Min, 2 Mins, 5 Mins or
Off.
Press Menu/Set.
3
Press Stop/Exit.
Setting the Mode Timer
(MFC-7220 and MFC-7225N
only)
The machine has three temporary mode keys
on the control panel: Fax, Scan and Copy.
You can change the number of seconds or
minutes the machine takes after the last Scan
or Copy operation before it returns to Fax
mode. If you select
Off, the machine stays in
the mode you used last.
1
Press Menu/Set, 1, 1.
2
Press ▲ or ▼ to select 0 Sec,
30 Secs, 1 Min, 2 Mins, 5 Mins or
Off.
Press Menu/Set.
3
Press Stop/Exit.
1.Mode Timer
1.Mode Timer


