


Network Scanning (For Windows
®
)
6 - 2
6
2
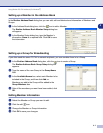
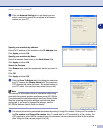
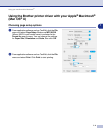
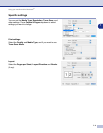
Click the
Network Setting
tab in the dialog box and
select a method to specify the machine as a Network
scanner for your PC.
Specify your machine by address
Enter the IP address of the machine in the
IP Address
field.
Click
Apply
and then
OK
.
Specify your machine by Name
Enter the machine Node name in the
Node Name
field.
Click
Apply
and then
OK
.
Search for Devices
Click
Browse
and select the appropriate device you want to
use.
Click
OK
.
Click
Apply
and then
OK
.
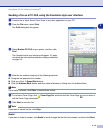
3
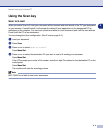
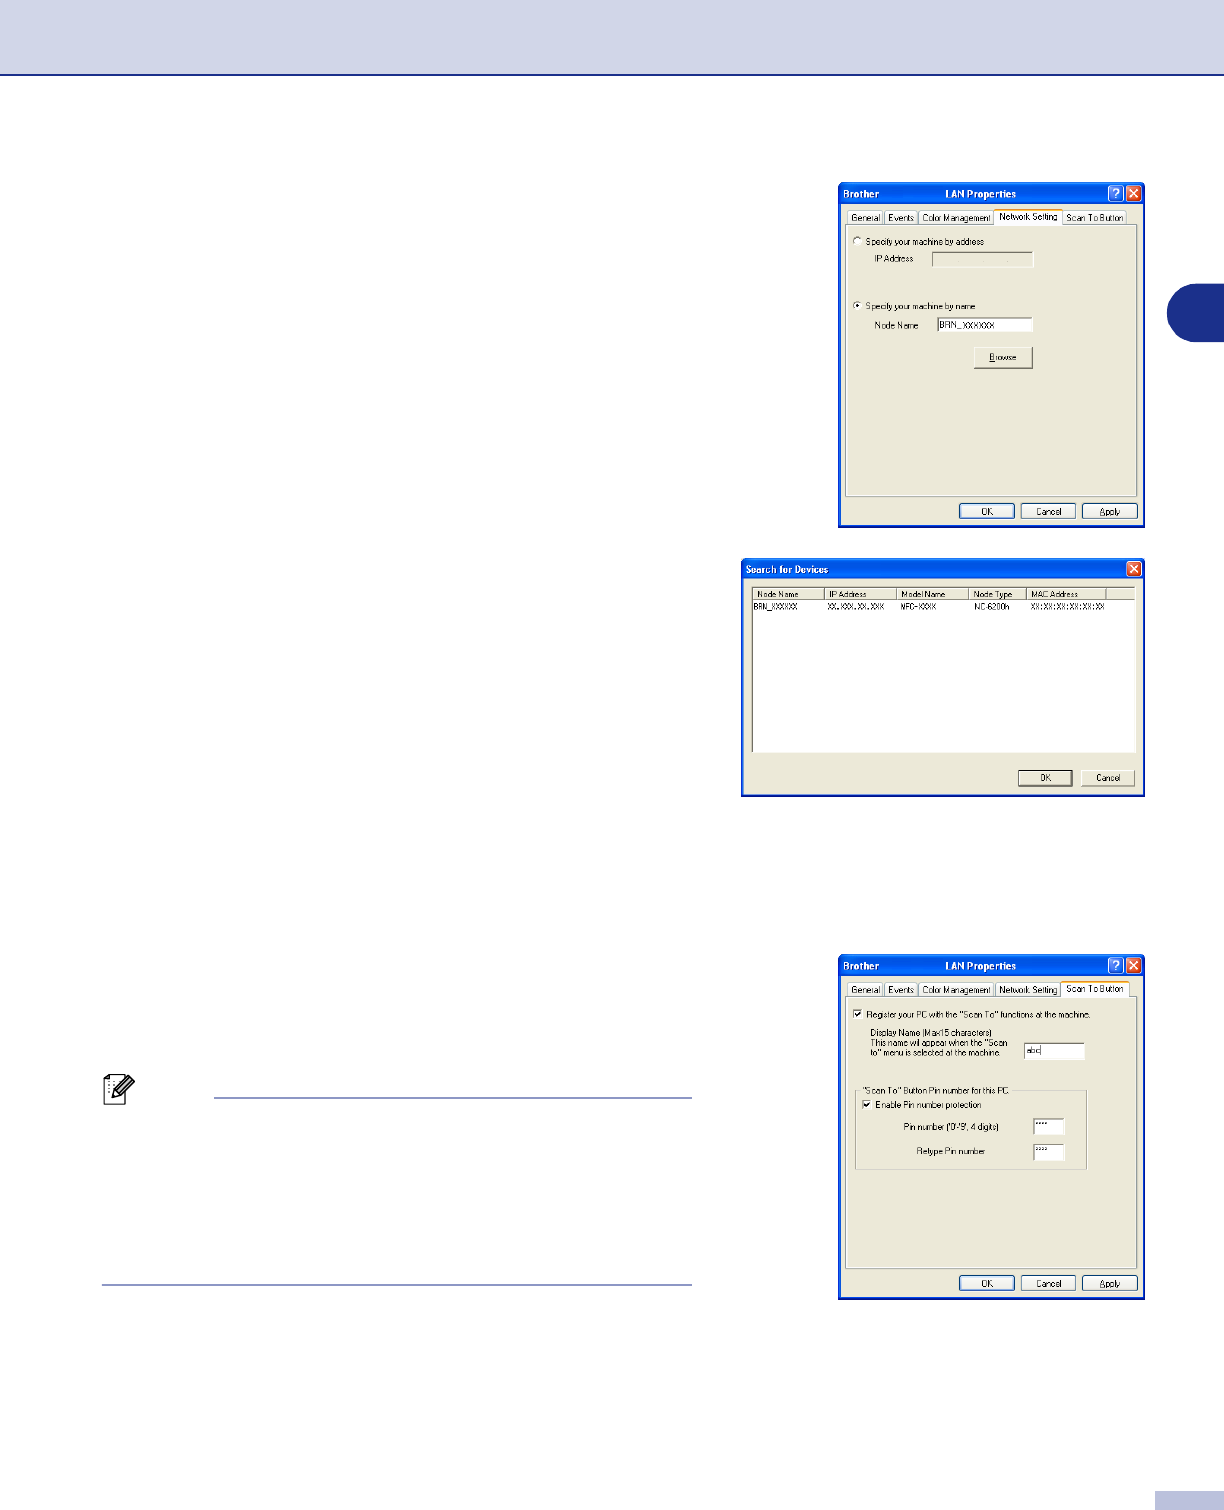
Click the
Scan To Button
tab in the dialog box and enter
your PC name in the
Display Name
field. The machine's
LCD displays the name you enter. The default setting is
your PC name. You can enter any name that you like.
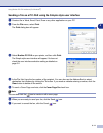
Note
The settings in this window have no relevance when being
used with the optional wireless print/scan server NC-2200w.
If you followed the installation steps in the Quick Setup Guide,
then the scanning destination settings have already been
configured. If you need to change the settings, see the
NC-2200w Network User’s Guide for details.
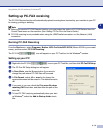
4
You can avoid receiving unwanted documents by setting a 4-digit Pin number. Enter your Pin number in
the
Pin number
and
Retype Pin number
field. To send data to a PC protected by a Pin number, the
LCD prompts to enter the Pin number before the document can be scanned and sent to the machine.
(See Using the Scan key on page 6-3 to 6-6.)