


VI - 23
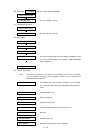
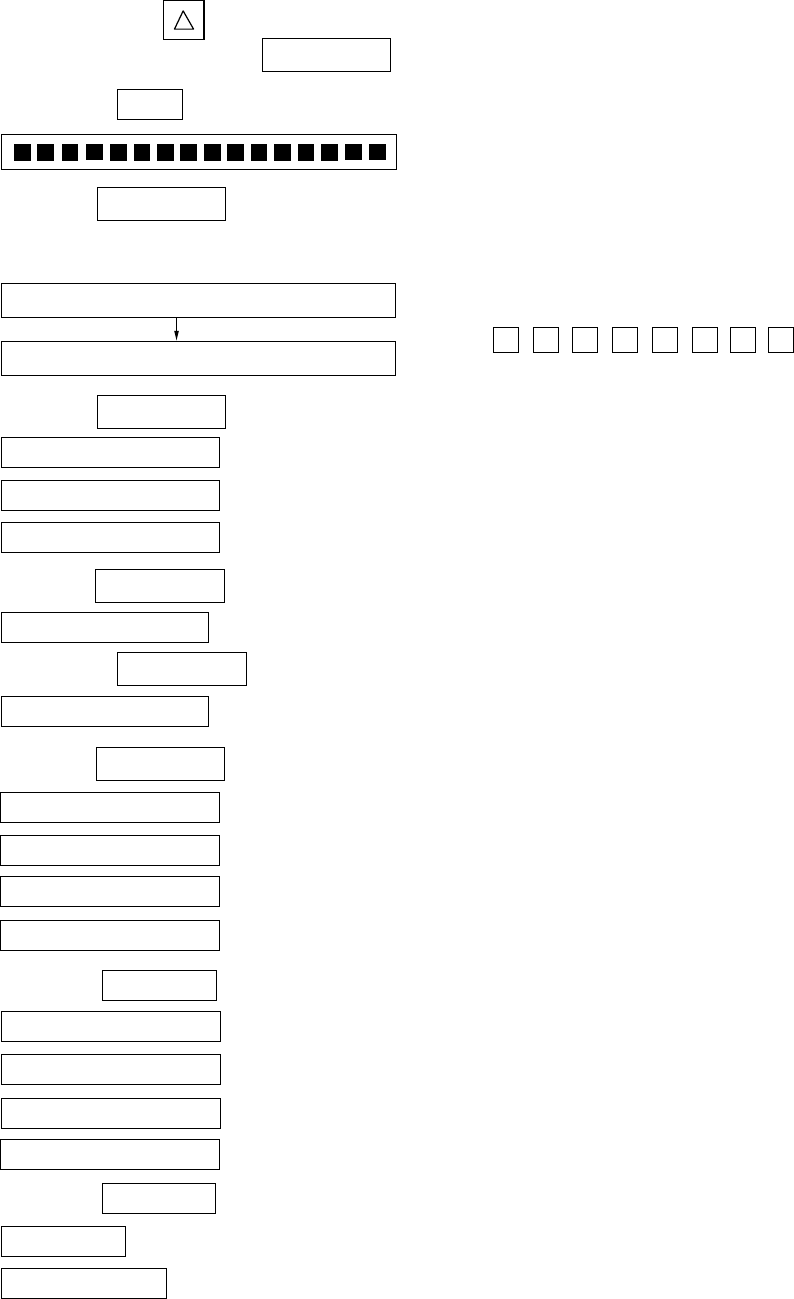
X X X X X X X X
1 2 3 4 5 6 7 8
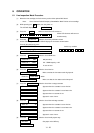
(2) While pressing the switch, turn the power on.
The LCD will display: LINE TEST
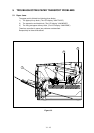
(1) Mount the font cartridge, the flush memory card and the optional MIO board.
Note: Use a Hewlett Packard Company C2053A#C01 Word Perfect as font cartridge.
6. OPERATION
6.1 Line Inspection Mode Procedure
34567812
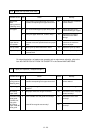
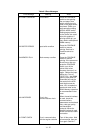
(7) Press the CONTINUE switch to check the 1st stage cassette.
TRAY 1 = A4 Appears when the cassette is set to A4 size.
TRAY 1 = LETTER Appears when the cassette is set to letter size.
TRAY 1 = NO Appears when no cassette is set.
CASSETTE ERROR!! Appears in case of error.
(8) Press the CONTINUE switch to check the 2nd stage cassette.
TRAY 2 = A4 Appears when the cassette is set to A4 size.
TRAY 2 = LETTER Appears when the cassette is set to letter size.
TRAY 2 = NO Appears when no cassette is set.
CASSETTE ERROR!! Appears in case of error.
(9) Press the CONTINUE switch to check multi purpose tray.
MP TRAY Set paper on the MP tray.
MP TRAY OK!!
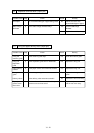
(3) Press the SET switch to check if the LCD comes on.
All the LCD elements will come on
simultaneously.
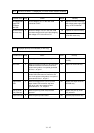
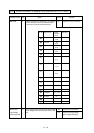
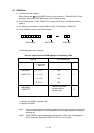
(4) Press the CONTINUE switch to check the pushbutton switch.
All the LEDs will go out and the LCD will display the characters shown below:
Press all the switches by turns.
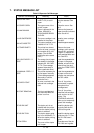
(6) Press the CONTINUE switch to check the fan.
FAN HIGH SPEED Make sure that the fan rotates at the high speed.
Press the CONTINUE switch.
FAN LOW SPEED Make sure that the fan rotates at the low speed.
(5) Press the CONTINUE switch to check RAM size.
RAM SIZE = 2MB 2M (standard)
RAM SIZE = XXMB XX : SIMM capacity + 2M
RAM SIZE ERROR In case of error
Switch key numbers