


IV - 6
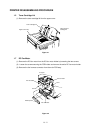
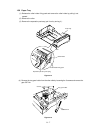
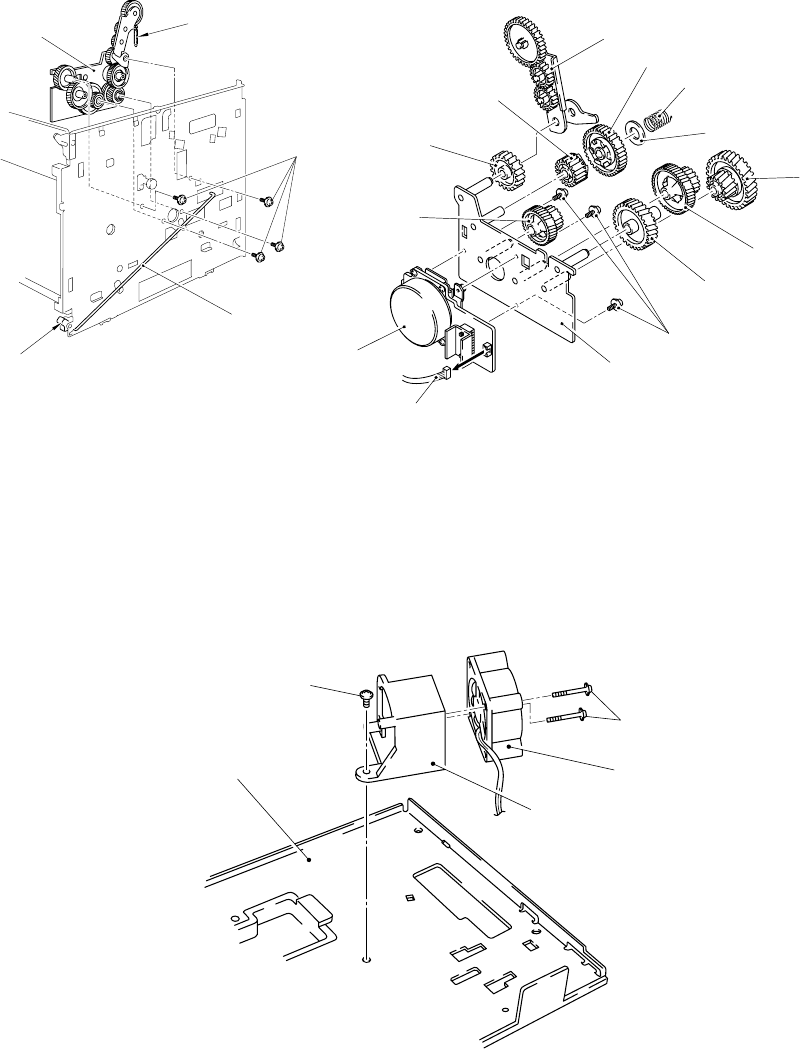
1.31 DC Gear Holder Assy
(1) Remove the DC motor connector, then remove the paper delivery holder spring.
(2) Loosen the 4 screws and remove the DC gear unit from the body.
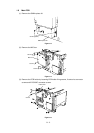
(3) Remove the paper delivery gear assy, the gears, the gear 48 spring, and the washer.
(4) Loosen the 3 screws and remove the DC motor assy from the gear holder.
Figure 4.11
Figure 4.12
Paper delivery
holder spring
DC gear unit
PS switch wire
Remote switch
Gear 48
Gear 48 spring
Gear 24/72
Gear 20/50
Gear 39
3 screws
DC gear holder assy
Gear 22/55
Gear 28
Connector
DC motor assy
Gear 21
Paper delivery gear assy
Washer
4 screws
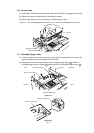
1.31.1 Scanner fan motor
(1) Loosen the 1 screw and remove the scanner fan holder.
(2) Loosen the 2 screws and pull out the scanner fan holder from the scanner fan motor.
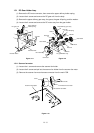
(3) Remove the scanner fan motor harness connector from the main PCB.
screw
2 screws
Scanner fan motor
Scanner fan holder
Scanner mount plate
Figure 4.13