


IV - 8
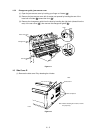
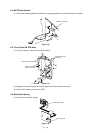
1.9 Control Panel Unit
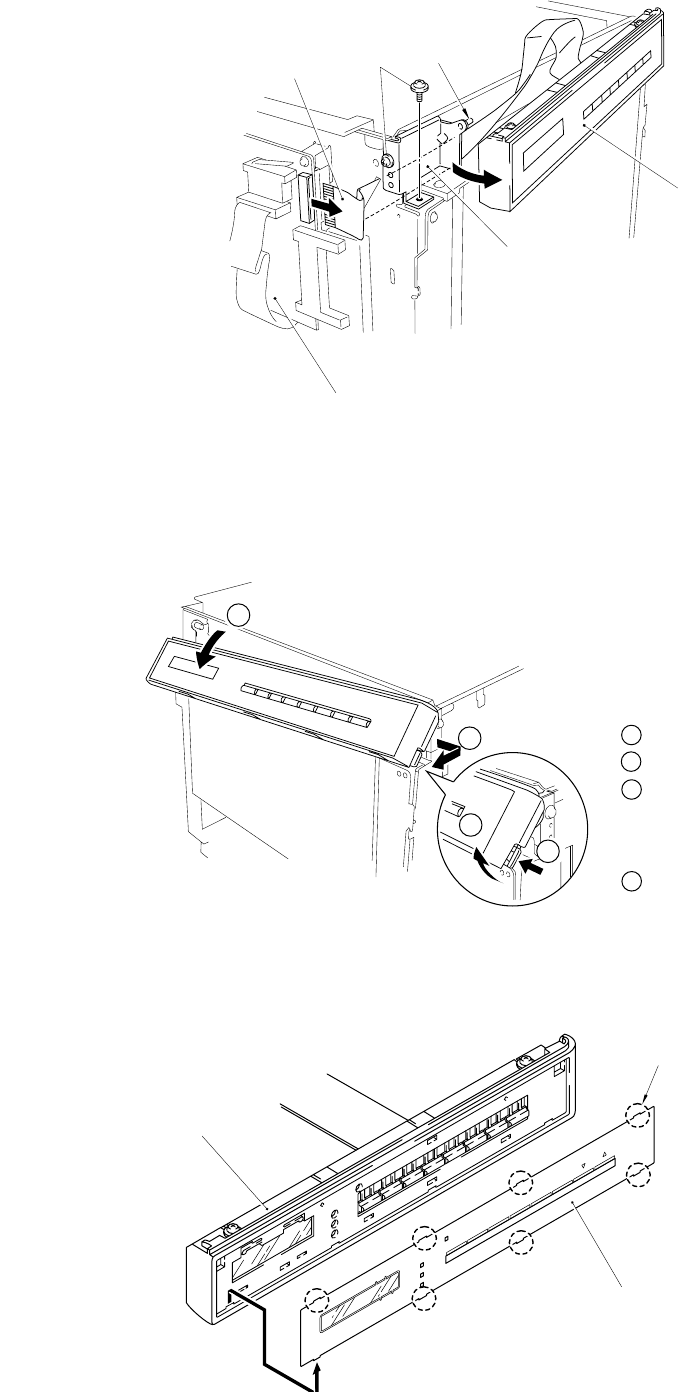
Figure 4.17
READY
DATA
ALARM
ON LINE
SEL
MODE
FONT
FORM FEED
SET
CONTINUE
EMULATION
ECONOMY
FEEDER
COPY
SHIFT
RESET
TEST
COPY PAGES
FEEDER
ORIENTATION
DUPLEX
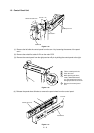
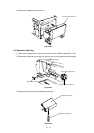
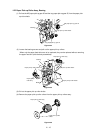
(4) Release the panel sheet 8 hooks to remove the panel sheet from the control panel.
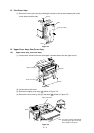
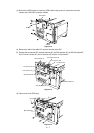
Figure 4.16
Screws
Switch flat cable 21P
Pin
Panel arm L
Control panel unit
Control panel unit
Panel sheet
8 Hooks
C
Main PCB
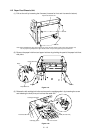
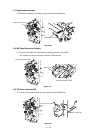
(1) Remove the left side the control panel from the arm L by loosening the screws of the panel
arm L.
(2) Remove the switch flat cable 21P from the main PCB.
(3) Remove the control panel from the right panel arm R pin by sliding the control panel to the right.
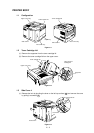
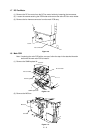
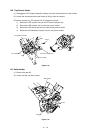
Figure 4.15
D
A
B
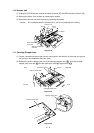
A Tilt the control panel unit.
B Pinch the lever.
C While pinching the lever,
rotate, downward toward
you, the control panel unit on
the right pin taken as a fulcrum.
D Remove the control panel
unit.