4‑55
Sending Documents
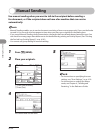
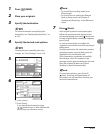
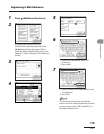
1 Press (SEND).
2 Place your originals.
3 Specify the destination.
For more information on specifying the
destination, see “Specifying Destinations,” on
p.
4‑32.
4 Specify the desired send options.
For instructions on specifying the scan
settings, see “Scan Settings,” on p. 4‑16.
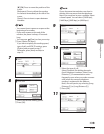
5
6
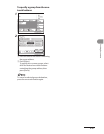
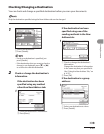
① Press [Direct].
② Press [Done].
If you specify the destination using
–
(numeric keys) or New Address tab,
press [Direct] on the same screen.
To cancel Direct sending mode, press
[Direct] again.
For instructions on setting the Delayed
Send or Stamp mode, see Chapter 4,
“Sending and Receiving,” in the Reference
Guide.
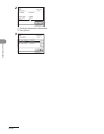
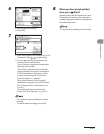
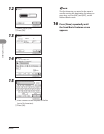
7 Press (Start).
If the original is placed on the platen glass,
follow the instructions that appear on the
touch panel display, then press (Start) once
for each original. When scanning is complete,
press [Done].
As soon as transmission is possible, the
original is scanned and sent while scanning is
taking place.
During transmission, the transaction number
and page number currently being sent are
displayed in the Job Monitor area.
If the transmission completes successfully,
the message <Sent OK> appears in the
message area for approximately two seconds.
After the original has been sent, Direct
Sending is canceled automatically.
To cancel transmission, press [Cancel]
(Stop). Scanning and transmission of
documents are canceled from the time you
cancel the transmission.
–
–


