


8-9
Chapter 8 ISIS/TWAIN Driver Settings
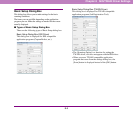
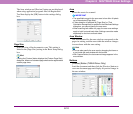
Buttons
[Area] button
Open the [Scan Area] dialog box to specify the area to
scan. (See “Scan Area Dialog Box” on p. 8-9.)
The [Area] button is not displayed if the application
program provides its own function to specify the scan area.
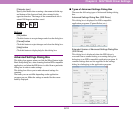
[More] Button
Click this button to display the Advanced Settings dialog
box. (See “Advanced Settings Dialog Box” on p. 8-12.)
[About] button
Click this button to display the driver version information.
[Default] button
Clicking this button returns all settings to their default
values.
[Orientation] Button
Click this button to display the Orientation Settings dialog
box. (See “Orientation Settings Dialog Box” on p. 8-11.)
[OK] button
Click this button to accept changes and close the dialog
box.
[Cancel] button
Click this button to cancel any changes and close the
dialog box.
[Help] button
Click this button to display help for this dialog box.
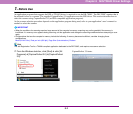
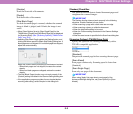
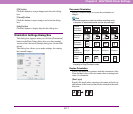
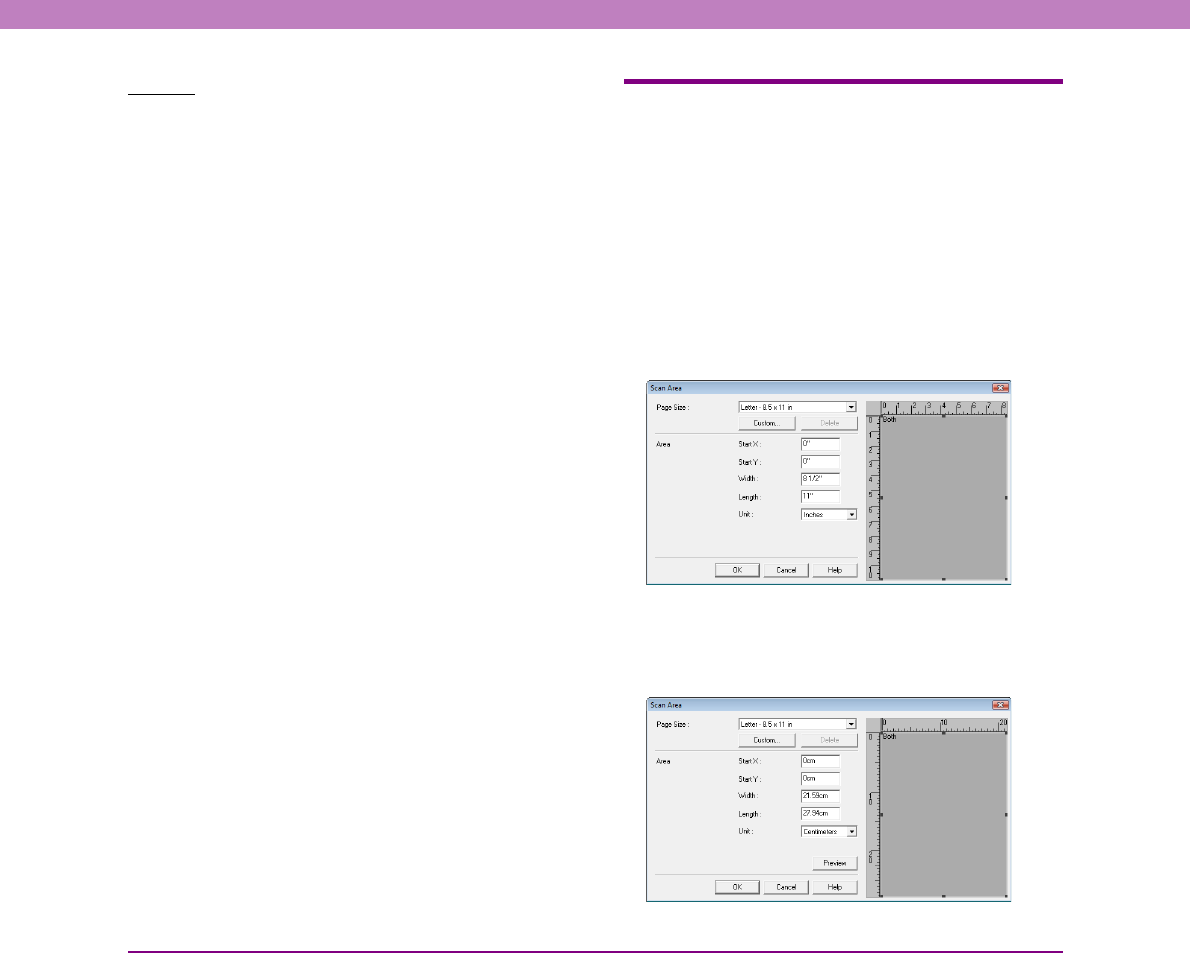
Scan Area Dialog Box
This dialog box appears when you click the [Area] button in
the scan settings dialog box of an application or in the Basic
Setup dialog box of the scanner driver.
This dialog box allows you to define the area of the document
page to scan on a selected page size, and register non-standard
document page sizes.
The Scan Area dialog box is different for the ISIS driver and
TWAIN driver. For the TWAIN driver, two dialog box types
may be displayed, depending on the application program
used.
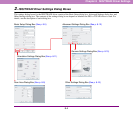
Scan Area Dialog Box (ISIS Driver)
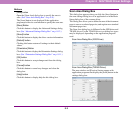
Scan Area Dialog Box (TWAIN Driver)
The area window and [Preview] button appear with
application programs that display the [Scan] button in the
settings dialog box.