


Selecting a Sender’s Name
3-6
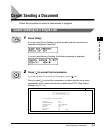
Sending Documents
3
Selecting a Sender’s Name
Follow this procedure to select one of the registered sender’s names.
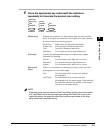
Sender’s names are selected by pressing [TTI Selector].
NOTE
• This setting is optional. If you do not select a sender’s name before sending a document,
the registered unit’s name is printed at the top of the document in the sender information
area. (See “Registering Required Sender Information (TX TERMINAL ID),” on p. 1-16.)
• If you select a sender’s name before you send a document, it replaces the unit’s name
printed in the sender information area. (See “Registering Required Sender Information
(TX TERMINAL ID),” on p. 1-16.)
• Up to 99 sender’s names can be registered. At least one sender’s name must be
registered so you can use this feature. (See “Registering Sender’s Names,” on p. 1-24.)
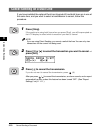
1
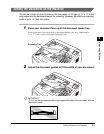
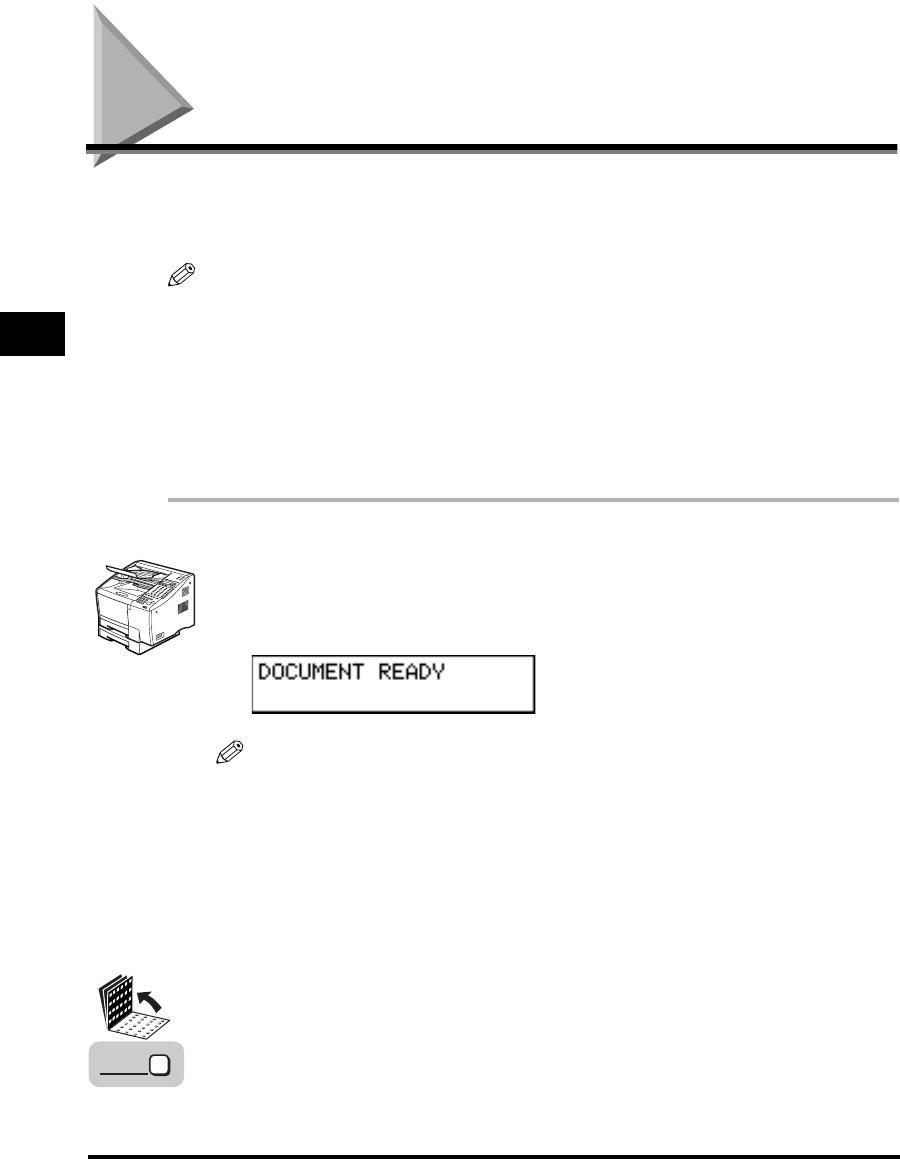
Place your documents on the machine.
For instructions explaining how to place your documents, see “Setting the
Document on the Machine,” on p. 3-3.
NOTE
You can adjust the resolution, contrast, and document type for scanning. (See
“Adjusting the Scan Settings,” on p. 3-4.)
2
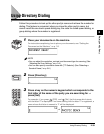
Specify the destination.
You can specify the destination using regular dialing, one-touch speed dialing,
coded speed dialing, access code dialing, or directory dialing. (See “Using
Regular Dialing,” on p. 3-8, “Using Speed Dialing,” on p. 2-32, or “Using
Directory Dialing,” on p. 2-39.)
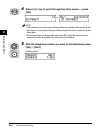
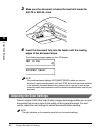
3
Open all three one-touch speed dialing panels ➞ press
[TTI Selector].
TTI
Selector