


Chapter 9 Scanning 75
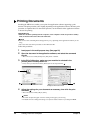
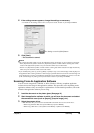
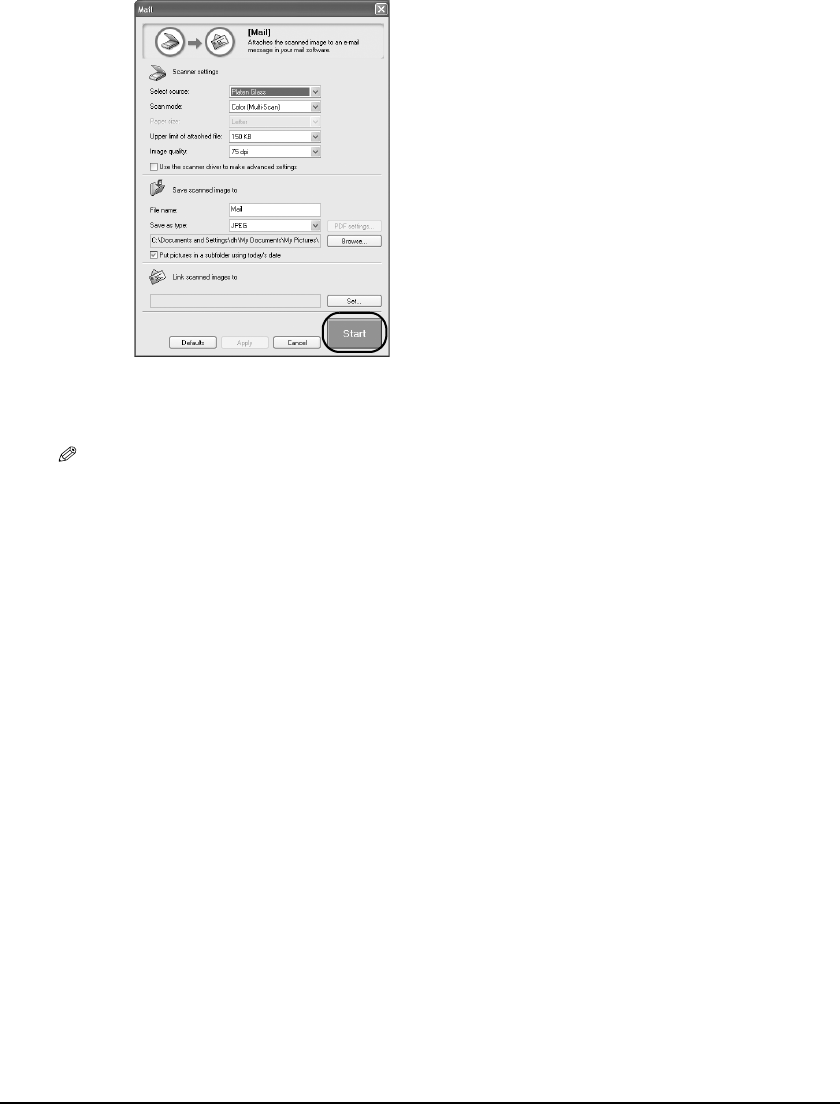
4 If the settings screen appears, change the settings as necessary.
• For details on the settings of the screens, see Software Guide, located on your Setup CD-ROM.
5 Click [Start].
• The document is scanned.
NOTE
• The scanned document will be saved in the following location, depending on your computer environment.
–If the [My Documents] folder contains the [My Pictures] folder, a folder with the scanning date will be
created in the [My Pictures] folder, and your document will be saved in this folder.
–If there is no [My Pictures] folder, a folder with the scanning date will be created in the [My Documents]
folder, and your document will be saved in this folder.
• If you clicked [File], [Scan-1], [Scan-2], [Mail], or [OCR] in step 3, the scanned image will be displayed in
the application after scanning. Send the e-mail message or perform OCR conversion. The scanned image will
not be displayed if you have not installed the applications on the Setup CD-ROM or if you have not set the
[Link scanned images to] setting. (See Software Guide, located on your Setup CD-ROM)
Scanning From An Application Software
You can scan an image from a TWAIN- or WIA- (Windows XP only) compliant application
software and use the image in that application software. This procedure varies depending on the
application software. Only one example is explained here. For the detailed procedure, refer to the
manual of the application software you are using.
1 Load the document on the platen glass. (See page 14)
2 Start the application software to which you will scan the document and select
the command to scan (such as [Import], [Acquire image], etc.).
3 Select the scanner driver.
• With Windows XP, you can use the ScanGear MP or the WIA driver as the scanner driver.
–When using ScanGear MP, select [Canon MP370] or [Canon MP360].
–When using a WIA driver, select [WIA Canon MP370] or [WIA Canon MP360].
Ex: Settings screen for [Mail] button