


www.axxessid.com
Installation & User Guide
AX200 Installation & User Guide – July 2007
10
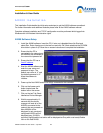
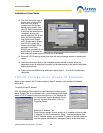
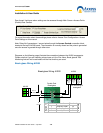
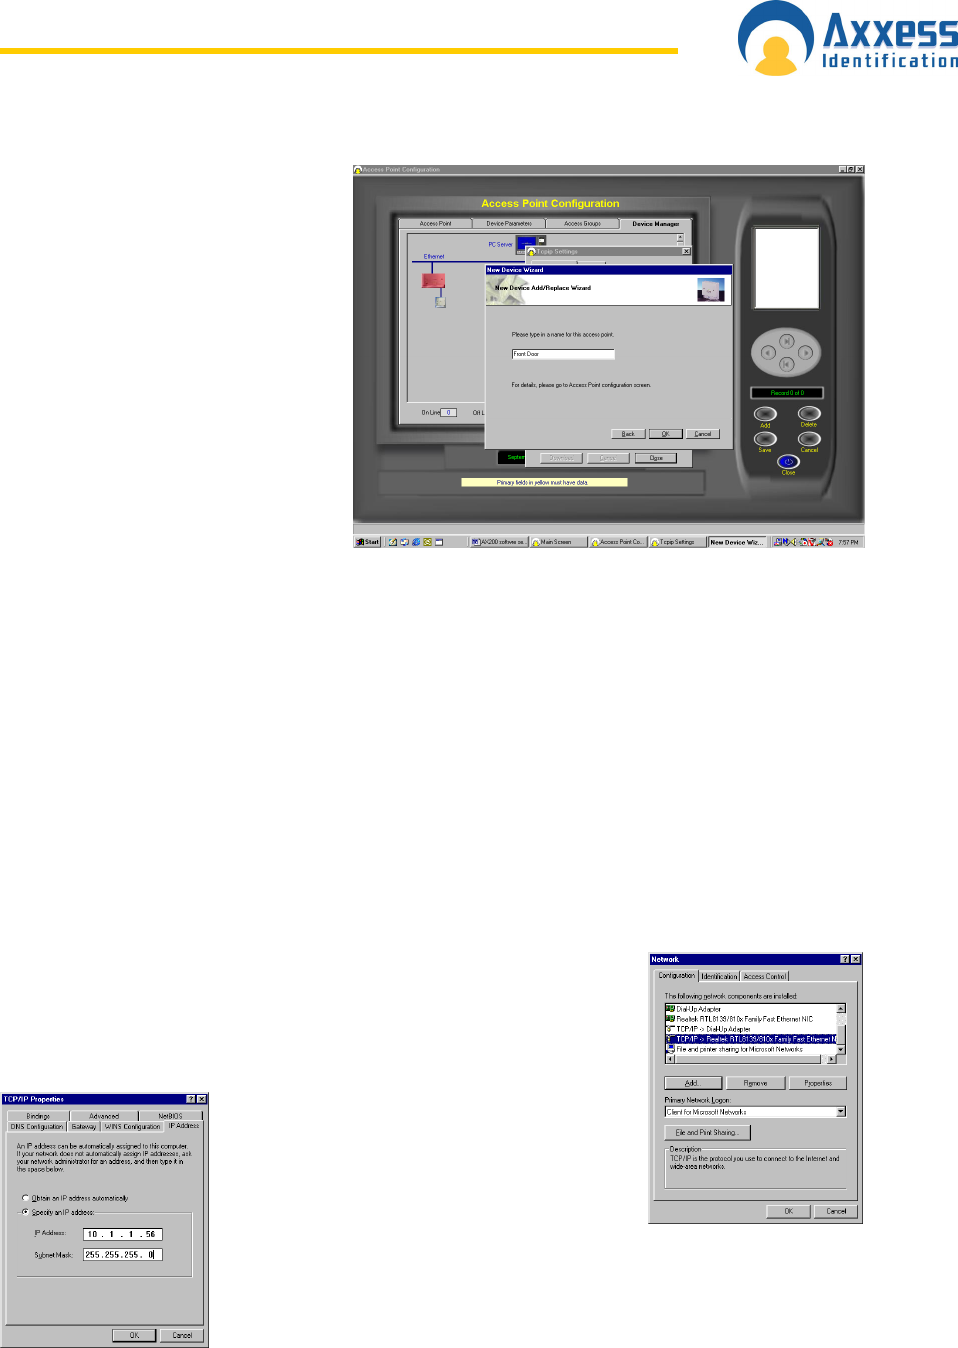
12. Click Add. Select the type of
reader (with or without PIN)
then click next. Enter a
suitable name for the door
location being added. Then
click OK. After a brief period
of time the add wizard will be
completed. Access point
specific settings such as lock
times, IN/Out configuration
may be set under Access
point / Access point. When a
new AX100 is added the
access point screen will be
displayed. Note if two
AX100’s are connected to the
AX200 after 15 seconds the
Add wizard will appear again for Device two to be added.
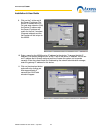
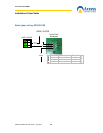
13. Close the TCP/IP settings screen and close the device manager screen or access point
screen.
14. From the main screen click on the cardholder button and add a card(s) When the
cardholder screen is exited the information will be downloaded to the relevant controllers
and the door will lock.
15. Power up the next AX200 to be added and repeat steps 6 – 13 until all controllers are
configured.
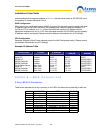
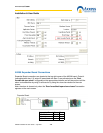
TCP/IP Configuration (Fixed IP Address)
Refer to this section if the PC does not have a fixed IP address or for additional IP address
information.
To specify a fixed IP address
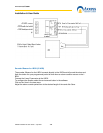
Click the Windows Start button then select setting and select control
panel. Double Click on the Network icon. In the components box scroll
down to TCP/IP Network card name and click on it. (On Windows XP
the control panel may be displayed directly
from the Windows Start button) Click on
Properties Button.
Select the IP Address Tab
Ensure that the system is set to specify an IP Address and that a valid
IP address is in the IP address box. (Note – most organisations allow
fixed IP address ranges, and a suitable IP number is normally obtained
from the network administration manager) Enter a valid subnet mask