


www.axxessid.com
Installation & User Guide
AX200 Installation & User Guide – July 2007
8
AX200 Installation
This Installation Guide details the initial setup and steps to get the AX200 software operational.
For further information and additional features please refer to the AX200 software manual.
Complete software installation and TCP/IP configuration must be performed whilst logged into
Windows with full Windows Administration rights.
AX200 Software Setup
1. Install the AX200 software. Insert the CD, if auto run is disabled then click Start and
select Run. Enter d:\setup.exe in the text box and click OK. (Note substitute the CD-ROM
drive letter in place of d) Follow the on screen instructions to complete the installation.
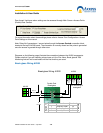
2. Ensure that the PC is
connected to the network and
the AX200’s are connected to
the network but powered off.
3. Ensure that the PC has a
fixed IP address
.
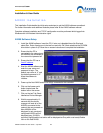
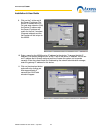
4. Start the AX200 software and
enter the user name and
password to login. The
default user name is “1” and
the default password is “1”.
Allow the software to
initialise.
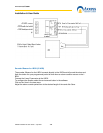
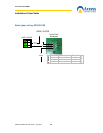
5. Power up the first AX200 and the AX100(s) connected to this controller.
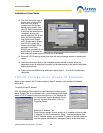
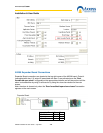
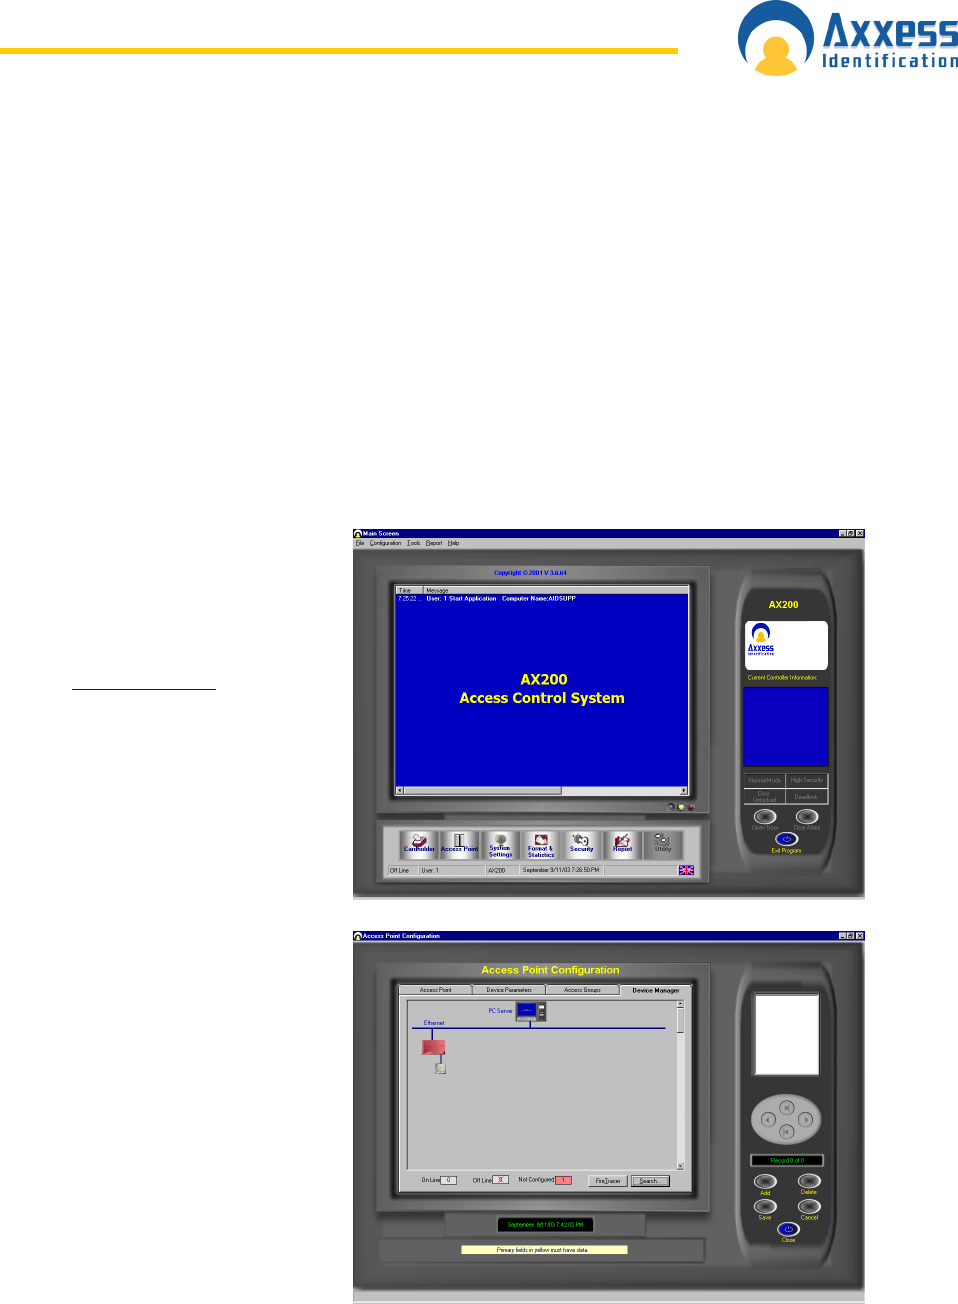
6. Click on the Access point
button located near the
bottom left on the screen.
7. Click on the last Tab Sheet
labelled as Device Manager.
8. Wait for approximately 10
seconds and the device
manager will seek all of the
AX200’s connected to the
network that are powered on.
New AX200’s will be
displayed in red; previously
configured AX200’s will be
displayed grey. (AX200’s
previously configured but not online will be displayed as Grey with a red cross) Double
click on the Red AX200.