


www.axxessid.com
Installation & User Guide
AX200 Installation & User Guide – July 2007
99
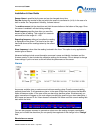
Note: if the Redetec sensor goes off line for any reason, it will lose control over the Redetec unit.
This means if the unit has been isolated by the sensor, it will come out of isolate once the sensor
is disconnected. Therefore we strongly recommend using the key switch for isolation before
starting any maintenance work.
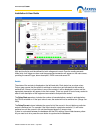
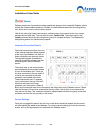
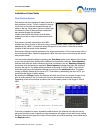
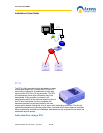
PIR
PIR sensors have been designed to detect movements in an adjustable range
of 5 to 15 meters.
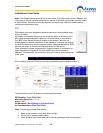
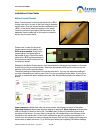
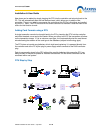
PIR sensor is connected directly into one of the free ports on the back of the i-
BOX using the standard sensor cable only. Once the sensor is connected to
the i-BOX a New Device Wizard will appear on the screen. Follow the on-
screen prompts to add the new sensor to the database. To access the settings
for the PIR sensors go to the environment section, select the appropriate i-BOX
from the tree menu on the left hand side and select the PIR sensor.
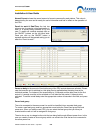
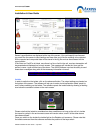
Once the sensor has been programmed to trigger the alarm on movement, an
alarm transaction will appear on the main screen when the movement is
detected. This transaction will include the I-box name, sensor type and the type
of the alarm.
All the readings from the PIR sensor could be accessed through the Reports section.
The three LEDs on the PIR sensor are colour coded as follows:
PIR Detection: Green/Blue Flash
Microwave Detection = Orange
Alarm = Red
No Movement = Blue (Steady on with short flash)
No Communication = Blue (Fast Flash)
Note: To avoid any potential false alarms:
Make sure the sensor is not under direct sunlight.
Do not mount detectors near heaters.
Open windows may induce false alarms caused by draughts and moving objects.