2. Shut down the NetScaler appliance by typing the following command at the shell
prompt:
shutdown –p now
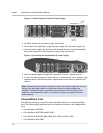
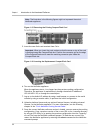
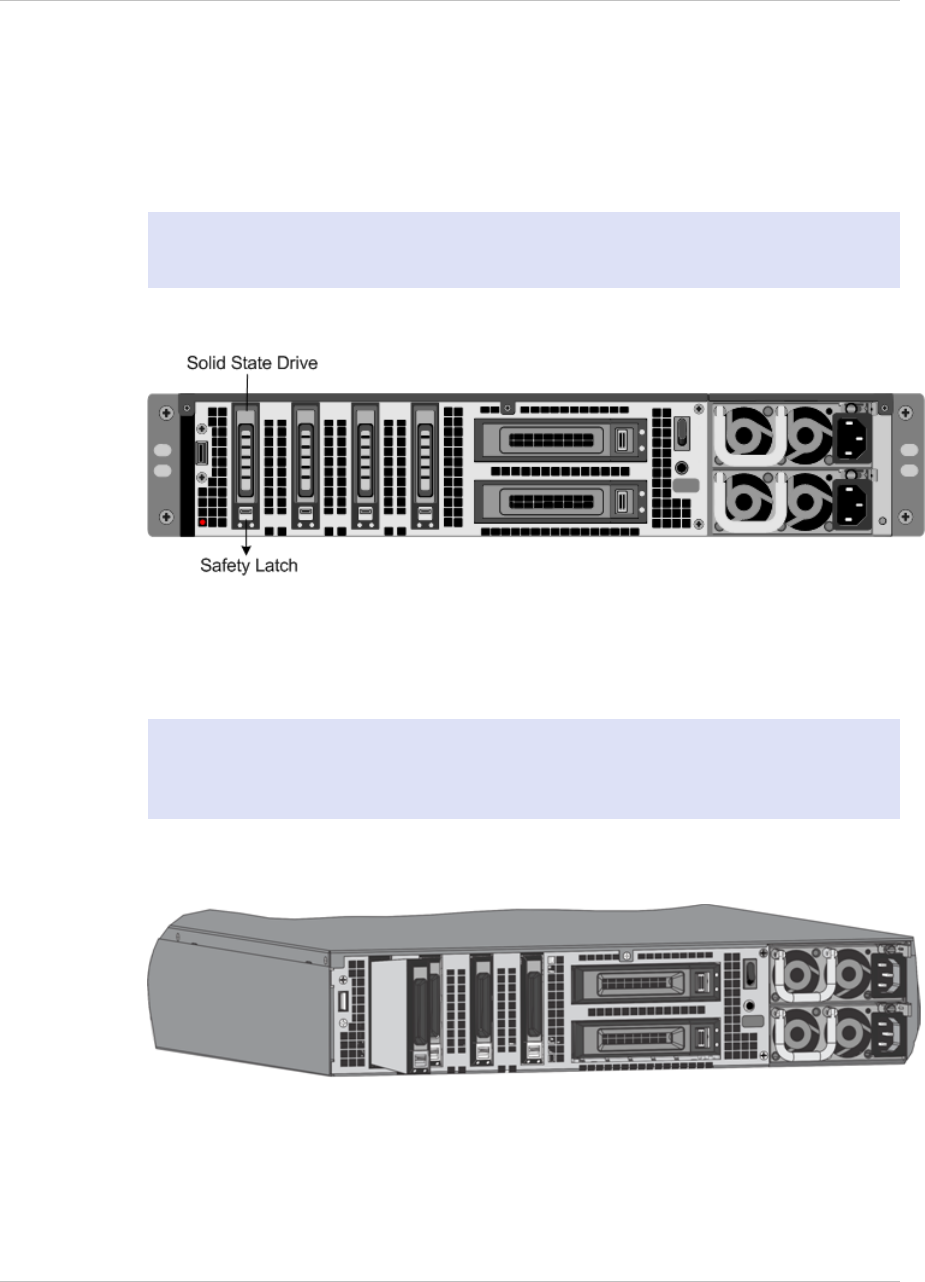
3. Locate the SSD on the back panel of the appliance. Push the safety latch of the
drive cover to the right or down, depending on the platform, while pulling out on
the drive handle to disengage. Pull out the faulty drive.
Note: The illustration in the following figures might not represent the actual
NetScaler appliance.
Figure 1-17. Removing the Existing Solid-State Drive
4. Verify that the replacement SSD is the correct type for the platform.
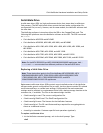
5. Pick up the new SSD, open the drive handle fully to the left or up, and insert the
drive into the slot as far as possible. To seat the drive, close the handle flush with
the rear of the appliance so that the drive locks securely into the slot.
Important: When you insert the drive, make sure that the Citrix product label is at
the top if the drive is inserted horizontally or at the right if the drive is inserted
vertically.
Figure 1-18. Inserting the Replacement Solid-State Drive
6. Turn on the NetScaler appliance. When the appliance starts, it no longer has the
previous working configuration. Therefore, the appliance is reachable only through
the default IP address of 192.168.100.1/16, or through the console port.
7. Log on to the default IP address by using a web browser, or connect to the serial
console by using a console cable, to perform the initial configuration.
Chapter 1 Introduction to the Hardware Platforms
34


