


Faxing |
249
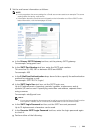
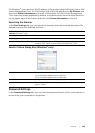
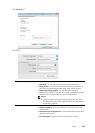
4 Tap , and then check and change the fax settings.
See "Fax Settings."
To return to the previous screen, tap Back.
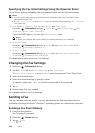
5 Enter or select a fax number by performing either of the following:
• If you want to enter a fax number directly:
a Tap the Enter Number text box.
b Enter the number using the keyboard.
c Tap Done.
• If you want to select from the phone book:
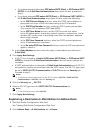
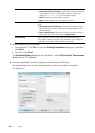
a Tap Phone Book.
– Tap Individuals to select an individual fax number.
– Tap Groups to select a group dial number.
– Tap Network Phone Book to search and select a fax number from the
LDAP server.
See "Sending a Fax Using the Fax Server Phone Book."
b Tap Done.
NOTE:
• For details about address book and server address book, see "Using the Address Book and
Phone Book."
• For details about Network Phone Book, see "Using the Server Address Book and Server
Phone Book."
• The fax number needs to be registered before you can select Address Book.
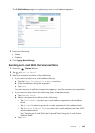
• If you want to select from the speed dial:
a Tap Speed Dial.
b Enter the speed dial number using the number pad.
c Tap Done.
You can add more fax numbers by tapping +.
6 Tap Send.
NOTE:
• To cancel the fax job, tap Stop at any time while sending the fax.
When the document is loaded on the document glass, the screen prompts you for
another page.
• If you want to place a new document, replace the document with a new
document, and then tap Continue.
• When you have finished loading documents, tap Done.
The printer starts dialing the number, and then sends the fax when the remote fax
machine is ready.
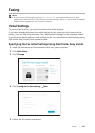
Sending a Fax Manually
1 Load the document(s).
See "Loading Documents."
2 Press the (Home) button.
3 Tap Fax.