


296
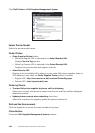
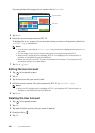
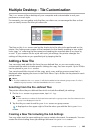
| Multiple Desktop - Tile Customization
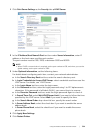
Creating Your Custom Tile
The following explanation is an example to create your custom tile for copying.
To create custom tiles for other jobs such as faxing, scanning, or printing, follow the
same procedures on the job settings screen of each job.
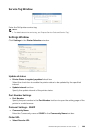
1 Tap the Copy tile in your Home screen.
2 Tap the setting tiles and change the copy options as needed.
See "Copy."
3 Tap .
4 Tap the text box, and then enter the name of your settings.
5 Tap the color tile you want to set as your custom tile.
NOTE:
• You can preview the image of your custom tile in Preview.
6 Tap Save As.
NOTE:
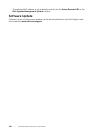
• When a tile has the Lock icon, that function is controlled by the Functions Control setting. To
enable the function, you need to enter the password. See "Functions Control."
• When you save the job settings for Fax or Scan to Email as a custom tile, recipient information
is saved together with the settings. To prevent from sending faxes or e-mails to wrong recipients,
make sure that the fax numbers or e-mail addresses of the recipients displayed on the touch panel
are correct.
To prevent others from using customized tiles with personal information, log out from your user
account after you finish using the printer.
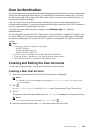
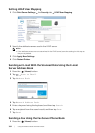
Editing Your Custom Tile
You can edit the job settings saved in your custom tile.
1 Tap the tile you want to edit in your Home screen or group screen.
2 Change the job settings as needed.
3 Tap .
4 Tap the text box to name your settings if you want to rename your settings.
5 Tap the color tile if you want to change the color of the tile.
6 Tap Save.
NOTE:
• If you tap Save As instead, the new tile is added in your Home screen.
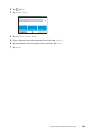
Moving or Deleting Your Tiles
You can move or delete your tiles from your Home screen or group screen.
See "Moving, Adding or Deleting Tiles."