Matrix Software, cont’d
Fiber Matrix 6400 Switcher • Matrix Software
5-10
Subnet Mask field
The Subnet Mask field is used to determine whether the matrix switcher is on the
same subnet as the controlling PC or the mail server when you are subnetting.
For more information, see “Subnetting — A Primer”, in Appendix A, “Ethernet
Connection”.
Edit this field as follows:
1. Click in the Subnet Mask field. The pointer tool becomes a text cursor.
2. Edit the mask as desired.
3. Press the Tab key on the keyboard or click in another field to exit the Subnet
Mask field.
4. Click the Take button to make the mask take effect.
Hardware Address field
The hardware (MAC) address is hardcoded in the matrix switcher and cannot be
changed.
Use DHCP checkbox
The Use DHCP checkbox directs the matrix switcher to ignore any entered IP
addresses and to obtain its IP address from a Dynamic Host Configuration Protocol
(DHCP) server (if the network is DHCP capable). Contact the local system
administrator to determine whether to use DHCP.
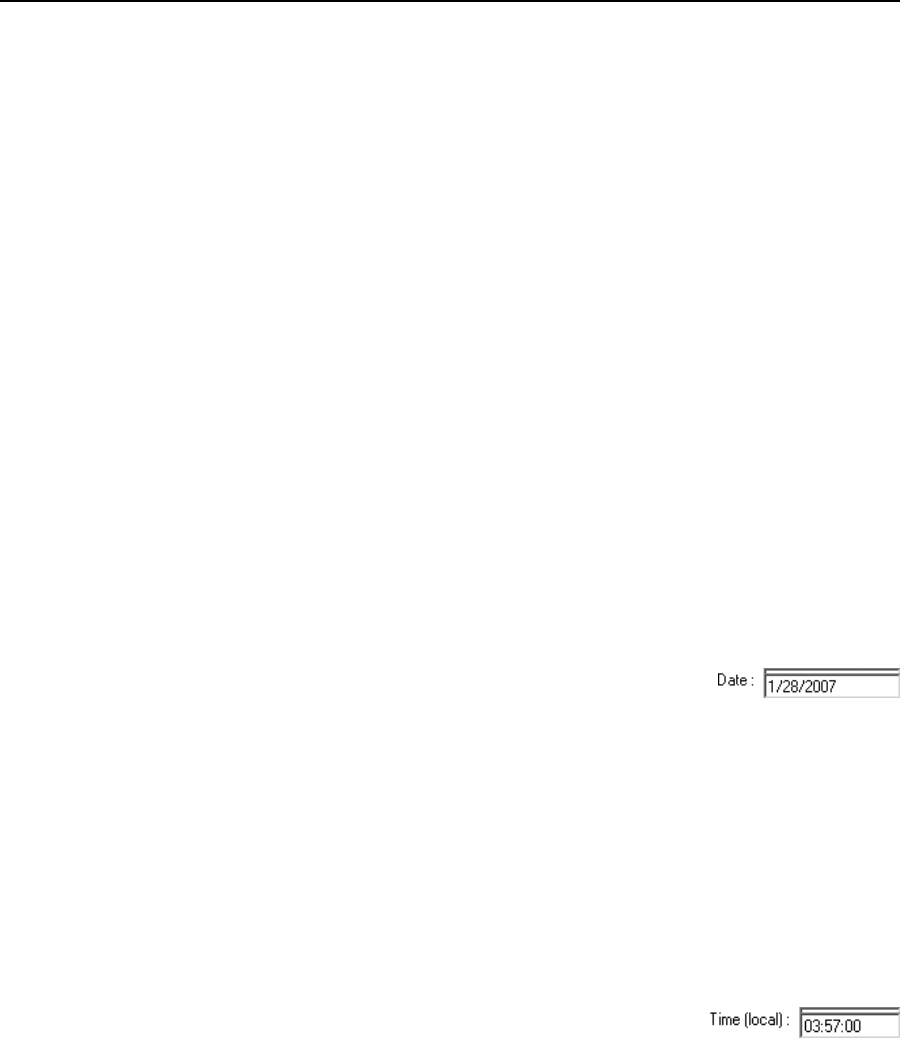
Date field
The Date field displays the current date in the Greenwich Mean Time (GMT) zone.
If necessary, adjust the date as follows:
1. Click in the Date field. A Set Date field appears with
the date in the format (M)M/(D)D/YYYY. Leading
zeroes are not used. The pointer tool becomes a text cursor in the Set Date
field.
2. Edit the field as desired to set the proper date. Leading zeroes are optional.
3. Press the Tab key on the keyboard or click in another field to exit the Set Date
field.
4. Click the Take button to make the date change take effect.
Time (local) field
The Time (local) field displays the current time in the local time zone. If necessary,
click on the Sync Time to PC button to set the switcher to your computer’s internal
time or else adjust the time manually as follows:
1. Click in the Time field. A Set Time field
appears with the date in the format HH:MM:SS
(00:00:00 to 23:59:59). The pointer tool becomes a text cursor.
2. Edit the field as desired to set the proper time. Remember to use 24-hour
time. Leading zeroes are optional.
3. Press the Tab key on the keyboard or click in another field to exit the Set Time
field.
4. Click the Take button to make the time change take effect.
