


Initial setting software is already installed on your Konica fax machine. It guides
you through the process of entering your machine’s settings.
These settings you make here can always be changed later.
Getting started
Determine the following before you go any further:
1
The type of dialing your telephone system requires — Choose either tone or
pulse (rotary) dialing.
2
The name and fax number you want to appear on your faxes —
Every fax page you send arrives at the receiving machine with a single line of
text at the very top of the page. This text lists a name, called the Transmit
Terminal Identifier (
TTI
), and a fax number. The
TTI
cannot be longer than 22
characters.
Clearing stored settings
Before the Initial setting, clear your machine’s built-in user data memory. This
ensures the memory will hold only your settings.
Important: After you set the Initial settings, do not clear the memory again
unless an authorized technician asks you to do so.
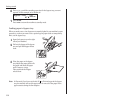
To clear the machine’s memory:
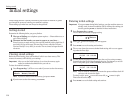
1
Press Program key, *, 2. The
LCD
now asks if you want to clear the memory:
Note: If you don’t want to clear the memory, just press
CANCEL
.
2
If you do want to clear the memory, press
ENTER
.
Entering initial settings
Important: If you press
STOP
during Initial settings, your fax machine returns to
standby mode (its normal condition). But it will keep the settings you
saved by pressing
ENTER
as described in these instructions.
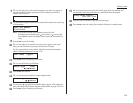
1
Press Program key,
I
,
ENTER
.
The
LCD
shows the current language setting.
2
Press or until the language you want appears.
3
Press
ENTER
to save the setting and continue.
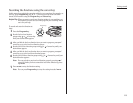
4
The
LCD
now shows the current calendar/clock setting, with a cursor appear-
ing under the first digit.
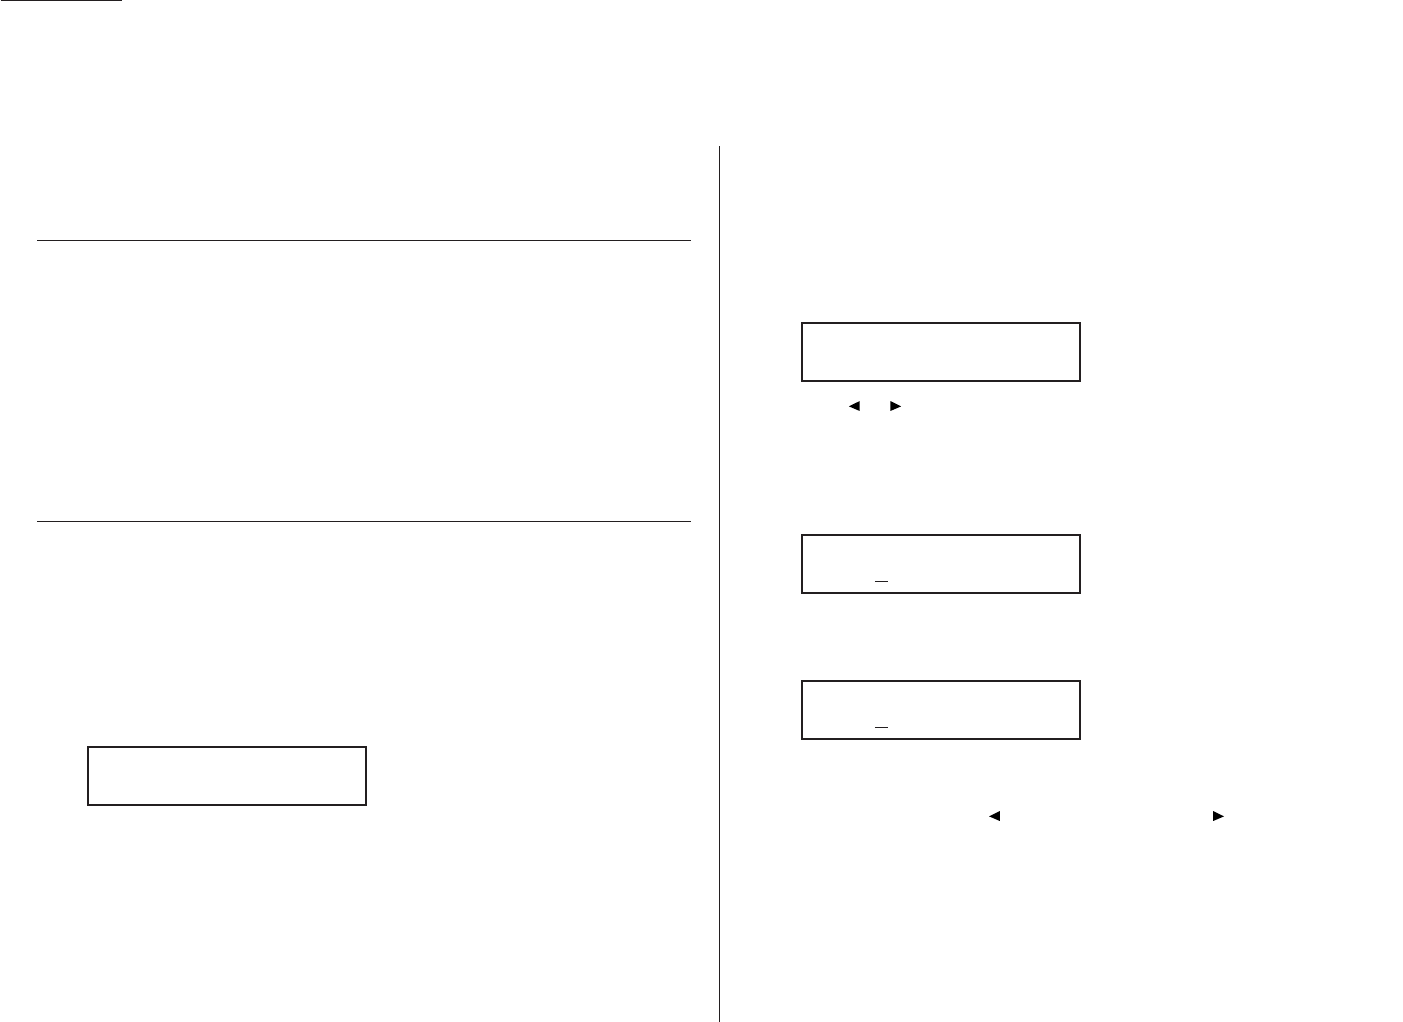
5
Use the numeric keypad to enter the correct date and time, using a
DDMMYY
format for the date and 24-hour format for the time. For instance, to set 8:30
PM
on 11 July, 2002, press 1 1 0 7 0 2 2 0 3 0, which results in:
Note: Your fax machine automatically inserts the spaces and date-slash. All
you have to do is enter the digits.
To change a digit, press to move the cursor left, or to move it right.
Then enter the correct digit.
6
Press
ENTER
to save the clock setting and continue.
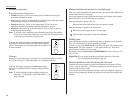
Enter Time
11/07 ’02 20:30
Enter Time
01/01 ’01 00:00
Language :English
/
/Enter
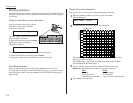
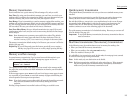
Clear User Settings
Check Enter/Cancel
Initial settings
1.18
Getting started